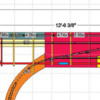
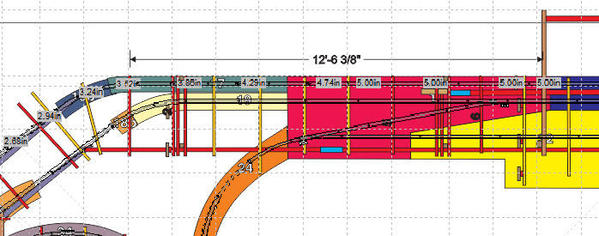
I had a rare Sunday work session today and got more work done on that first part of the back layout. I set the grade with a series of risers based on the dimensions that were called out in the RR Track design program. I made that plan into a GIF file so I could import into the CorelDraw image of all the infrastructure. For the uninitiated, GIF (and PNG) files allow to save files with a transparent background. In this way, the layout can sit above all the plywood in the drawing, but you can still see what's beneath. This diagram provides good reference points for the location of grade start and stop, and critical check points. Here's a slice of that drawing showing the track grade heights. The heights are shown from the track section's end. An important reference point is the L-girder that extends from the jog in the back wall. The entire layout is being keyed to this point.
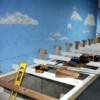
This next shot shows how I use a level to align risers of equal heights. You could use a straight edge, but the level gives me another check point to make sure there's not drift. And again, you can't have enough quick clamps. They make working alone very easy. All you do is bring the next riser up to the level, clamp it, put one screw it it, and check cross-level, unclamp and put the second screw in and re-torque them to ensure their tight. All the other joists along this part of the layout are all screwed down. I did them all while sitting on the scooter so I didn't have to keep getting on and off of it.

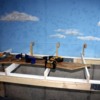
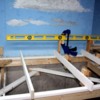
This last series shows how I ran a chalk line (without the chalk) from the last riser at the 5.0" elevation to the riser at the start of the left end curve. Beyond that riser you run into the area where the bridges are going. I'm not doing anything there until the work along the entire back is roughed in. Once that end is closed in, the only other way into the middle without using my scooter... or being 8 years old... is at the opening on the front right end where the swing-out section is going. It's a long railroad and walking about the entire perimeter each time I need to get in or out, is a lot of walking. Once the back is done with it's track and roadbed, I'll close the left end in and create the bridges. This also goes for the track that crosses in the middle which will also be a bridge.
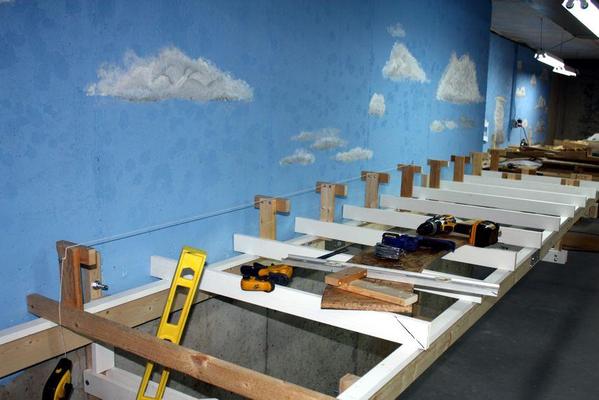
I really don't care about the heights of all those intermediate risers. Once I establish the start and finish points, the chalk line ensures that all the intermediates are at the correct elevation.

This is a very accurate way to set up grades. When I sighted down across all the risers, I noticed that the last one I put in was slightly lower than the others. I fixed it. The quality of the OSB fit is directly related to how smoothly and evenly the risers are installed.


