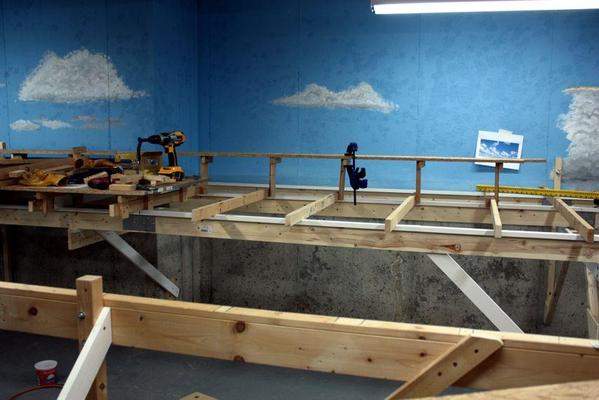
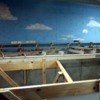
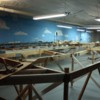
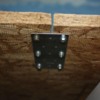
Had a good long session today and got more done. I completed the left side of the rear layout high line, then mounted the lower base level that runs sort of parallel. I also screwed down the middle piece that I fitted yesterday. I used Simpson Strong-tie plates to join OSB panel edges to stabilize the edges.
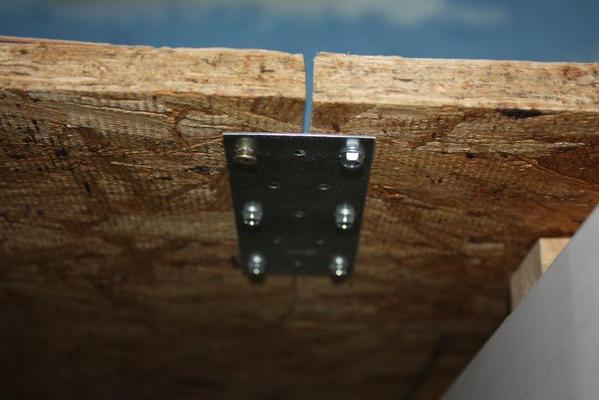
Now that the OSB is screwed tight, this part of the layout is becoming rigid like a rock. It is enormously strong. I frankly don't know why folks use 2 X 4s in an egg-crate arrangement, when L-girder gives such a strong, light and uses much less resources to make it so.
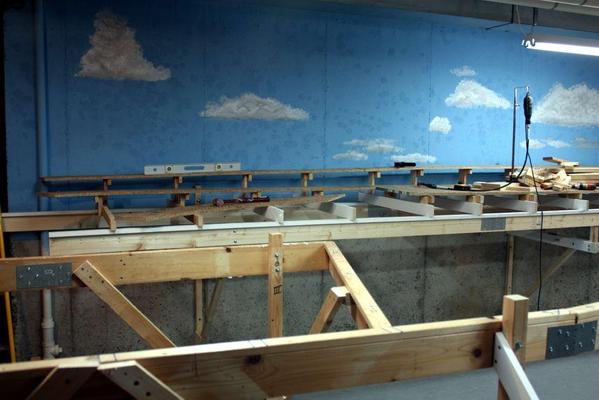
After this session, I got the Dremel out, put on the goggles and the dust mask and cut all those dangerous screw points that were protruding from the surface. I used the dust mask as well as the goggles since the last time I did this without the mask I was blowing my nose and getting steel dust in the results. I didn't like that.
I cleared all the junk off of the panels that were just lying on the left rear end and started laying in the joists and building the high-line in that portion. This portion is a constant 5.0" above the base. Again, joists are 16" on center. I'm using stock from the previous iteration of the layout. I've stripped the previous risers and heads from them, re-cut them to a new length and will reattach the risers. I'm replacing all the phillips head screws with the Star drive ones since they're so much easier to torque properly especially when working underneath. Notice my scooter... I'm getting back in shape getting my butt up and down onto it by using the girders to hoist myself up. The layout's getting stronger as more members are in place so it's a firm thing to hold onto when getting up and down.
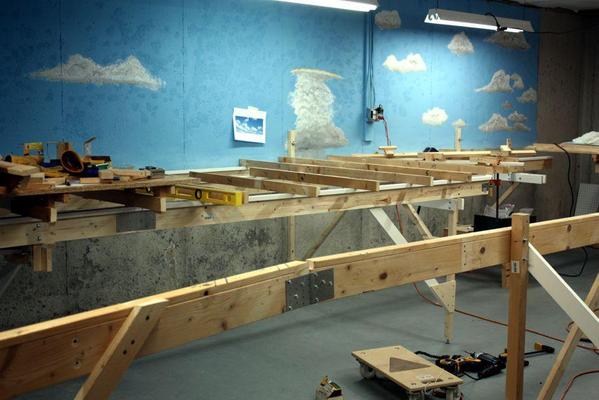
Here's the right end high-line being fitted.
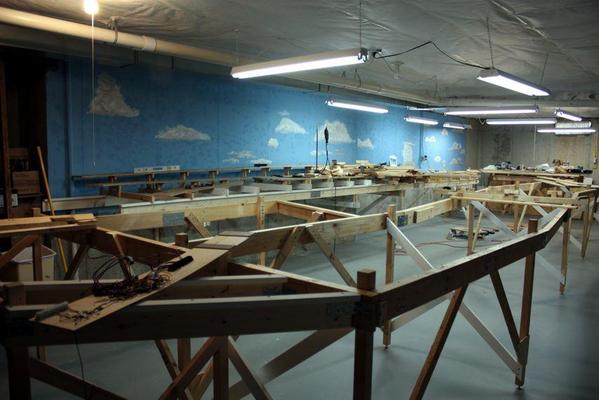
Here's a long shot showing progress so far. Once the rear panels are all in place, I will clean off the table in the back of this picture and reconfigure it to be installed at the right end. Should be there in a couple of days.
I'm getting quite a pile of old joists that are too short for this new design. I have new lumber (1 X 3s) for this purpose, but I want to conserve it so I don't have to buy more. Therefore, I may simply splice short ones together to make longer ones. If the overlap is enough, they're very strong. The screws I'm using have a 350 pound sheer strength. Three screws = over 1,000 pounds. Plenty strong for joists on a model railroad.


