Put the last pieces of OSB in place today and started rebuilding the right end. The downslope of the grade starts right at the end of this elevated section.
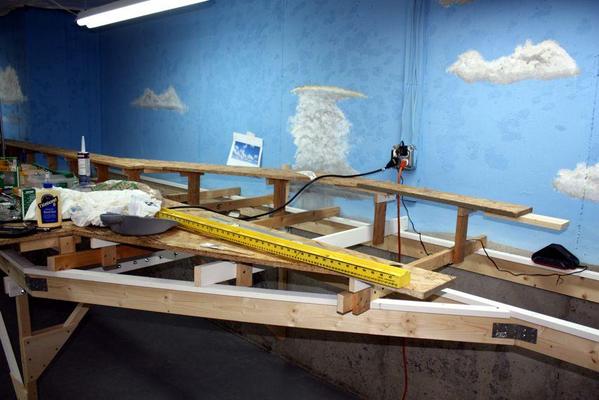
In this case I fastened the splice plates to the OSB BEFORE I hoisted it up onto the risers. I also added a brace to one of the base level pieces when I found a "soft" corner that needed reinforcement. You see a tube of "caulk on the table. It's Loctite Heavy Duty Construction Adhesive that I'm going to use to glue down the vinyl roadbed to the OSB and the track to the vinyl. While it would be faster to fasten the track down with screws, it makes the railroad noisier. O-gauge trains are noisy. If you put the screws through the vinyl, it completely defeats the roadbed's sound-absorbing properties and the screws carry the sound directly down to the OSB. Acts like the bridge on a guitar. Once this glue sets, you won't easily move anything so you better get stuff located right the first time.
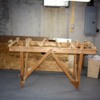
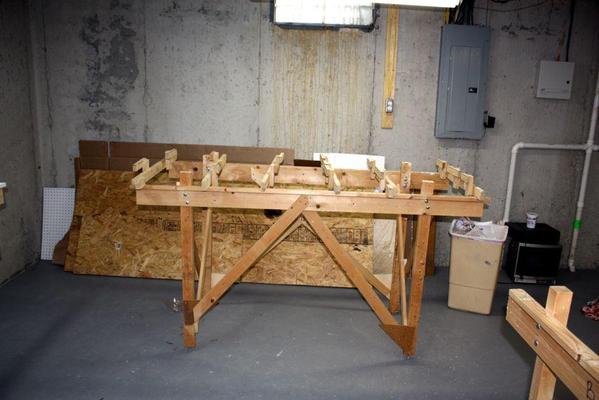
With the back OSB in place, I cleaned of the right end table. I removed the ply sheeting which was used as the B-17 building table. This is going to be re-purposed as an elevated work surface for the workbench (future project). At first I thought I could use the right end table almost as it was with just changing one of the girders. I was wrong. I'm really rebuilding it completely. The only thing that's not changing is the width.
Here's the before picture.
In order to get the dimensions correct I jerry-rigged the outer curved OSB by clamping to to the high line end, building a temporary support leg held with a c-clamp and laying the free end onto the right end framework. The plan's dimensions called for 29" from the end of the curved piece to the right hand leg. This leg is going to ultimately support the piano hinge for the swing-out section. I move the table rearward so it equaled this dimension. I then measured from the outer rear girder to the same leg set which gave me the length of a new girder that I need to make. The right-most girder was also replaced with a longer one. I also pushed out the leg spacing about 2 feet to make it a little more stable and facilitate getting underneath.
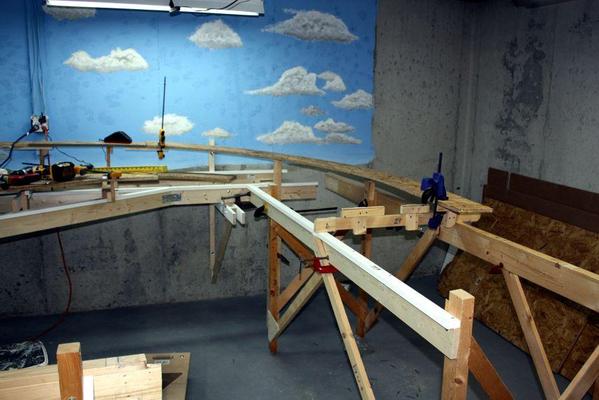
I temporarily held everything together with a couple of bolts and lots of clamps and then it was time to quit. Tomorrow, I finish off the right end.


