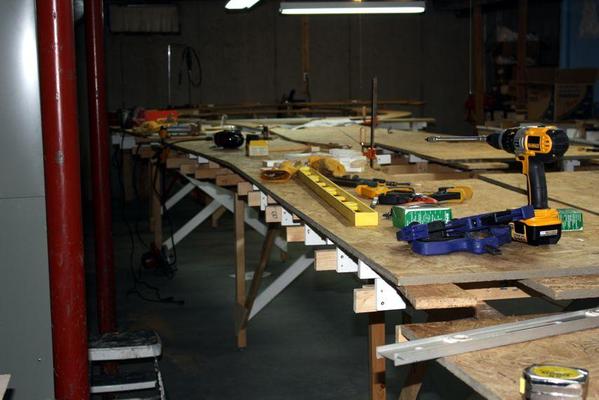
Today's session involved some young helpers. My grandsons actually helped. Jack (8) did some fastening of splice plates using the small B&D cordless driver, and Alex (11) did some serious work using the big DeWalt. He put in all of the underneath screws holding on three panels. We actually got more done with the two of us. I was pleasantly surprised. He really wanted to get to work on the railroad and today we were able to.
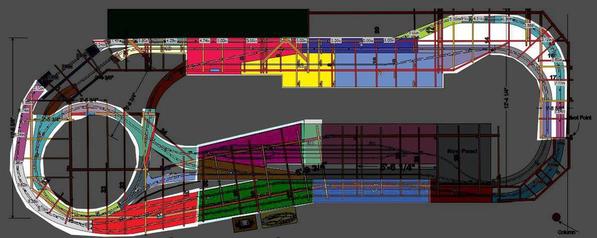
Here's a progress schematic of project status. Notice there are only a few pieces left.

I need to hit Home Depot tomorrow for some more lumber (1 X 4, 1 X 3, and 1 X 2); not much just a few pieces. If I didn't have to scrap those old furring strips, I would have been fine. Alex also drilled splice plates and assembled a bunch of risers. I did a count today and I have 12 more, but need 30, so I have to build 18 more. There could even be more needed since I don't know how many are going to be consumed on the swing-gate or the bridge end. I haven't done a final tally, but I'd bet that there are 100 plus risers holding up this system.

Here're some shots from today's work. Everything is nice and level. There is some slight height differences between some pieces of OSB, but I think I'm just going to fair them in with the belt sander. The kids really like the progress so far, and Alex is constantly commenting on how much bigger it is than he thought it would be. Funny... my wife keeps saying the same thing. The nice thing about the size is there will lots of clear space around the tracks so it won't feel all cluttered.


In the above pic you can clearly see the splice plates waiting for the next adjacent piece to be installed. I'm making them out of OSB now since it's very stiff in short sections like this, and I've got lots of scraps to consume. I used 6, 1-1/4", #9 Grip Tite star-drive, Deck Screws on each side of the plate. They're not going anywhere, ever!
It's getting harder to see progress in these overview pics since it's all taking place at the other end. I've been building a PowerPoint presentation showing the time-lapse evolution of the layout. It's pretty neat, although, my positioning and lens settings varied slightly between some of them. I'll share it with those interested when the layout is further along (read... having some track with trains on it).
I've got to buy more screws today! While the SPAX and GripTite screws are great, they aren't cheap and I'm going through a boat load of them.


