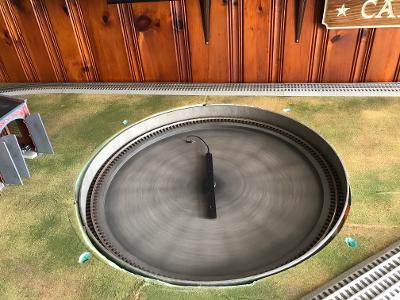
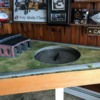
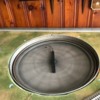
Thanks for all the tips and suggestions. I did originally ask Al about lowering the mounting points for the tabs by 3/8" so the top of the pit wall would be even with my layout surface, but he said it wasn't realistically possible and, in looking at the TT construction and welds, I can see that he was right.
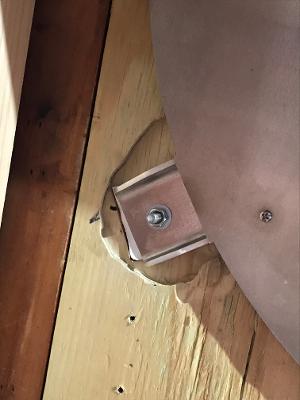
I decided to go with routing out the tab areas in the plywood base as the best solution for my existing layout. I tried using a router bit and nosepiece for my Dremel but it was very slow and just not powerful enough to get the job done, so I purchased a Bosch palm router at Lowes along with a 3/8" wide straight bit and that was just the ticket.
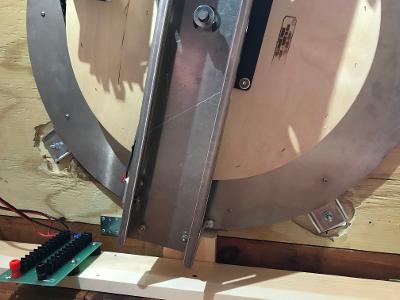
I temporarily screwed the TT in place and traced out the tabs and then took out the TT. I then used the palm router set at 5/16" depth to rout out all around the tab areas. I did it in one pass and only took about two minutes or less per tab, but what a sawdust storm. I had to go outside after each tab was done and have my wife turn the leaf blower on me to get everything off and clean-up was a b***h - both the layout and me !
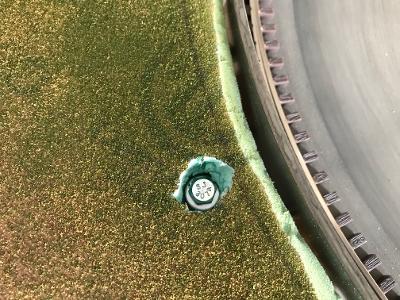
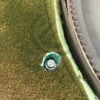
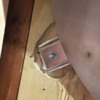
The routed tab areas came out very clean and smooth. I had to use some cardboard shims under one tab to make the TT pit wall level with the layout. After routing out the tab areas, I jacked the TT up into place with a bottle jack and drilled out the mounting holes through the tabs up through the foam. Since the heads of the bolts and washers are wider than the mounting holes themselves, I used a 5/8" spade bit to open a wider hole in just the foam to accept them and then dropped the bolts and washers down into place. My wife was gracious enough to hold the bolt heads in place with a wrench from the top while I added a washer and tightened the nuts from below and sealed with blue threadlocker.
I'll go back and fill the bolt holes in the foam and any gaps around the edge of the TT pit wall with vinyl spackling compound and cover with turf.
Next step will be to assemble, paint and weather the arch, cab and fencing for the bridge.


