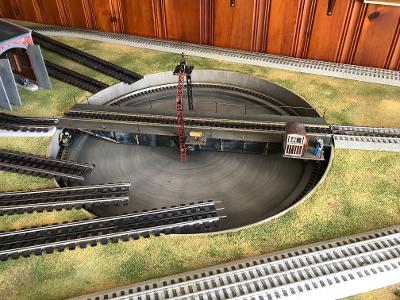
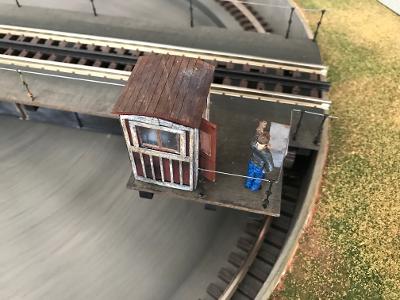
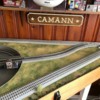
Finally got the bridge done - arch, cab, bogies and railings all assembled, weathered and installed. I also lightly weathered the bottom part of the bridge itself. There is a cabinet, control handles and an additional figure inside the cab and it is lit with an LED light. I'll post close-ups of everything when the project is completed.
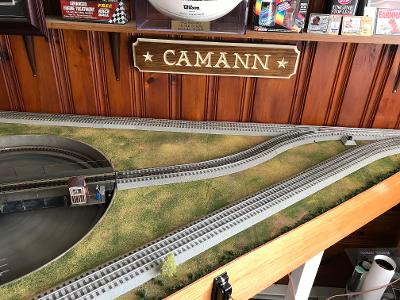
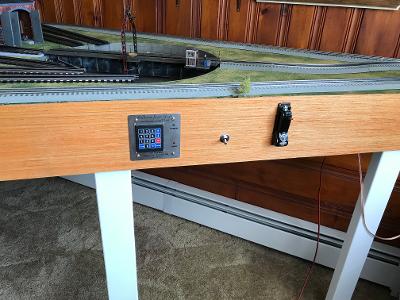
I also installed a new Lionel remote switch in the main for the lead-in track to the TT and then connected Fastrack pieces from the switch up to the TT. The height of the Fastrack on the layout surface was only a little taller than the height of the Atlas track on the bridge. I drilled and chamfered two new holes near the end of the Fastrack close to the bridge and screwed two screws down into the layout ( I used two flat head wood screws from Lowes that were #8 X 2.5") and that was enough to bring the height of the Fastrack rails perfectly flush with the bridge track. I lightly weathered the FT and darkened the center rail to match the Atlas bridge track and Gargarves phantom track I will be using for the whisker tracks. I mounted the remote controller for the switch onto the side of the layout.
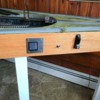
I then mounted the Millhouse River keypad and silver mounting plate to the side of the layout using a drill and scroll saw to carefully cut out the dimensions of the circuit board on the back and inserting that into the edging and then mounting the plate to the edging with nice brass screws.
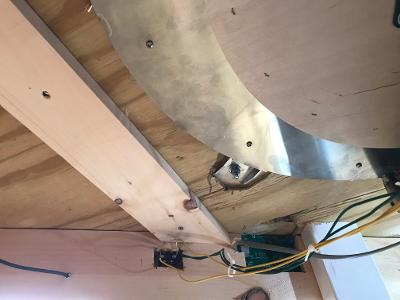
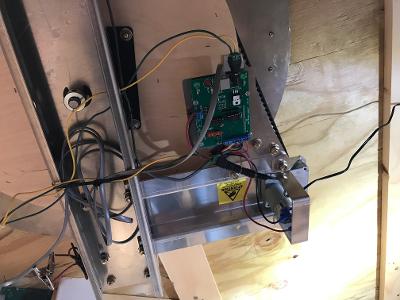
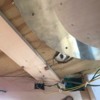
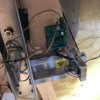
The TT works off a 12v wallwart that runs from the wall outlet to a circuit board on the underside of the TT using a barrel connector. Once you plug in the barrel connector underneath the layout, the light on the keypad and power to the TT is always on. I wanted to be able to easily shut off power to the TT when not in use w/o having to crawl under the layout to unplug/plug the connector in and out every time, so I decided to put a lighted 12v switch into the wiring that I could use to turn it on/off. I could have just cut the wallwart wire somewhere between the wall plug and the barrel connector and spliced the switch in , but I had these neat male/female barrel connectors with wire attachments in my parts bin which allowed me to not have to cut the wire. The female end simply plugged into the existing wallwart male barrel connector; then two wires from it to the switch; then two wires from the switch to the male connector; and then to the board. A little soldering needed, but a neat way to do it.
https://www.amazon.com/Female-...1662928230&psc=1
I then mounted the lighted switch to the side of the layout edging and now I can turn the power to the TT on/off very easily. Since it's only 12v power to the TT and the lighted switch is rated for 12v, I didn't need to use a diode/resistor as I will need to for the whisker tracks which use 18v. Finally, I started laying out the location of some of the whisker tracks - unfortunately, the height of the Gargraves track on the layout surface is about 1/4" lower than the bridge track height, so I have some 1/4" foam roadbed on order to raise it up. In the meantime, I still have plenty to do, like permanently hooking up track power to a distribution panel so it's available for the TT and the whisker tracks.
One of the nice features of the MR Turntable is that you don't have to lay out the whisker tracks in any kind of spacing or separations or angles. You can lay out the whisker tracks anywhere you want and the TT indexing system will line the bridge up to wherever that track is placed on the layout.


