Update 5/18/2021
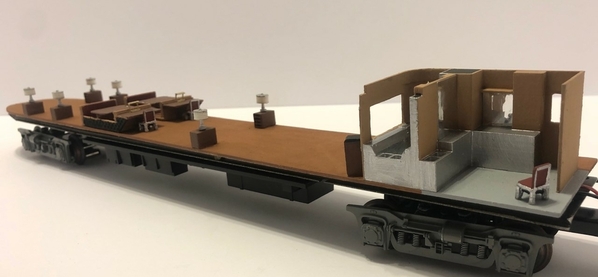
It’s been 2 years since I made this Sun Valley interior out of basswood and times are changing. A few weeks ago my son gave me a 3D printer for my birthday. FYI: I do not know the first thing about 3D printers or how to print things. He said, “Go to the ThingyVerse website and print items for inside your O scale passenger cars”. I searched that website and did not find anything I could add inside my 1930’s ~ 1950’s era passenger cars. After explaining this problem to him, he said “Go to the TinkerCad website and create your own items”. Hmmm, you mean I could just create any object I wanted for my streamline passenger car interiors and print it in 3D? Okay, now we are talking.
I watched a few YouTube videos on TinkerCad. Once I was ready to create, I looked at my different passenger car interiors and picked the Sun Valley Observation car to be redone. The Sun Valley was picked for several reasons.
- My soda fountain/bar turned did look like the original: https://www.gettyimages.com/de...581220?adppopup=true
- I didn't like how my magazine end tables turned out. It was the best I could do at the time using basswood.
- I never could not find the historically correct aluminum chairs to go at the two writing desks.
- I wasn't a fan of my bench seats with attached writing desks. They were rough and I don’t think they look like writing desks at all.
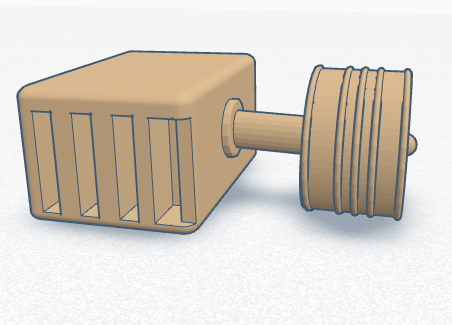
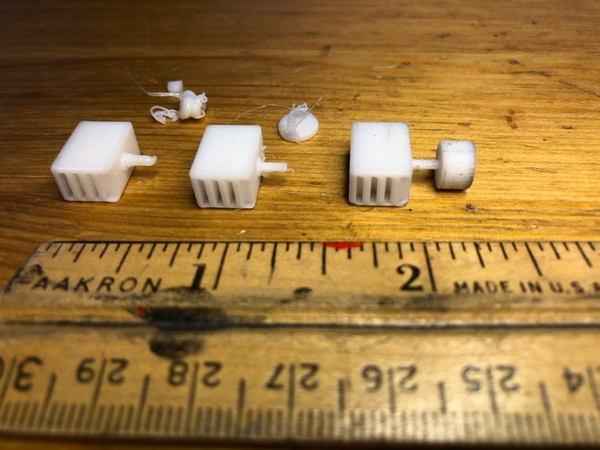
I was ready to create my first drawing using TinkerCad. To use this program I just had to drag shapes onto the workplane and stretch/shrink them to create things. There are lots of different shapes to choose from squares, circles, triangles, etc... You can even pick negative shapes to remove sections of your drawing. After several hours, here’s my first TinkerCad drawing of a 1937 style magazine end table w/ lamp looked like after combining all the shapes together to be a single object. After a few failed prints I learned the end table needed to be turned on its side so it will print correctly on the 3D printer.
The end table looks large in the drawing but these items are really small.
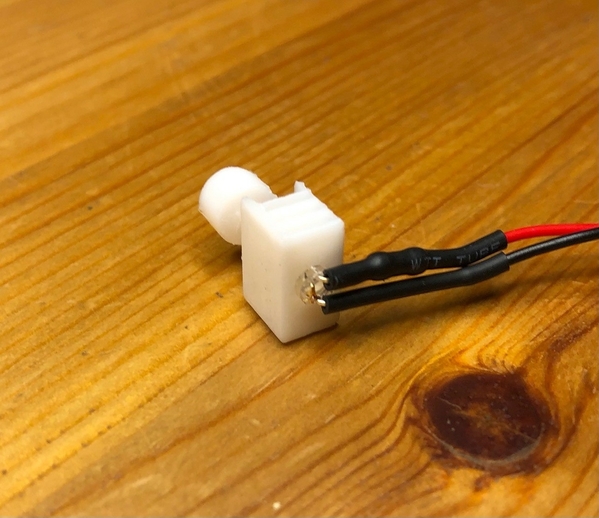
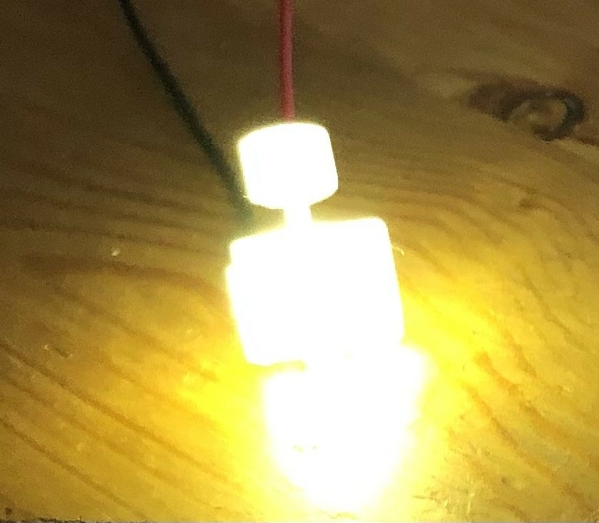
Experimenting more with this new TinkerCad program, I printed the end table with a 3mm opening in the bottom for an LED. My thought was to put illuminated lamps in this observation car. It turned out the white plastic was too thick for the light to shine through so I bought a roll of clear PLA filament.
Nope, way too much light gets through the clear PLA. Even after painting the end table I could not stop the bright light from bleeding through the end table. But it’s fun to experiment and learn.
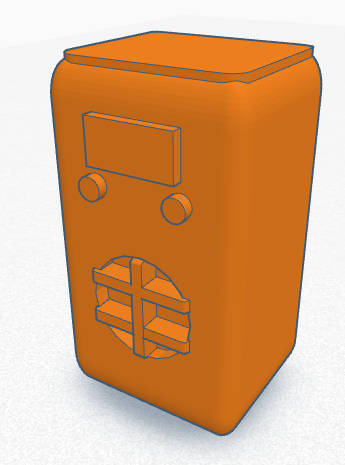
Pleased with my first drawing on TinkerCad, I looked at more old photos of the Sun Valley and decided to try and recreate the 1937 art deco radio that was in this observation car. Again, after a few hours here’s my second drawing. With this object I could 3D print it in the vertical position.
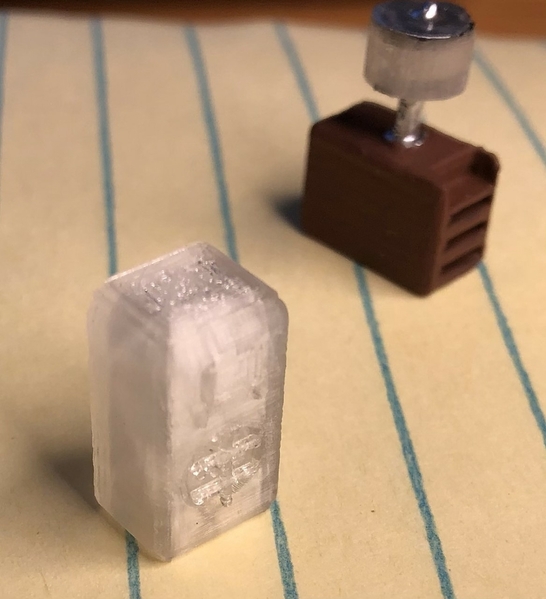
I decided to print the AM radio in clear PLA filament. Then paint everything a brown/wood color except the radio's glass channel selection area. The end result should give my visitor the illusion you are looking into the radio to select an AM station.
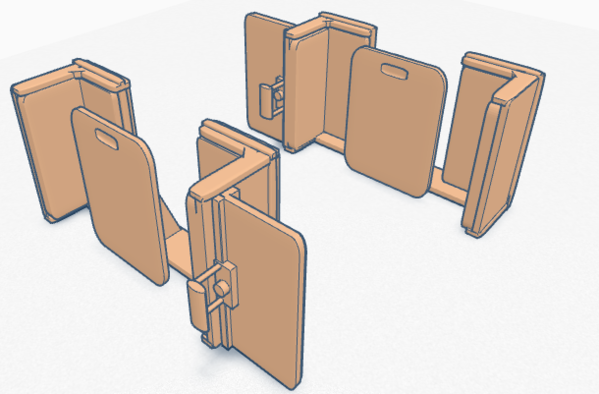
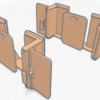
Okay, I’m learning to make simple objects in TinkerCad and having fun. I’m not fast at making these drawings, and I go through several failed versions but I’m learning. Now it’s time to try and recreate the bench seats and writing desks in this observation car. I used a lot more shapes in TinkerCad and this took a lot longer to draw. Luckily I only needed to draw one set of bench seats below, then I mirrored the image and flipped it over in TinkerCad. Again, I had to combining all the shapes together to be a single object then turn the drawing on its side so it would print correctly on my 3D printer. Since I’m using a basswood floor that is elevated for the trucks power wires I had to make the bottoms of the benches shorter than in real life. My favorite part of this miniature recreation is the small brass lamps on the writing desks. They are the exact same lamps with built in pencil cups that are shown in the original photos inside the Sun Valley.
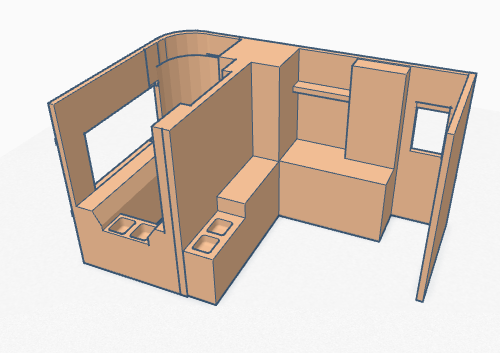
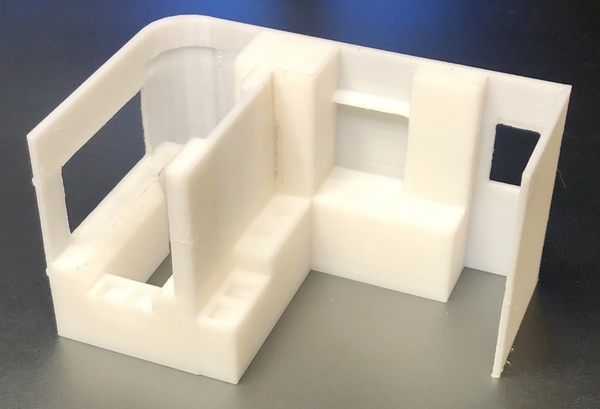
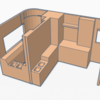
Finally, it was time to tackle that Soda Fountain/Bar. As a beginner it takes me a long time to draw these more complex items but I feel these 3D printed creations are turning out better than I could ever make using basswood and styrene. The small sinks were made by dragging in a negative shape on TinkerCad.
The area on the left is the Soda Fountain/Bar and on the right is the barber shop.
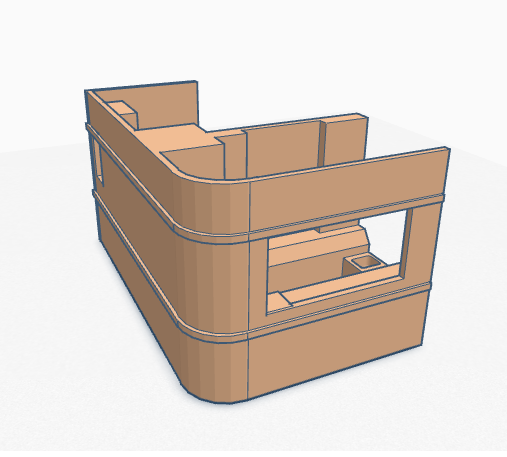
I wanted the outside of the Soda Fountain/Bar to match that classic 1937’s art deco look shown in the original black and white photos inside this car. Those old photos it showed it had a rounded outside corner, two aluminum trim strips with wood grain paneling at the window level. Here's the drawing:
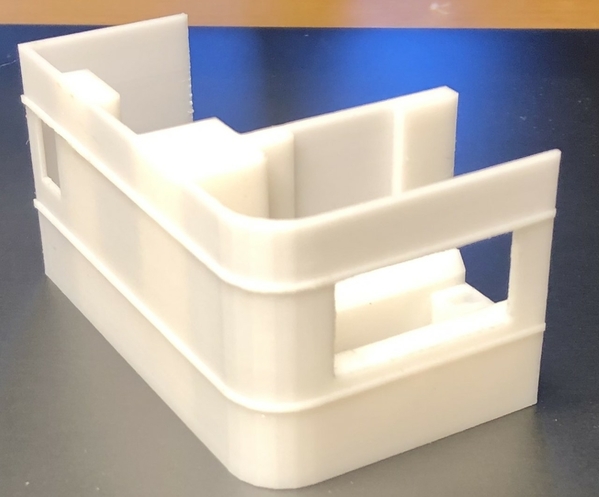
Here's the printed version:
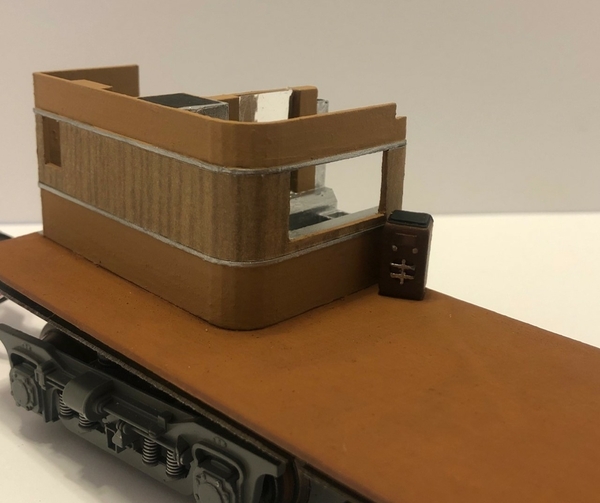
Here’s what it looks like with a little tan paint, wood-print paper and glued in place.
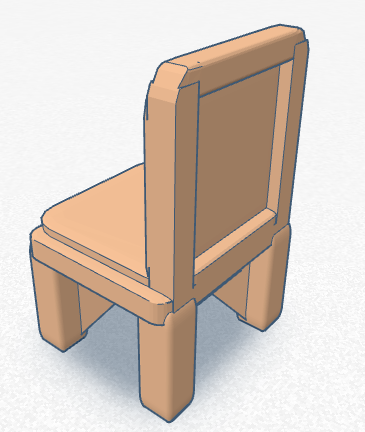
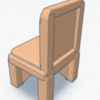
The three art deco aluminum trimmed chairs used inside this car had a difficult time printing. I drew them several times and each time my 3D print failed. In the end, I made the aluminum legs really thick to get the chair to print correctly. It’s not really a problem, because nobody can see the chairs legs anyways with the passenger car shell in place.
But what my visitors can see looking into the windows are those neat looking brass writing lamps on the two writing desks and the front of the Soda Fountain/Bar.
This was a fun first project with my new 3D printer. In my opinion, 3D printers are a good tool for O Scale modelers. I still have lots more to learn about drawing objects in TinkerCad so I can get good like the other members on this forum. Also, I have to work on dialing in the settings on my 3D printer. As an example, the lamps on my magazine end tables did not print as clean as I wanted. So, I cut the lamps off and went back to using my original ScaleCityDesign metal lamps and glued them on top of the 3D printed end tables. The next step in this project is to reinstall my original passengers and lounge chairs.
Thanks,


