Thanks Frank and Pete!!!
To answer Franks question…first of let me say I really think it’s great that you wanna see more of it. And you will for sure! When I decided to start sharing my project I put a lot of thought into how to go about it. I settled on documenting my journey..step by step…through the final phase of my layout over the next four-ish months all the while sharing..scene by scene…what’s already done. Some scenes are stand alone but most are a chapter in a bigger story. I plan to mix them all in along the way on scenery Sundays. Starting tomorrow!
Thanks again guys!
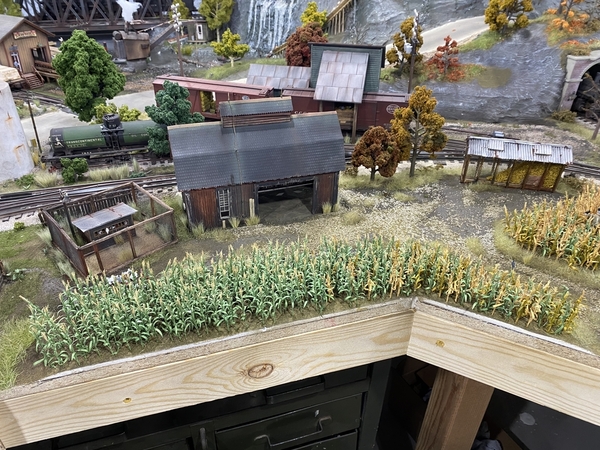
Good progress was made on the farm today and I feel like it’s fitting in. Here’s the rundown.
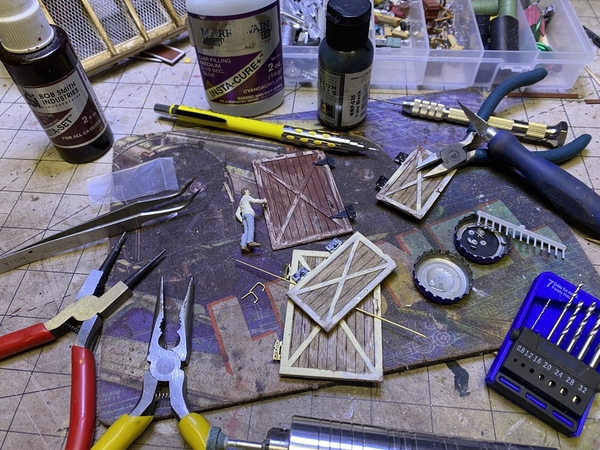
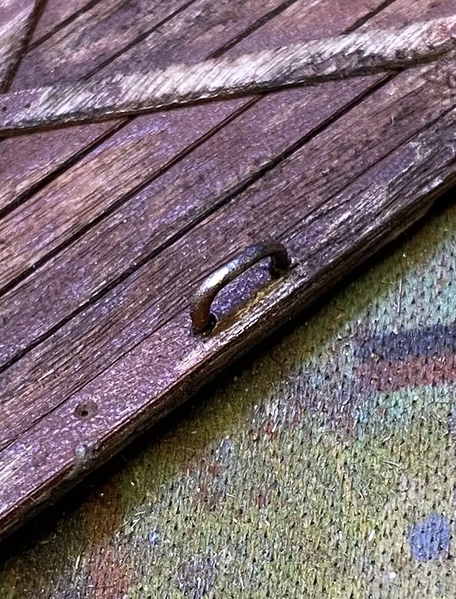
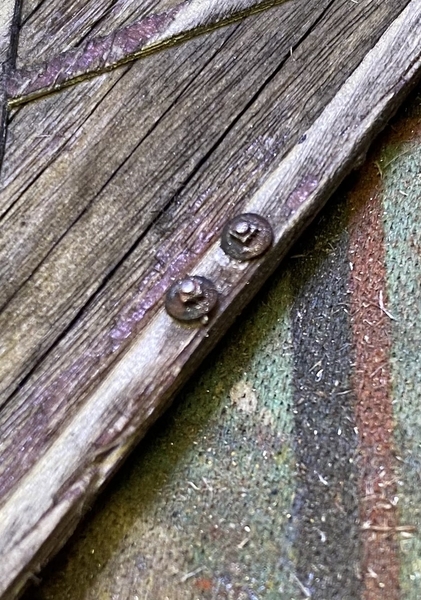
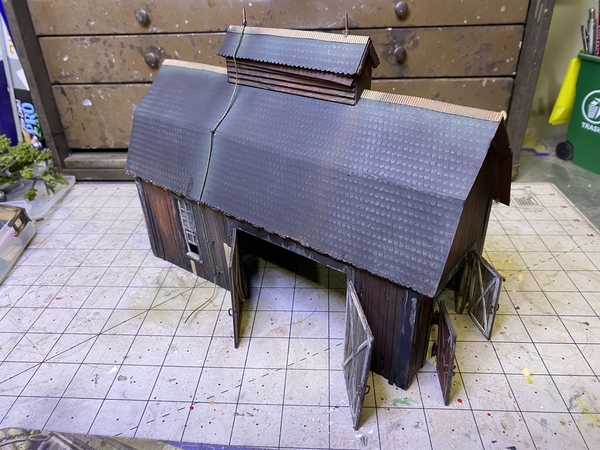
I started the day making door handles. Round brass bent with wire bending pliers superglued into holes drilled with pin-vice. I used a figure for height. I then backed them with square bolt heads from Precision Scale. Sorry I don’t know the size on the brass or bolt heads but I’ll try to get that information for the future.
Tried to simplify with a big pic of everything I worked on and the supplies I used. Hit me with any questions.
Couple things to mention:
Broke the wagon axle while I was whitewashing it. Glueing somethimg like this back together just faced up will never hold. A pin-vice and a piece of brass and it’s even stronger.
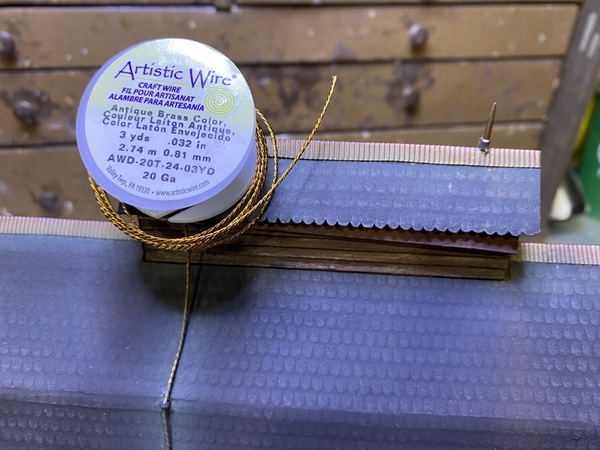
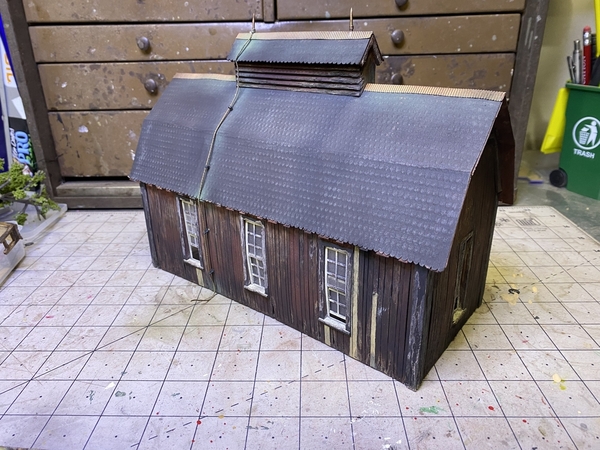
The cable for the lightning rods is from the jewelry dept at hob lob. Every piece of rope chain or cable I use is from there. Super affordable! Off sub but worth mentioning is that almost every crumb of rock or sand on the layout is for aquariums…including all ballast, most roads and also coal in hoppers. It’s literally pennies on the dollar! PetSmart…Petco…and WallMart all have. The rods are again a piece of brass sharpened with a file and attached to the cable with super glue and a little ring of heat-shrink. Cable is held to building with rings and stanchions fron Precision Scale.
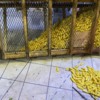
The corn is just plain old rice out of the kitchen cabinet. I just put it on a coffee can lid and shook it around while spraying it yellow with the airbrush.
I also added a pic of the colors of powder I used weathering.
Well…that’s about it until tomorrow’s adventure! Lights and equipment probably.
Hope you enjoyed…and thanks for lookin!


