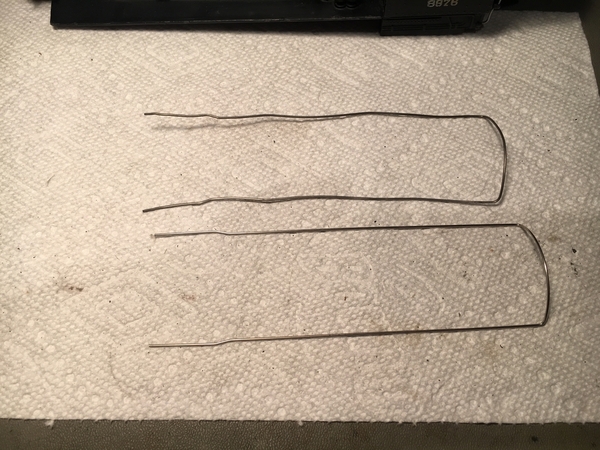
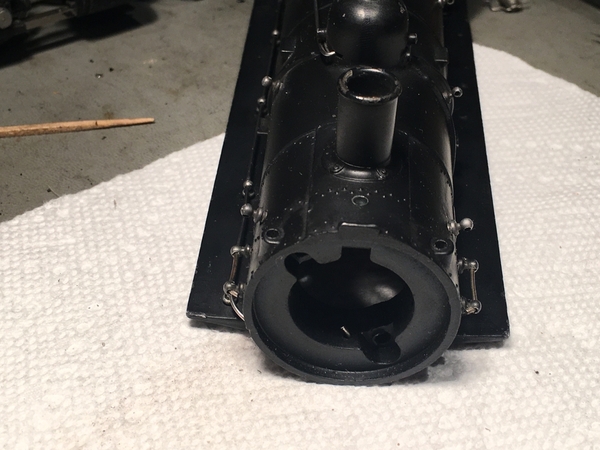
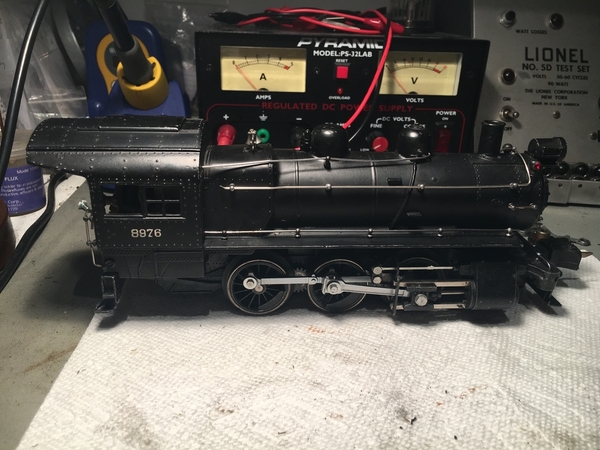
After getting the machinery running I turned my attention to the shell to see what could be done to improve it’s appearance. Someone had spilled what looked like glue on the right side of the boiler. I used a swab to wipe the spot with mineral spirits. It did not soften the glue, but after a minute I was able to peal the glue off with the help of a shape knife. The railings on the side of the boiler were bent up, which is common on a 227. I decided to change these. I have never been particularly successful at straightening the railings and removing then allows for bettering cleaning of the boiler.
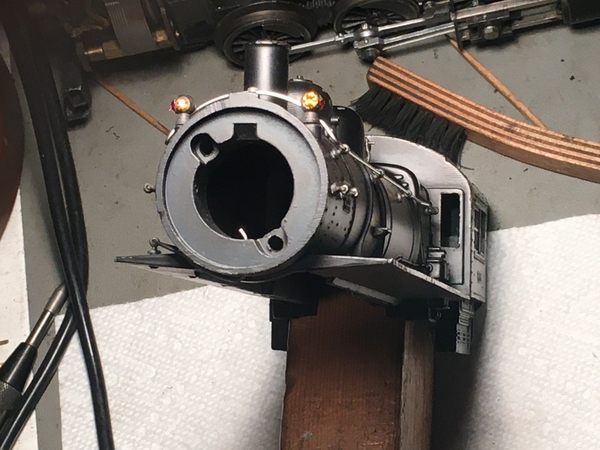
Removing the railings is a bit complicated. Both the headlight and the class lights are in the way. The headlight can be removed by removing the boiler front. It is held in with two screws inside the boiler, which requires a long #1 Phillips screw driver to remove them.
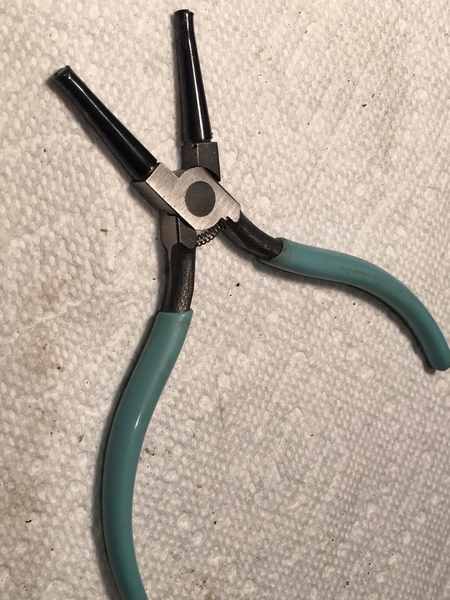
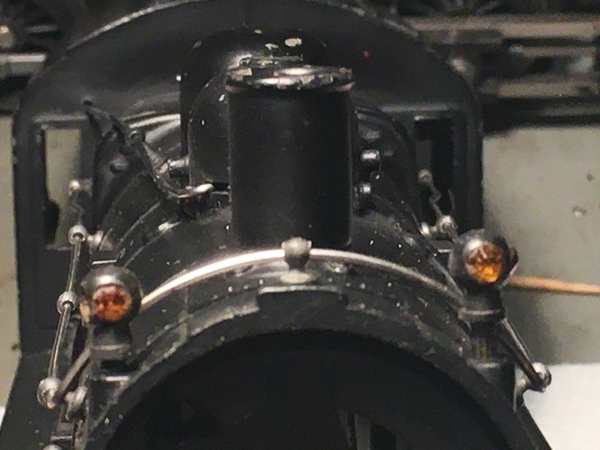
Taking out the two class lights is a little more complicated. They have a serrated shaft that is pressed into a hole in the boiler shell. To get them out I use needle nose pliers with round noses. I think they are designed for bending axial leads on components being instilled into drilled circuit boards. I put shrink tubing over the noses that extended beyond the ends. The pliers clamp the class lights at the neck with the nose on the boiler shell. Then the the class lights can be levered out by moving the pliers up the boiler a little each time the light comes up a little.
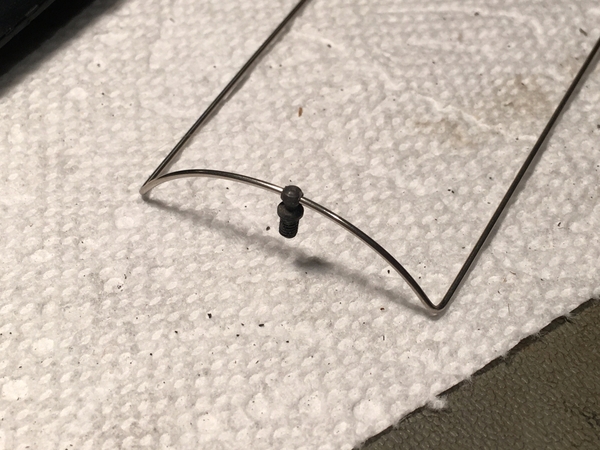
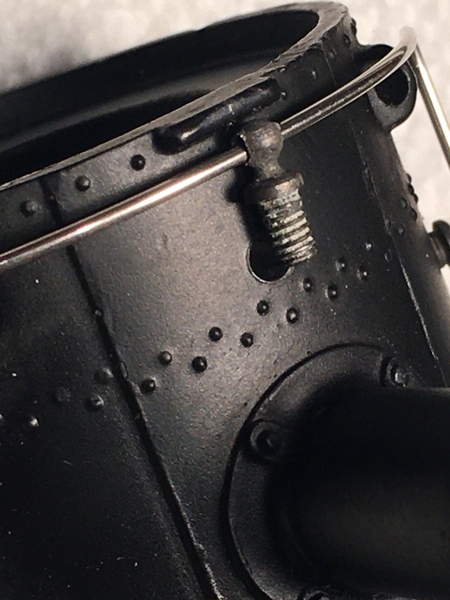
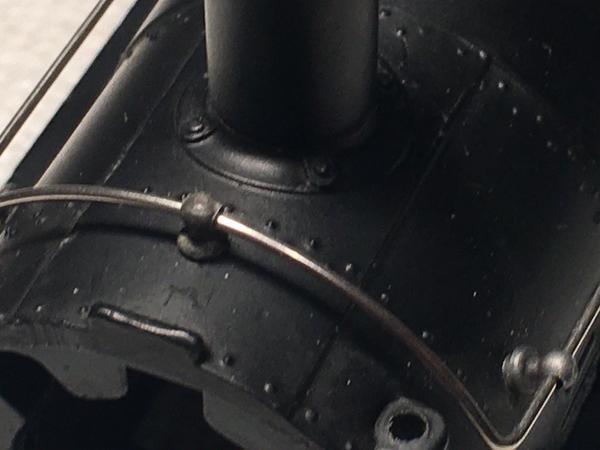
On a 700e the hand rail stanchions go into holes drill through the boiler shell. Small nuts are applied to the stanchions on the inside the boiler shell. On the 227 the stanchion holes are drilled into the boiler shell and the holes are tapped. The stanchions are screwed into the holes, then unscrewed enough to get the hand rail holes to line up. Installation of the hand rail locks the stanchions in place. There is one stanchion on top of the boiler right at the front. That hole is a clearance hole, no threads. That stanchion has to be forced into place , as the side stanchions are preventing the hand rail from lifting up. This stanchion has to be pried out to release the handrail.
After the boiler shell is cleaned and the new handrail is reinstalled, the class lights can be reinstalled. They are set in place trying to line up the serrations with their previous grooves. The class lights are tapped in place using a wood block and hammer. I do not replace any missing rhinestones until the class lights are reinstalled as the reinstallation process sometimes knocks a rhinestone out.
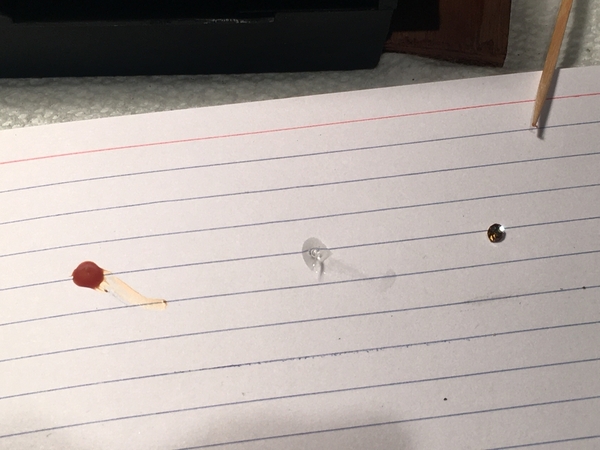
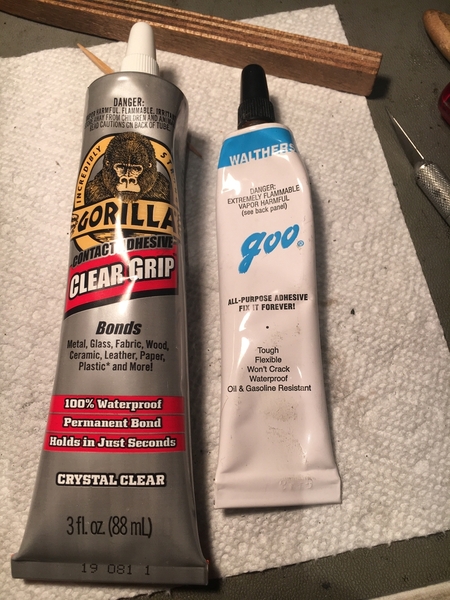
Rhinestones come our because the slivering comes off the glass, not because the glue lets go. With the slivering off the glass the rhinestones have to be replaced, not reinstalled. I use a pointed Dremel grinding tool to clean out the hole. Then I put a drop of glue and a drop of Walters Goo on a index card. A toothpick is used to put a tiny amount of glue around the edge of the rhinestones hole. Then a tiny amount of the Goo is applied to the other end of the tooth pick. This is used to pick the rhinestones up and set it in place. The Goo is easily cleaned off the rhinestones after the attachment glue has set.
I hope the following photos help clearly this.


