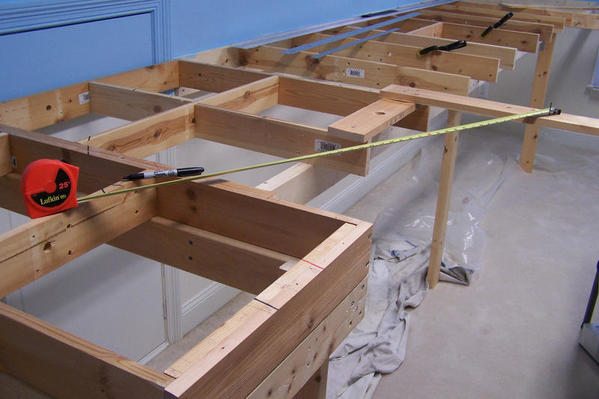
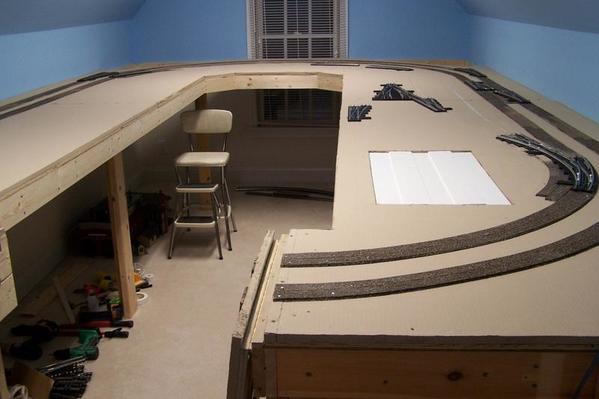
A homespun version of what Mike CT is doing above for precision custom curves: I have always used a spare tape with a drilled hole at the 1" mark for the 3p nail at the pivot point for swinging the radius to the center rail for installing flex track. The tape has holes drilled at the desired curve arc dimensions for marking with a Sharpie. For example, in the photo below the black mark on the joists is at the 43" tape hole for 084 (42" R) and the red mark is at the 37" hole for 072 (36"R). I mark the joists to enable extending rough wiring, and placing distribution strips prior to cover up for: connecting rail power at selected locations, for Tortoise motors, switchstand lights and lighting for planned structures. I follow the same procedure on the layout surface for installing split cork roadbed to the marked centerline and bend the track center rail to the cork center as I advance from trailing end to leading end, removing excess ties and installing screws every 8-9 ties as I bend, fasten and drive up the rails for a loose fit at the trailing end. Then I ease the tracks inward at the trailing joint until center rail at the track joint is precisely over the cork center and install screws. Then lightly drive up rails but not jam tight. How to achieve a perfect curve at the track joint.


OGR Forum Supporting Membership Required
Access to this requires an OGR Forum Supporting Membership
OGR Forum Supporting Membership

Help support this forum with an OGR Forum Supporting Membership.
You will be able to watch the videos in the INSTRUCTIONAL VIDEO FORUM!
A one-year OGR Forum Supporting Membership is only $12 per year, so sign up now!
OR
Access the ALL the OGR VIDEO FORUMS AND over 300 back issues of OGR
with a DIGITAL SUBSCRIPTION!
$12.00 per 12 Months (plus tax if applicable)


