I decided to build a separate post for the Twin Pines Railroad. This continues to be a work in progress. A BIG THANKS to everyone who contributes to this forum. I've learned a lot and enjoy seeing how everyone approaches the hobby.
My train room is in a basement space with the available layout space of 9 x 13. Walls are at the top and left and right sides. The layout can run three trains separately or a single train with access to all rails. I am not set on any particular period as I like to run both steam and diesel. For now I am a "looper" who is trending towards scale 3 rail.
For the most part I have some of the BNSF merger family and bits of Canadian National (think Illinois Central and ICG) and UP/SP. Outliers are a Pennsylvania GG1 and the NW 611 steamer. I grew up in Chicago and saw most of the larger road names running in the 60s.
All I can say is, what I started with is in no way similar to what I have now and I expect that my next layout will be different that what exists now.
This is a "not quite" current Scarm image of the basic layout. I've since added another passing track along the top.
This shows the layout as it basically is today. I still need to add the switch labeling to the new switches. The black track serves as my staging area / commuter station.
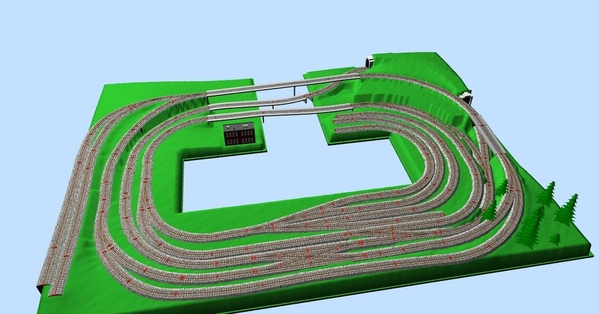
This Scarm 3D gives an idea of the elevation changes on the layout. Its hard to get enough clearance for crossovers with such limited distance. The drawing is missing the added passing track. I can reach most everything with the open center. There are pop ups at the corners and another at the top right. The bridges are either swing out of lift up in order to access the center, In an emergency it's a "dive under" as the table height is only 32 inches (will never do that again). The double crossover is at an elevation of 4 inches (my zero elevation) and track either rises to about 7 inches or descends to 1 inch.
I realized I did not have enough yard or staging area and grabbed real estate wherever I could. Yes this makes for a track heavy layout.
An early photo of the rough layout. Lots changed after I picked up a couple of engines which needed 072 minimums. Previously, I built to 042 minimum to handle passenger cars. Best I knew at the time. Notice the reversing loop in the foreground. There is a wye at the bridge which provides two separate loops for operations. I cannot operate in the middle, I get dizzy spinning while watching the trains loop around me.
Torn apart and rebuilt, with the help of Scarm this time to fit the 072 curves. This is where I wished I had never laid down the plywood deck. It made doing the track revisions much more difficult than it needed to be. But I was not going to start from scratch. Another mistake? - I could argue either way.
Beginning to be happy with this layout, but the lack of staging would arise once more and end up in more tweaks.
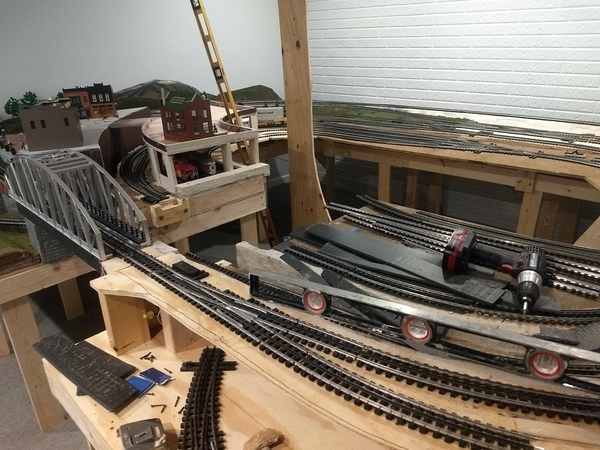
So after starting scenery and ballasting track, I decided I could get another 5 inches in depth to the layout for another long passing track along the back wall. Here I go again ripping up sections of my layout. Work in progress. Note the added track under the power station. Nice because it gave me more modeling space for a town above it and reduces the amount of visible track.
More to follow ... Jeff


