


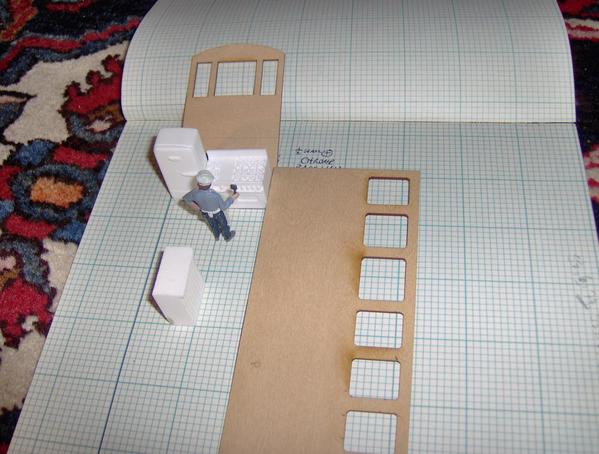
Now we get down to business! Of course it was now about 1:00 AM Friday (or should I say Saturday?) when these photos were taken. Here's Chef Chuck Wagon checking out the spacing in what will be his new kitchen built in one end of the diner, just like the prototype in Massachusetts. You can see some of the fine detail on the stove top in this view and the next.
The kit looks simple but the instructions aren't so great. In one construction drawing, Whistlestop shows the diner sides extending beyond the diner ends. So if it was a sandwich (yes, I really did write that), the diner sides would be the bread and the diner end with the appliances would be the filling. In another drawing, Whistlestop shows the short ends as the "bread" and the long sides as the filing. Make sense? What all this means is this: The two appliances side-by-side fit best when the sides overlap the ends. From the instructions, it isn't clear which the manufacturer intended because they show both (argh). Constructing the wall joins in this manner (with the sides overlapping the ends) will shorten the diner by about one tenth of an inch. However, because I plan on cutting off the rounded ends of the roof, as shown in a post above, it shouldn't really matter. My roof line will be a little shorter, but so will the length of the building.
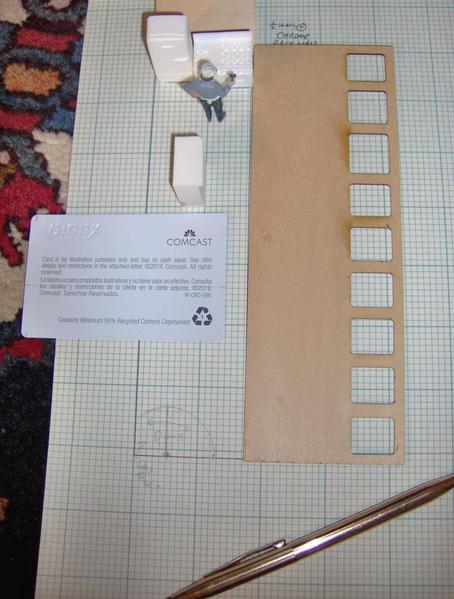
In this next photo, you can see a chip in the lower corner of the resin counter provided with the kit. I also finally measured the windows last night. It was a little worse than I feared. Two, not just one, windows were oversized. The measurements are seven windows are .57" wide, one is .6" wide, and one is ("Super-size me"), a whopping .725" wide. Once I figure out how to create stained glass sash windows, we'll have to see how problematic these outsized windows are. At least the left and right sides share this anomaly. The second and third windows from the top are the .6" and .725" ones, respectively. My plan is to place them at the back of the diner where the kitchen is. That way having them covered up with blinds or something may make visual sense.
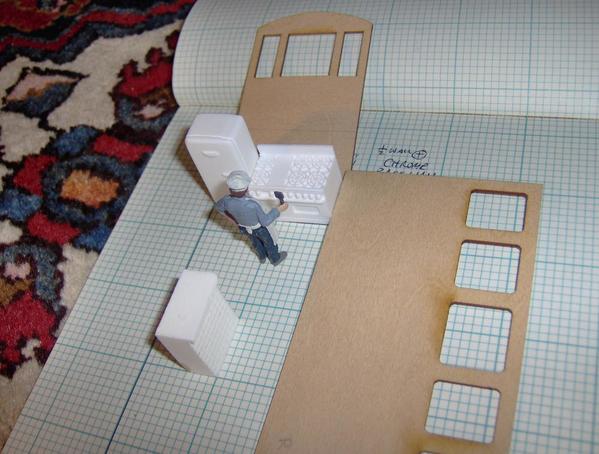
Speaking of windows, I also spent some time on the internet last night looking for photos of the backs of refrigerators. I want the back to show through the window on the left. In particular, I hope to have some condenser coils visible. The centre and right windows will be covered by the chrome backbar.
In the photo below, notice also the detailing on the counter front. It looks like it's trying to simulate tile. In my next post, we'll see some absolutely awesome ORIGINAL Worcester Lunch Car tile work from the 1930s. 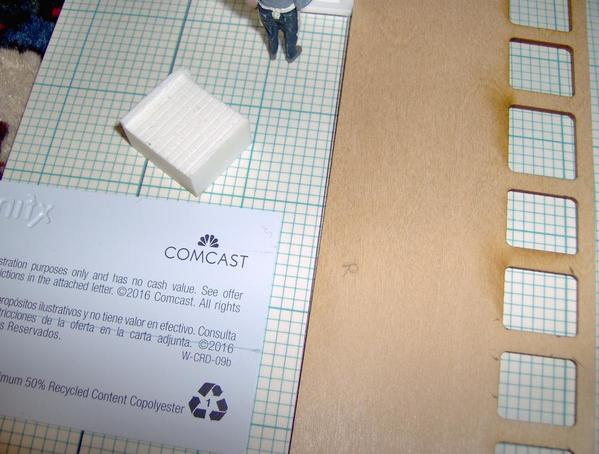
I keep getting these foolish plastic cards in the mail for some promotion that I have zero interest in; however, I have been saving them. I don't know whether they will be suitable for gluing and modelling, but here's one that I plan on cutting and adding to the side of the counter to give it a try. This will 1. Hide the chip in the resin and 2. Provide space for Chef or Roxy the waitress to stand behind and serve up pies or wisecracks. You can also see that I've added the door's full swing arc to the drawing. In the prototype, the door opens inward and I don't want to have it banging into some customer trying to enjoy their morning coffee and newspaper:
Coming Up Next! Real world research!
Tomlinson Run Railroad


