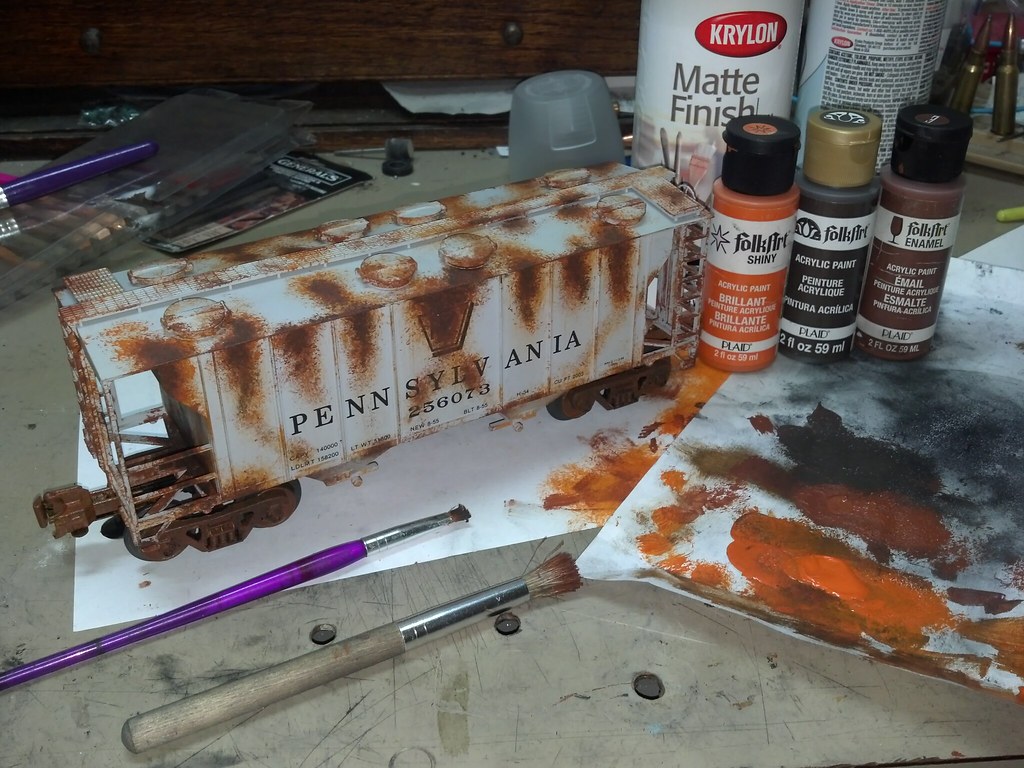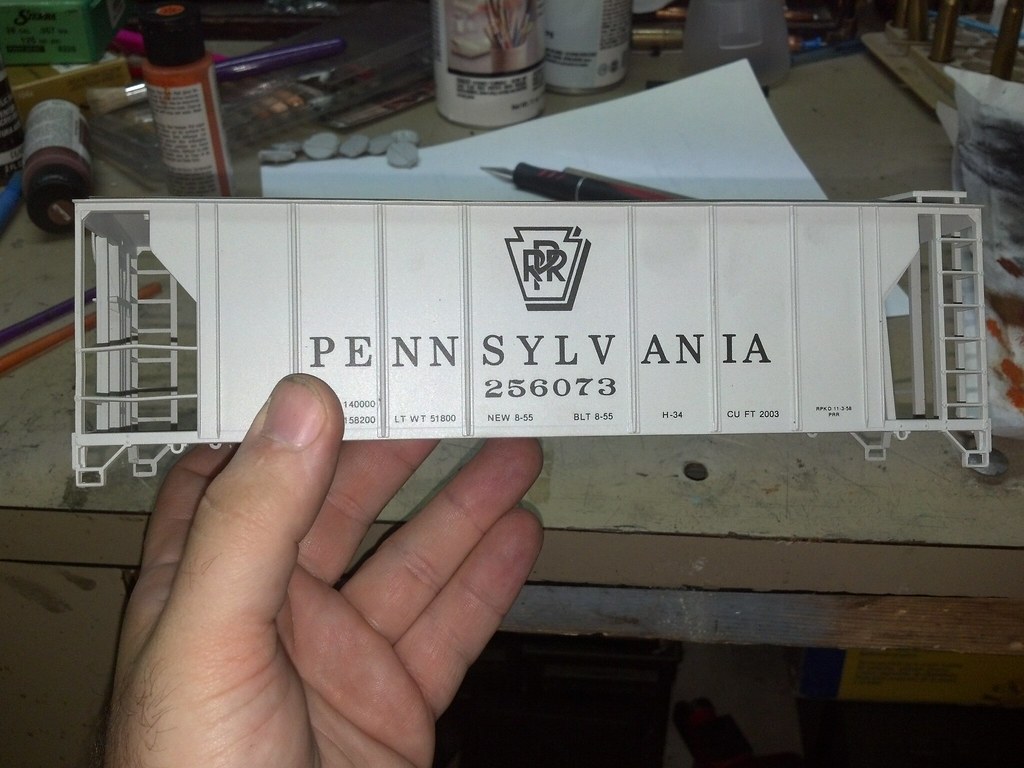
I start with a coat of matte clear spray.
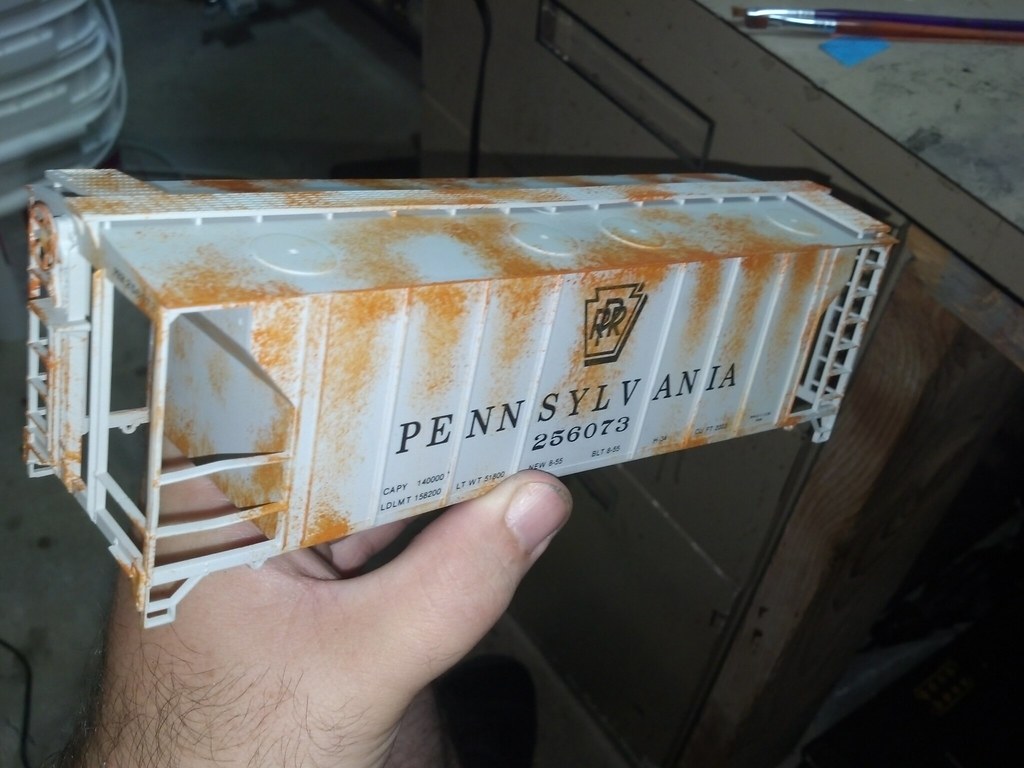
The first step in the rust is the orange craft acrylic. It's a dry-stipple brush technique.

The second step is Burnt Sienna craft acrylic. It's a little more wet, and it doesn't completely cover the orange. You want it darker towards the center of the rust spot, or the edge as rust seems to build more on corners. You want the stipple technique to start building up texture.
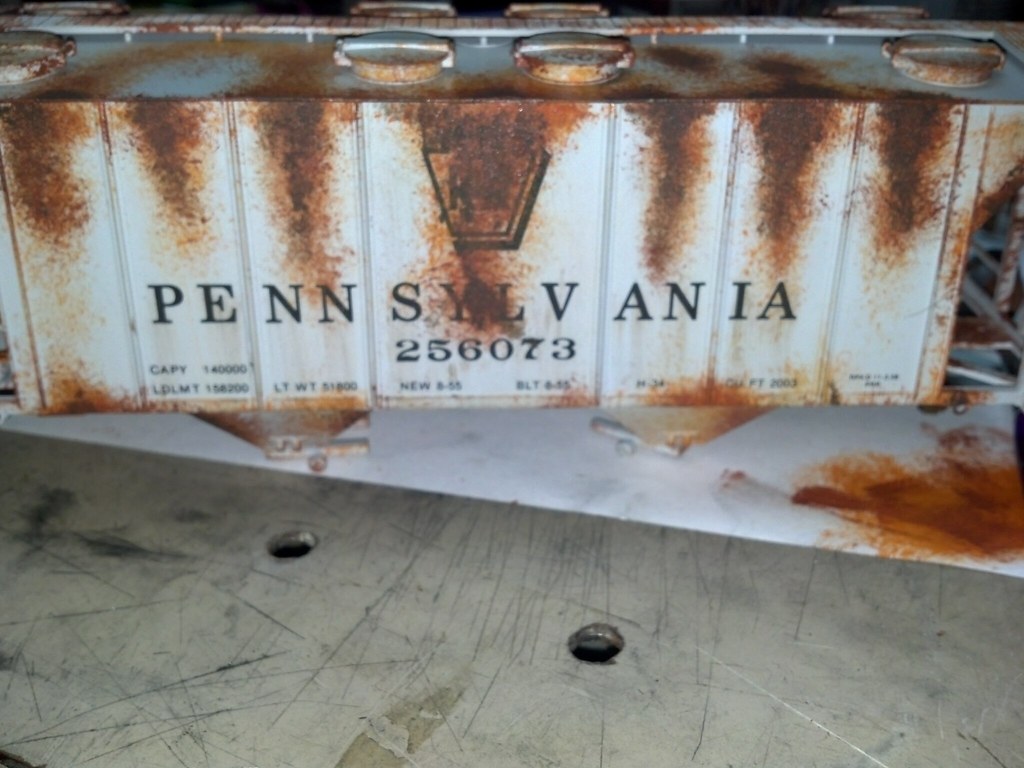
Third step is burnt umbre craft acrylic. Again it's a little wetter to build texture, but it's only in the center of the rusty spots. If it gets too dark you can go back and add more burnt sienna on top to get the look you want.
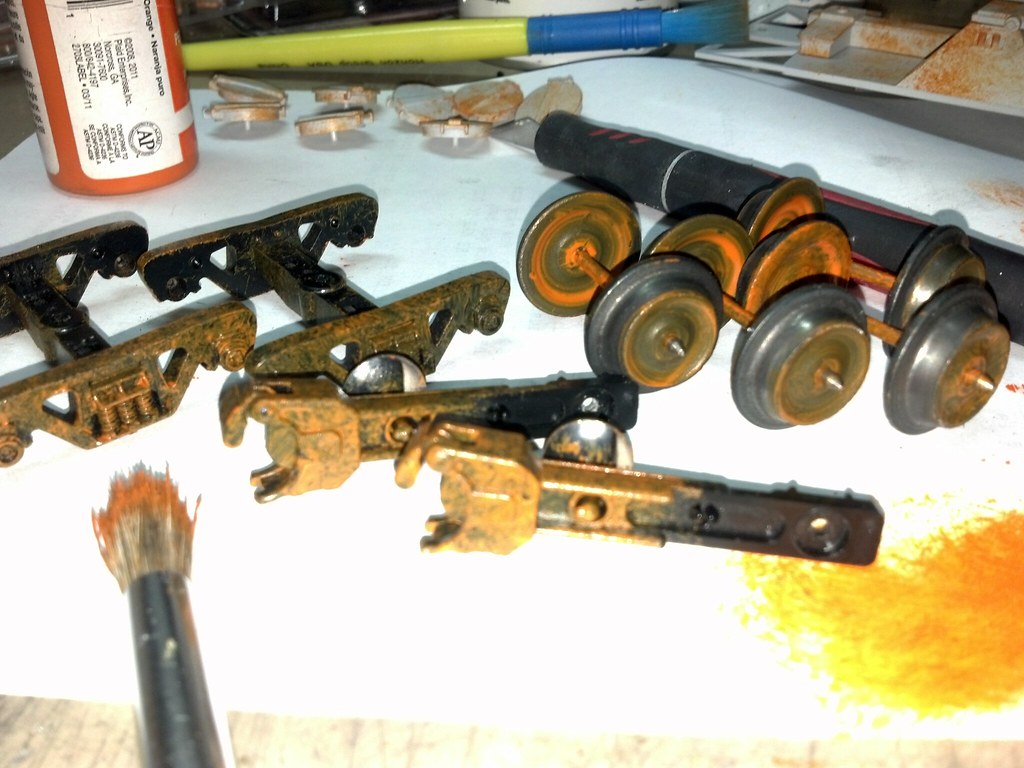
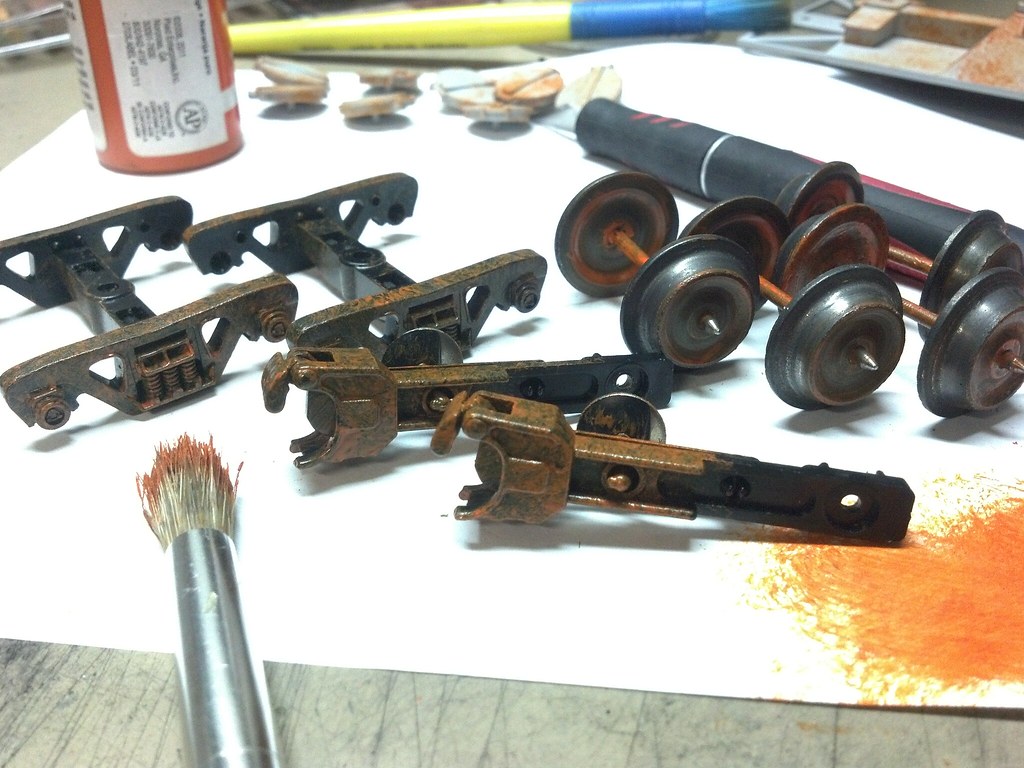
For the trucks, couplers and wheels it's the same order, but you can lay the orange first coat on a little thicker.
There's the burnt sienna added. Don't lay it on too thick in the working surfaces of the coupler (although in my experience the acrylic paint will just flake off before it fouls the operation of the coupler. Obviously you don't want to paint the flanges of the wheels, either. (A lot of people are squeamish about paint on wheelsets but it's never caused me any problems.)
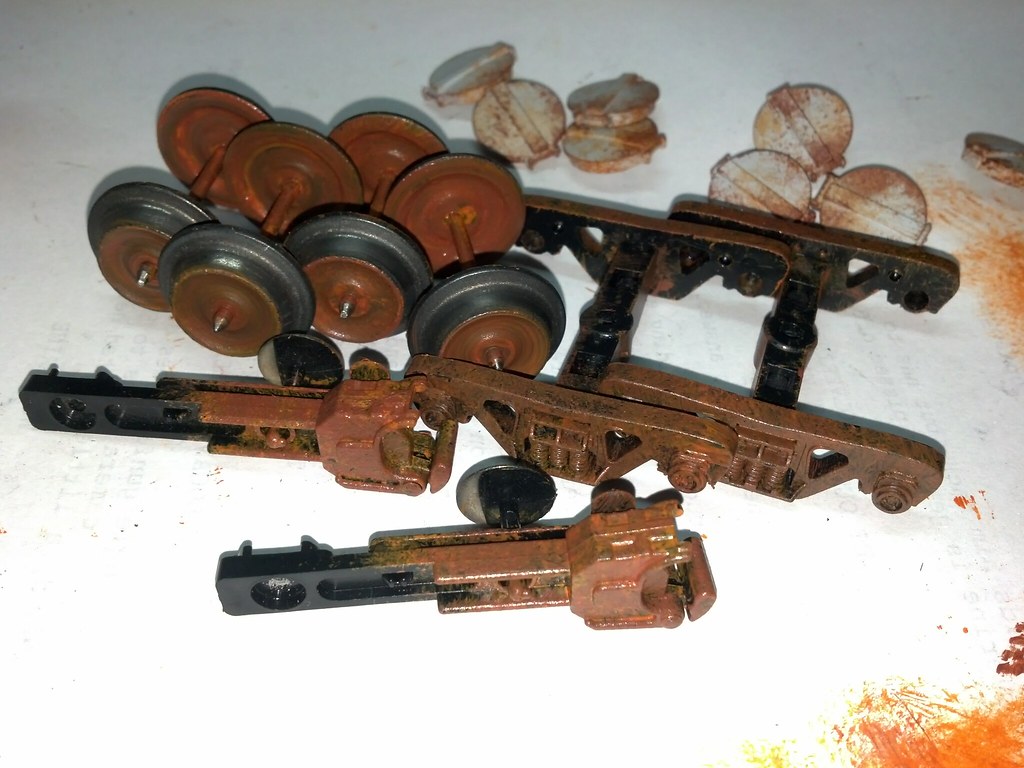
And there's the burnt umbre.