Biscuit,
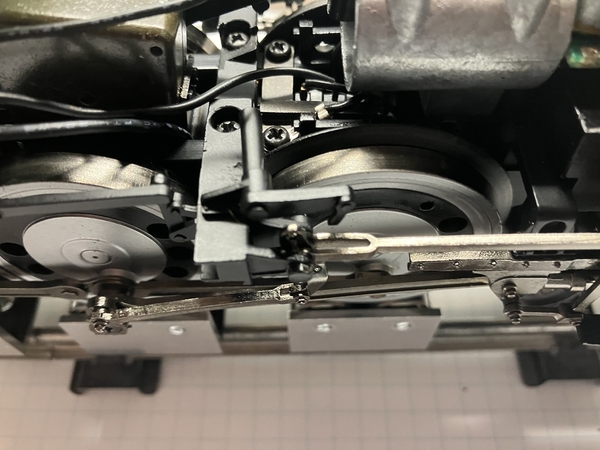
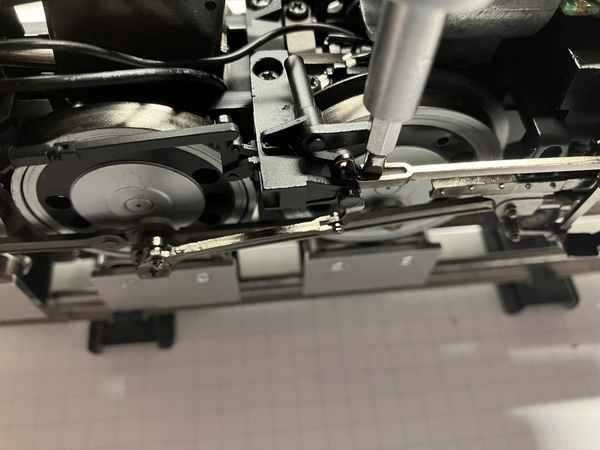
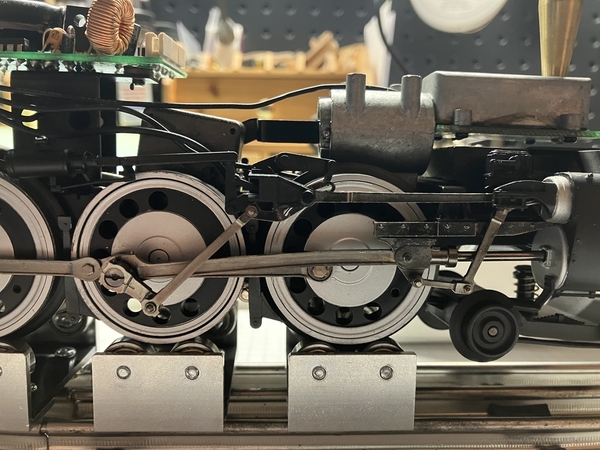
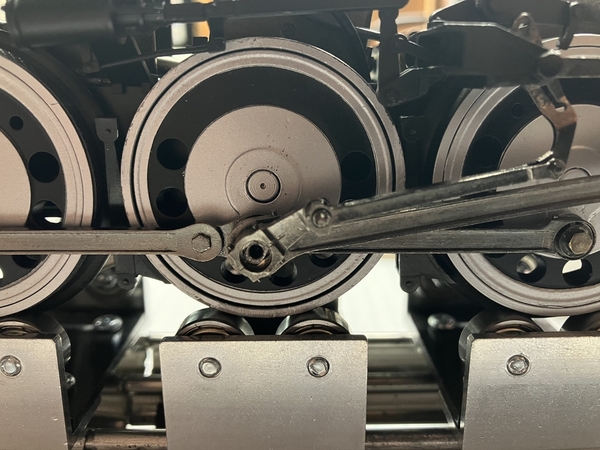
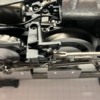
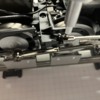
See the photos below. First photo shows the expansion link in the center, with the radius rod extending to the right - the radius rod is forked to surround the expansion link (this is what I was calling the yoke). As the expansion rod rocks back and forth, it was hitting the bottom of the radius rod causing it to jump. I just inserted a flathead screwdriver and gently spread the yoke apart until the expansion link moved freely. It only needed a fraction of a mm more room.
John,
Thanks for the common sense - I feel a little stupid not realizing that was just a screw. Thought the slot was part of the side rod detailing, lol. Screw came right off.
Norm,
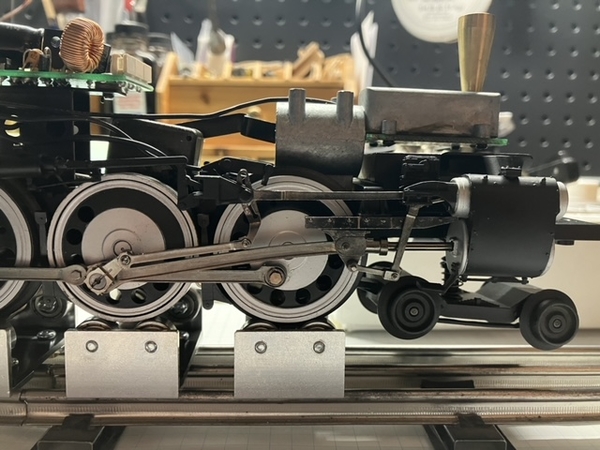
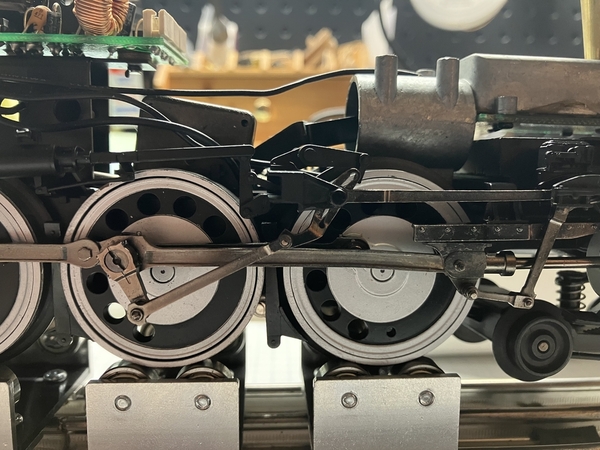
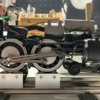
Yes, the eccentric crank was loose - it had about 30 degrees of rotational movement. Some photos below before I removed the screw.
Proper position of the crank (give or take):
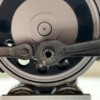
At this point in the rotation, when the engine is moving backwards, is when the crank begins rotating out of alignment. This makes sense - at this point when the engine is moving backwards, the eccentric rod is putting a clockwise moment on the crank, and that is direction in which it is loose. If you compare this photo to the one above, looking at the notches in the crank vs the pin, you'll see it has moved slightly already:
This is where the valve gear jams - the eccentric crank has dropped to a point where, as the wheel continues to rotate counter-clockwise, it forces the eccentric rod up into the bottom of the reverser detail.
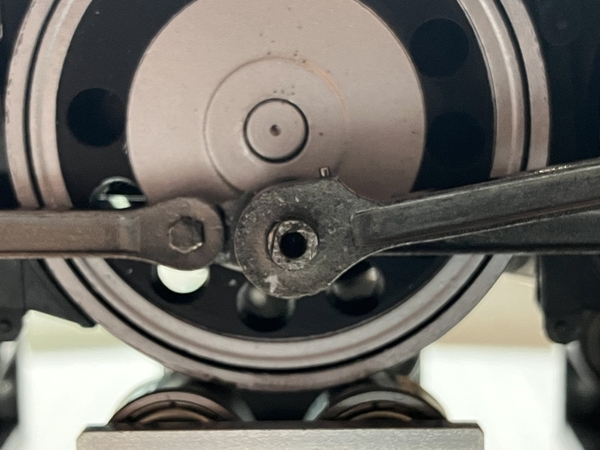
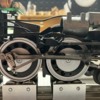
So, here is the situation after I removed the screw. The eccentric pin looks mostly OK - a little wear on the edges of the flats, but not bad.
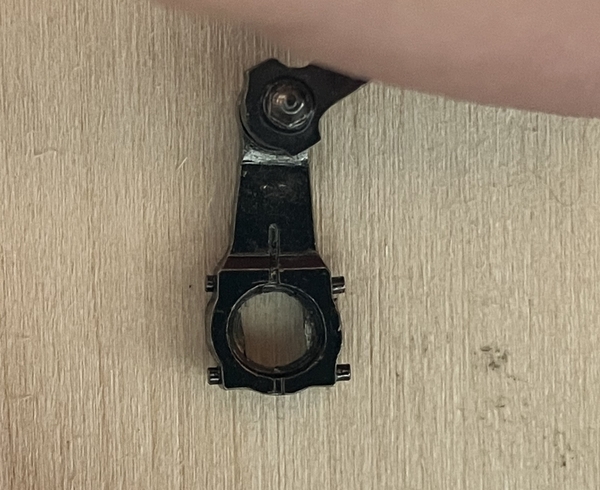
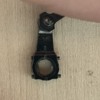
The eccentric crank on the other hand is bad - a bit of damage. The keyed slot is now hourglass shaped, which explains the limited radial movement it has.
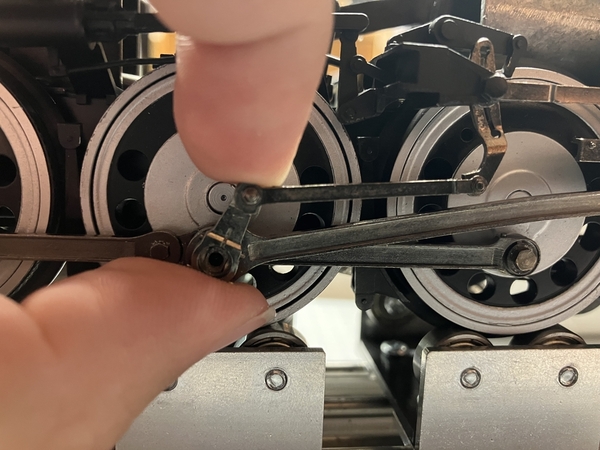
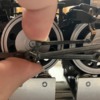
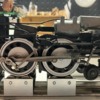
Here is the position the crank is supposed to be in:
And what happens when I remove my fingers:
I think I have limited options here.
1. Try and find a replacement eccentric crank assembly (odds are probably slim to none, unless someone has a junked beyond repair I-5 out there).
2. Add a very small lockwasher under the screw to hold the crank in place radially (don't think it'll work even if I could find one small enough).
3. Hold the crank in the proper position and apply a thread locker, or some similar adhesive.
4. Create a thin plate with a good keyway, and glue it to the back of the crank. Could be machined out of brass stock, maybe 3D printed in a metal material. Based on the other bent valve gear pieces I'm assuming a single big shock did all of this damage, and the forces this would see normally are very small.
I'm open to any other ideas as well.
~Chris


