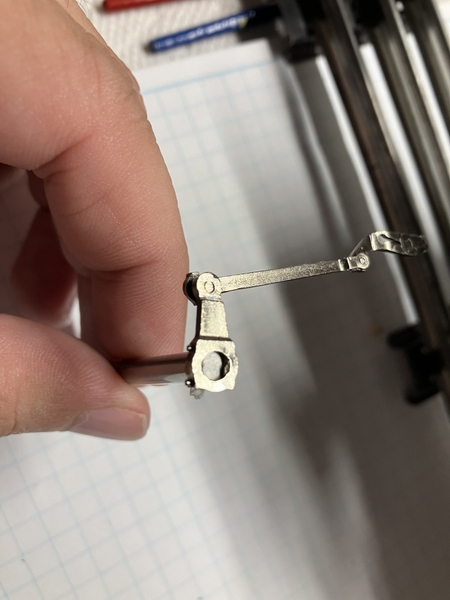
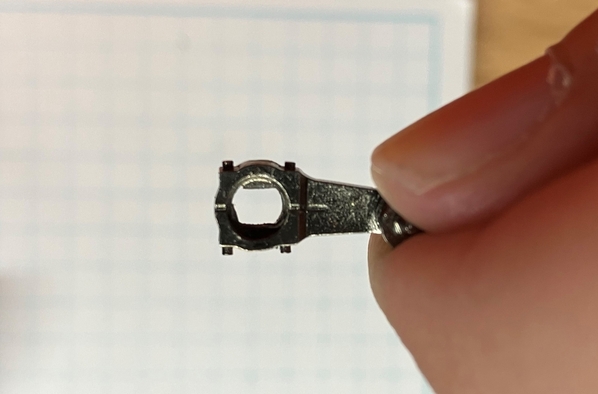
Thanks John and Norm, I ended up trying both Lab Metal and JB Weld.
I tried the Lab Metal first - I've used JB Weld in the past and found it difficult to sand, and my hope was the Lab Metal would be easier. It's a thick putty, which I found easy to control, and on a test piece it was by far easier to sand. I then took a pin gauge just smaller than the diameter of the counterbore in the Eccentric Crank, covered the end in wax paper, and pressed it into the crank where the screw head would normally sit. This would keep the Lab Metal in the area of the flats, and out of the area of the counterbore to save sanding effort later. I the doped the Lab Metal in the areas needing to be built back up.
That all worked, and after letting the Lab Metal cure I began sanding the flats back in. It all came out in small chunks, leaving me with the damaged crank profile again. I think the application area was just too small, and it didn't have enough area to adhere to properly. I then tried the same procedure with JB Weld, with success.
The crank is fixed, back on the engine and working properly. Back to fixing the electronics.
~Chris


