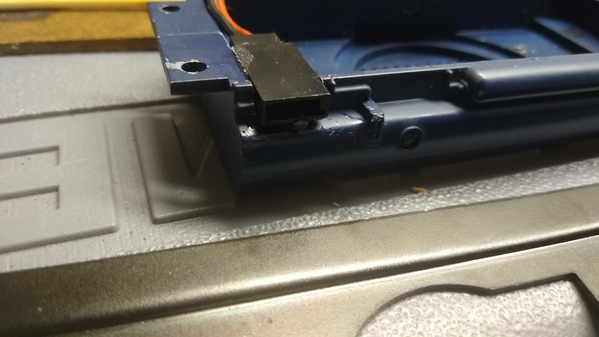
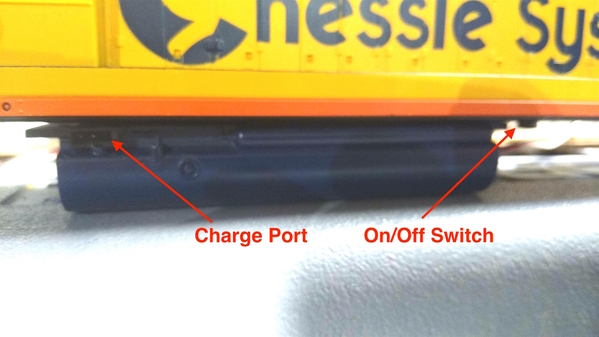
I made some progress yesterday installing the charge port and the switch. Bob Buck at GScaleinstalations recommended using these Futaba RC wires for charging. Being an RC guy, I have plenty of these lying around. I made a little cutout in the fuel tank and the charge port fit nicely. It should be concealed well. Especially after I paint it blue.
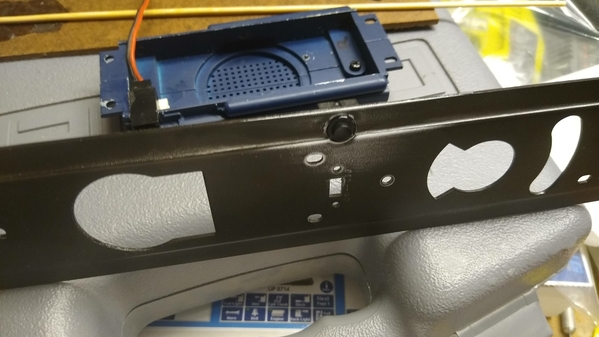
Next was the switch. Bob also sold me this nice push button switch. In my last battery projects I was using toggle switches. These button switches are easy and conceal very well. Once might even think it really is part of the engine. I was going to try and put in the the end of the fuel tank, but these Weaver tanks are two pieces and the shoulder and screw were in the way. So I decided to find an area of the frame that would work best and not interfere with the trucks or the shell. This was the spot.
You'll see in the test fit below they conceal fairly well. I did not screw it together because I still have to install the speaker. That is why you see a gap on the left side. I should have easy access from the track without having to lift up the engine or remove it from the layout for charging.
Now for a funny story. I decided to use epoxy to glue in these components. I have a "Glue Box". It's a cardboard box which holds all of my various types of glues. It's a mess with no organization. Glues I use the most like CA are on the top, glues I use the least migrate to the bottom.
So I'm rooting through this box looking for two tubes of epoxy. Ah, there they are, Black cap and White cap. Off to work I go mixing, stirring and applying glue. I even read the back of the one tube... 8-10 minute dry time. Perfect.
15 minutes later... Still wet, 30 minutes, 1 hour, still wet. all afternoon and last evening... still wet. Completely frustrated I grabbed the glue to read again. Now I noticed my mistake. I grabbed a tube of Epoxy and a Tube of JB weld.
Last evening I used the proper 2 tubes of epoxy, and this morning all is well.
Bonus... Praise where Praise is due. The USPS delivered my RailPro 3 days early and I received it Saturday. I immediately started playing with it. I wired up a mock and fired it up. Wow that little TB 1925 speaker puts out some sound. I also quickly realized that the Computer Interface USB device greatly helps the install process of sounds vice using the handheld controller. I could do everything on the computer. Well worth the $30 cost.
More to Come...
Ron


