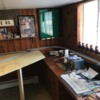
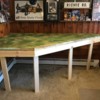
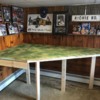
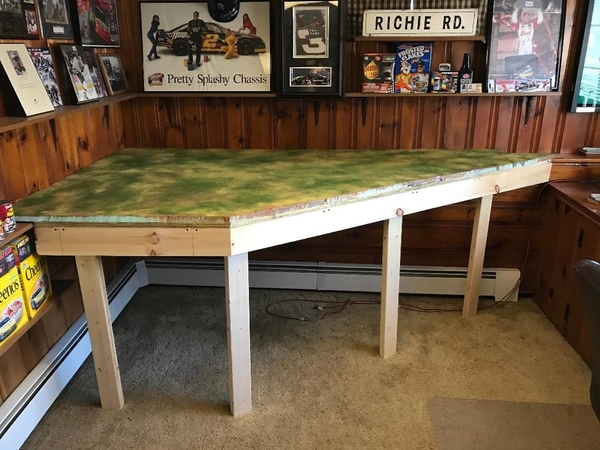
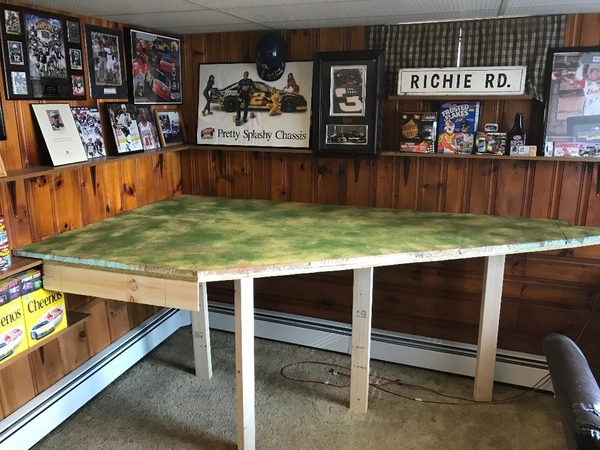
Got a fair amount done over the weekend. Picked up a 4 x 8 x 3/4" sheet of plywood Saturday with my son-in-law's truck and spent the weekend building the extension layout (pics attached) and designing the wye. I put mending braces on the bottoms of shelf to the left of the layout and also to the shelving along the long side and simply "laid" the sheet in place on the mending braces and butting up against the shelving and used some 2 x 4 legs for temporary support on the near sides. Ordinarily, I would only use 1/2" ply, but the shelving is 3/4" thick so it lines up exactly with the ply and gives me an additional 5" for wider curves. Adding the 1" foam on top will perfectly mate the layout to the 3/4" oak board and 1/4" roadbed that the track tests on coming out of the closets and around the corner.
The 3/4" ply is so heavy I knew I wouldn't be able to maneuver it on and off the braces myself, so I had planned on framing it in place, which is exactly what I did. I used 1 x 4's mounted flat to the underside of the layout - connected to the side/edge pieces on the near sides and to the underside of the long shelf on the far side. I then screwed an 8' cleat to the wall under the layout on the long side and up against the 1 x 4's for additional support. I still have to paint the legs and screw them in permanently, but it's rock solid and would easily hold my weight if I had to climb on it. The only other item is to install the final luan edging in place to match the main part of the layout on the other side of the room. I also painted and turfed the layout, too.
With the shelf and plywood sheet, I have a total 53" width which allowed me to use a wider O-48 curve (instead of my usual O-36) which allows more inside curve area for a potential turntable. There's an O-72 switch at the "bottom" of the wye and it didn't take long to figure how to fit and mate everything up. I was able to use quite a few 30" straights and installed binder clips on the underside of most of the Fastrack connections to help alleviate any potential continuity issues.
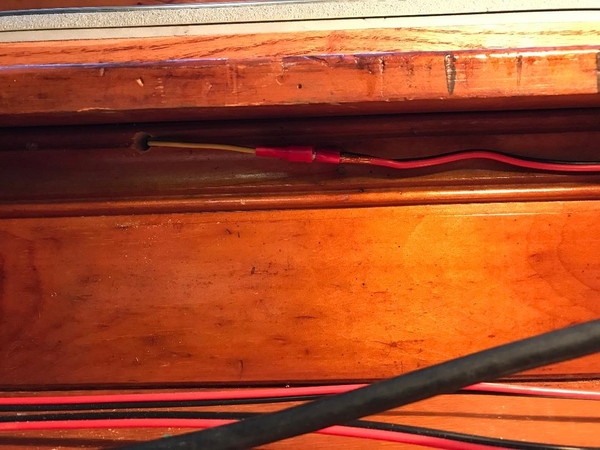
I then made the firs of the power drops to the track above my workbench. I drilled holes through the oak board and into the top and side of the knotty pine wall and shelving. I was able to fish the wire through the 90 degree holes and soldered the wires to the underside of the track and connected them to the power wires with bullet crimp connectors. Once the other two drops are made, I'll hide the wires under the shelving with clamps/clips.


 .
.


