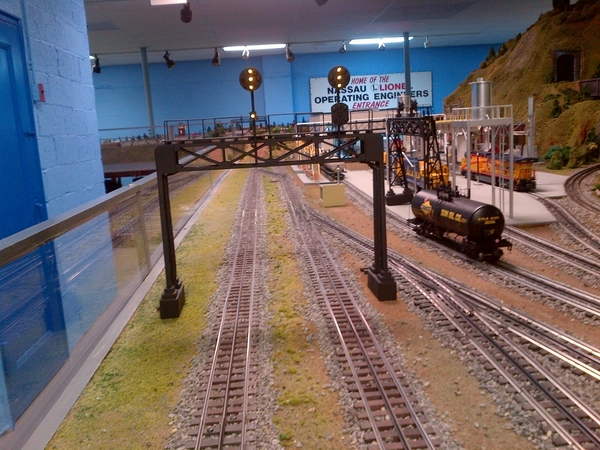
Has anyone reworked the MTH PRR position light signal bridge so that the diagonal/approach indication (equivalent to a yellow signal) is driven by track occupancy instead of a timer?  Did you completely strip out the current wiring and rewire it from scratch, or was only a minor modification needed?

Dale

Original Post

Replies sorted oldest to newest

Pennsylover posted:

Has anyone reworked the MTH PRR position light signal bridge so that the diagonal/approach indication (equivalent to a yellow signal) is driven by track occupancy instead of a timer?  Did you completely strip out the current wiring and rewire it from scratch, or was only a minor modification needed?

Dale

prrhorseshoecurve posted:

The only Ones I saw functioning real were the MTH PRR bridges stripped of their wiring and added the Custom Signals Bridge mount position signals.

Although not showing the diagonal aspect in this picture, that is exactly what I did here. I used the MTH bridge and the signals from Custom Signals.


 IMG-20161123-01173

John

Attachments

Images (1)
  • IMG-20161123-01173
Last edited by tr18
Pennsylover posted:

Has anyone reworked the MTH PRR position light signal bridge so that the diagonal/approach indication (equivalent to a yellow signal) is driven by track occupancy instead of a timer?  Did you completely strip out the current wiring and rewire it from scratch, or was only a minor modification needed?

By "completely strip out the current wiring" do you mean replacing the signal heads themselves?  Take a look at this OGR thread.  In these 2 photos hijacked from that thread, it suggests a way forward IF you are willing/able to undertake some DIY component-level assembly and wiring.

IMG_0488

Above photo shows there are 5 wires (red, yellow, green, white, black) from the signal-head to the base.

Untitled

Above photo shows the circuit board that resides in the base.  Apparently this board can control 2 PRR style LED heads but with the timed-yellow/diagonal behavior.

The DIY approach would mean replacing that circuit board with one that takes the insulated-rail triggers from 2 (or more) blocks...to replace the timed-yellow method which only takes the insulated-rail trigger from 1 block.  The underlying components to implement the basic look-ahead signaling (2 insulated-rail triggers driving the 5-wire signal head) is not expensive...maybe $1-2 per signal but getting it crammed into the base if that's a requirement would be a challenge.  There may be a vendor out there that makes and sells such a circuit board(?). 

If you have room to install control circuitry under the layout, then options expand...such as using relays which may seem clunky but can be more suitable for those not comfortable soldering/assembling tiny components like transistors, diodes, IC chips, etc.  See this contemporaneous thread where a ~$3 relay per signal head does the heavy lifting

Attachments

Images (2)
  • IMG_0488
  • Untitled
Last edited by stan2004

Although I have not specifically looked at this signal head, but based on my modifying other MTH signals to work with Custom/Atlas boards, you will have to rewire the heads for common cathode ground.  The telephone cord very conveniently uses the red/yellow/green for connecting to the respective position aspect. 

The basic signal operation as I remember it is, when train enters block, the circuit turns off the 555 timer extinguishing the green and directly lights the red.  When train exits block, the red loses its power and extinguishes and the 555 timer re-energizes to start its timeout, keeping the green off and yellow lighted.  After time out the yellow goes off and green lights.  The yellow and green LEDs with their current limit resistors are wired in series from 5V hot to ground, and the 555 output line essentially shorts out either the green or yellow LED leaving the other lighted. 

With this PRR signal, your green wire would run the vertical LEDs, the yellow the diagonal and red the horizontal.  Since there is a middle always lighted LED, you will need a fifth wire to a 5V source to keep it lit (have to use a 6 wire flat telephone wire for white wire). 

What all this means is you will have to trace out the board and cut and jumper things such all LED cathodes are grounded and the anodes connected to respective wires.  Steady hand, small solder pencil and solder wire.

Clear as mud, right? 

Add Reply

Post

OGR Publishing, Inc., 1310 Eastside Centre Ct, Suite 6, Mountain Home, AR 72653
800-980-OGRR (6477)
www.ogaugerr.com

×
×
×
×
Link copied to your clipboard.
×
×