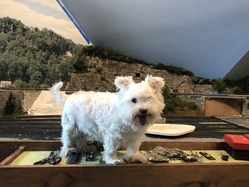
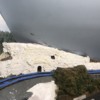
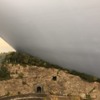
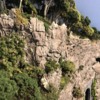
Thanks Dave, I will be keeping my eye out for your up coming video!![]()
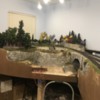
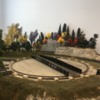
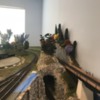
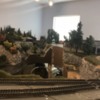
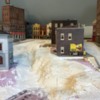
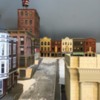
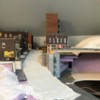
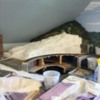
Dave, It all looks fantastic!! You are really doing a great job transforming that foam into rock banks and cliffs! The flowering trees really add to the scene! That is super with the large mill in the background as a contrast.
Mark Boyce posted:Dave, It all looks fantastic!! You are really doing a great job transforming that foam into rock banks and cliffs! The flowering trees really add to the scene! That is super with the large mill in the background as a contrast.
Hey Mark, thank you much my friend.
WOW Dave everything is looking absolutely amazing. Beautiful work !
Alex
Not going to say this often but have to agree with darth vader just awesome
Alex and Bob I really appreciate your comments. With all that goes on in a day, unfortunately not always trains, I try to put some time in regularly. This forum is where much of my motivation comes from.
Dave
Good Afternoon Guys and Gals,
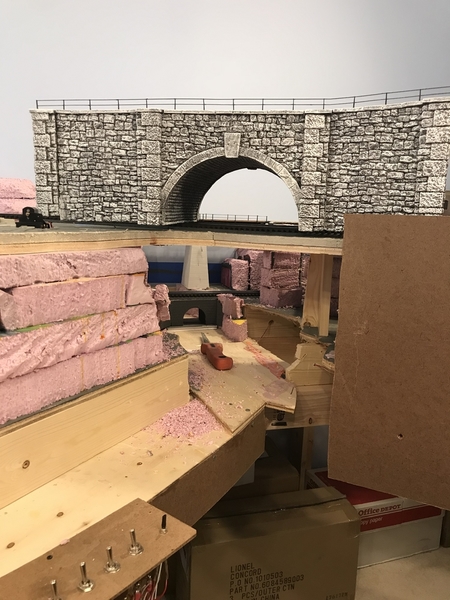
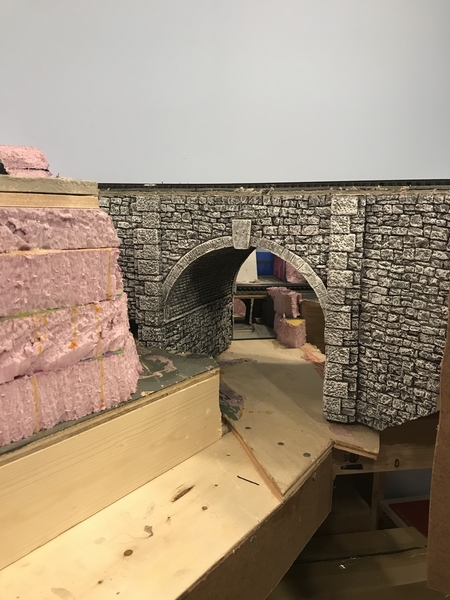
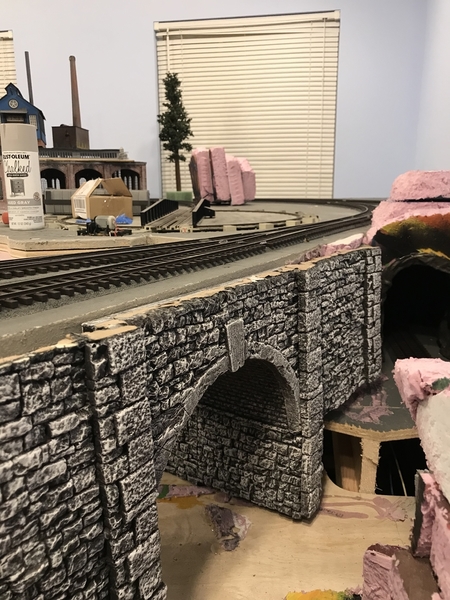
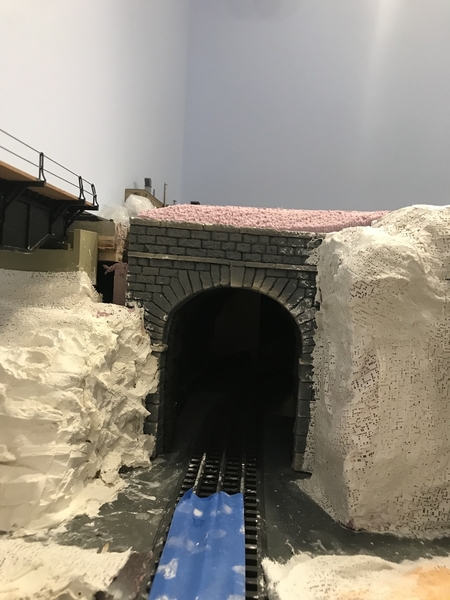
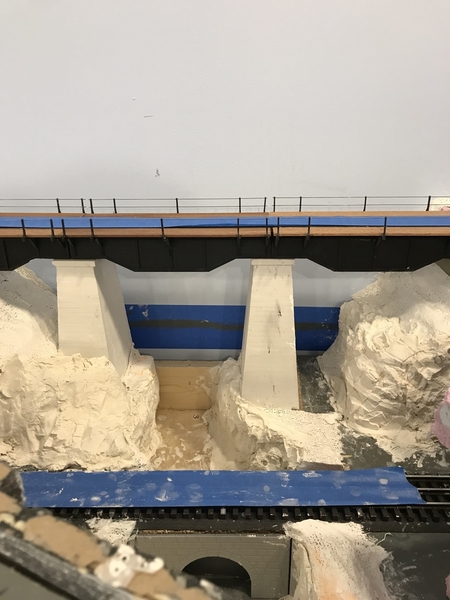
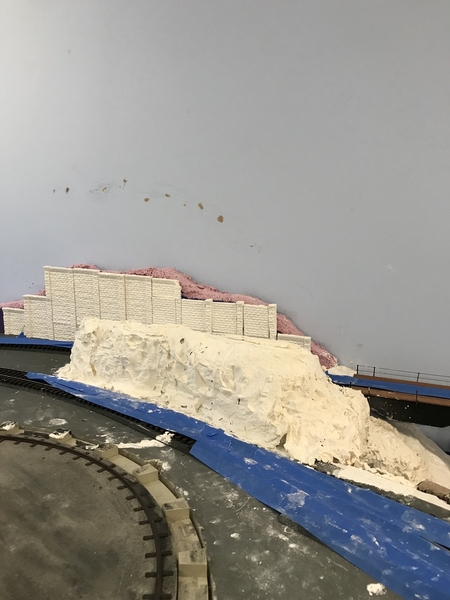
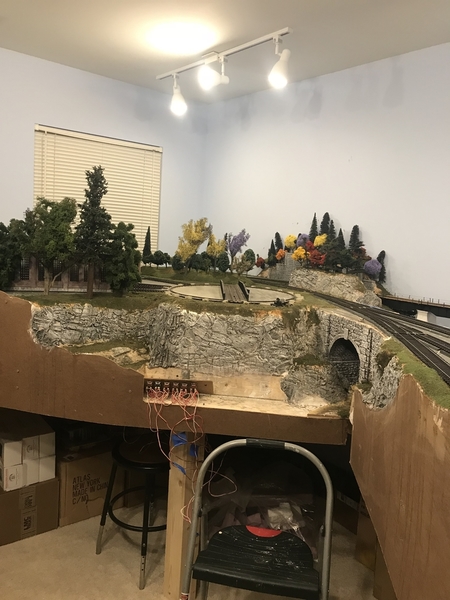
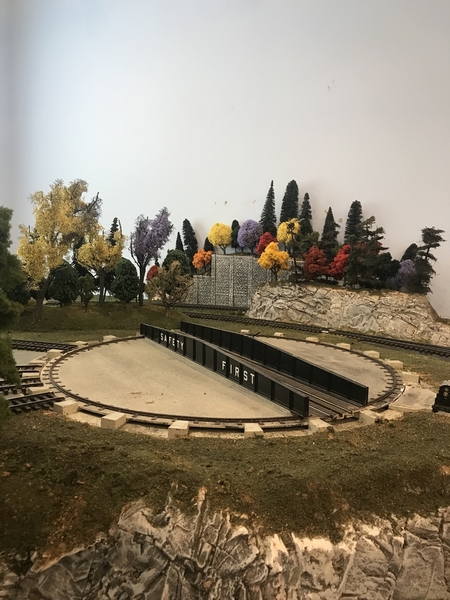
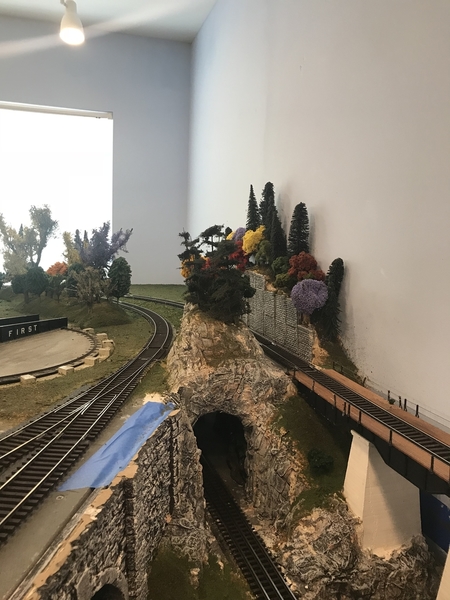
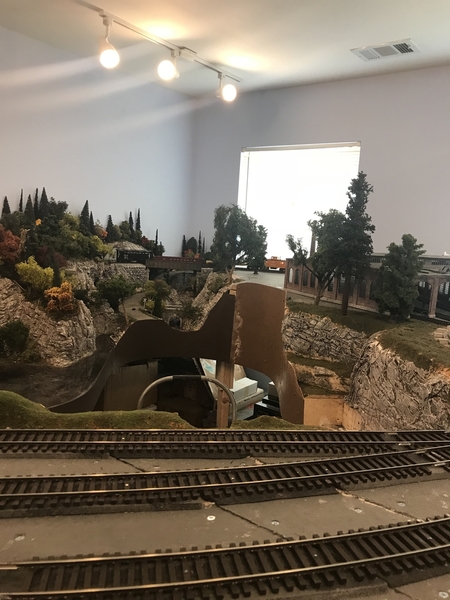
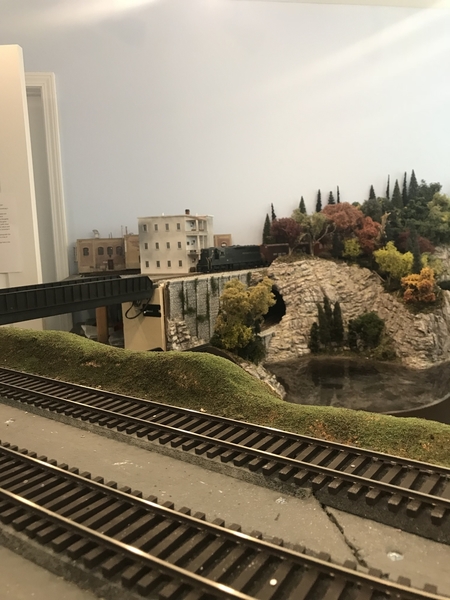
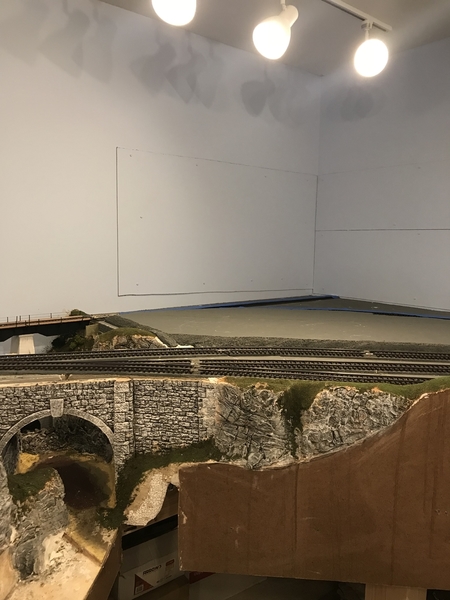
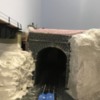
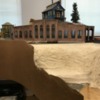
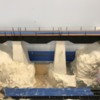
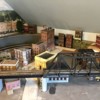
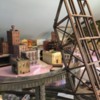
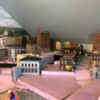
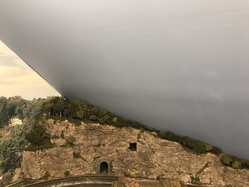
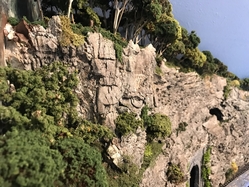
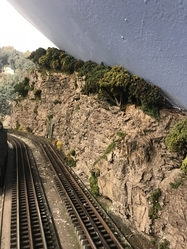
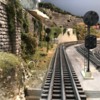
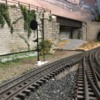
Below are some pics of some work I have been doing in the 2 Rail room. I installed a stone arch bridge over a section of the yard. I also finished the majority of the rock work. Lastly, I was able to put down some ground foam and start planting trees. The third from the last pic shows the blending of the left side of the layout to the newest section which is the right side. The last pic shows the installed bridge with surrounding rock work and ground foam. This project is far from being completed but I have achieved a level of accomplishment where I feel it would be appropriate to post.
Unfortunately I didn't do the best job of showing progress pics because I simply forgot to stop and snap them. What was mostly omitted was the sub terrain(pink foam) pics before the plaster cloth and rock molds were applied. If you go further back in the thread you will see this technique used on other sections of the layout.
Thanks for following my progress. More to come soon...
Dave
Attachments
Awesome work Dave !! very nice !
Thanks Brian!
Dave, your scenery work is superb. You're a natural at capturing it. One more question. How did you hide the third rail on some of that track. Inquiring minds would like to know. LOL......................Paul 2
Dave:
Your arch bridge is a work of art. Bravo!!!!!
Randy Harrison posted:Dave:
Your arch bridge is a work of art. Bravo!!!!!
Thanks Randy,
I agree but will not take credit for the build. A fellow model railroader created it for me.
paul 2 posted:Dave, your scenery work is superb. You're a natural at capturing it. One more question. How did you hide the third rail on some of that track. Inquiring minds would like to know. LOL......................Paul 2
Hey Paul thanks for the compliment. As far as your question, the "die hard" 2 Railer's created a special dust that instantly lowers the profile and makes the middle rail go poof. I think the Proto 48 guys and gals are working on the width between rails as we speak, lol.
I said if all I have to do is use some of that then what the heck, I'm not against trying something new.
Dave
Dave, It does take discipline to stop and take progress photographs when you are on a roll! I too love the stonework! What manufacturer made the turntable, and what is the diameter?
Thanks Mark! That is an Atlas 24" turntable. I thought it was a good start for now and was certainly budget friendly. I may change over to a more realistic one in the future as the layout get's closer to a more finished look.
Dave
Dave, I thought it looked like an Atlas. I agree it is price friendly and looks good!
Great work Dave! Thanks for the update. I agree with the other guys, you have a knack for this scenery stuff!
Andy
Hey Andy,
Thanks a lot buddy, I'm trying! There's so many ways to learn this stuff and I'm thankful that I get to see and learn from some fantastic people.
Dave
Beautiful Dave
bluelinec4 posted:Beautiful Dave
Much appreciated.
Dave, you sure have been doing some Amazing work! Everything looks great and really shows your skills! Very Nice!![]()
Hi Everyone,
This past week a great modeler named Peter visited me and there were a few projects started on the layout. Unfortunately with time, nothing got finished so in the next couple of weeks I will try to get a more completed look with these particular areas. I also need to work on a couple of other areas of the layout that I am not happy with.
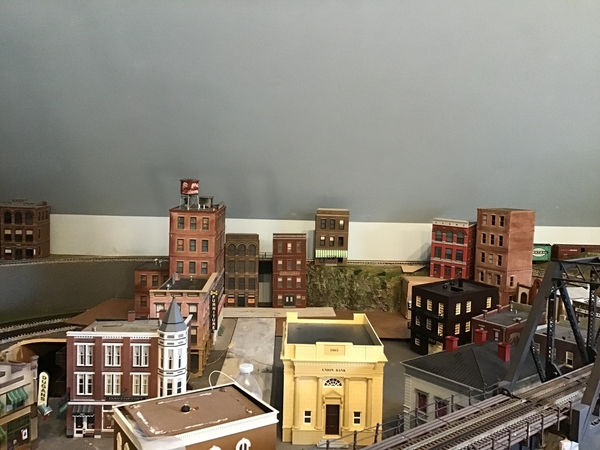
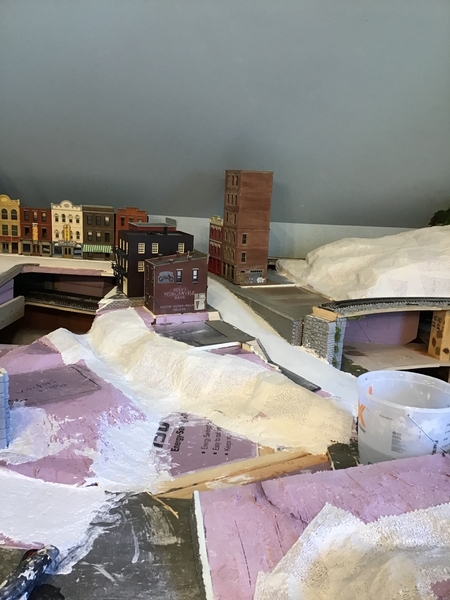
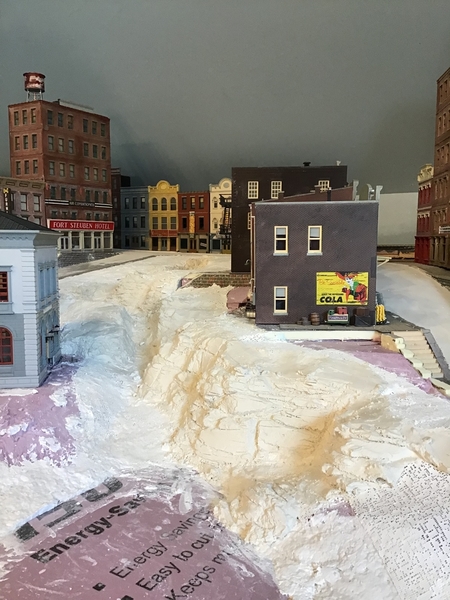
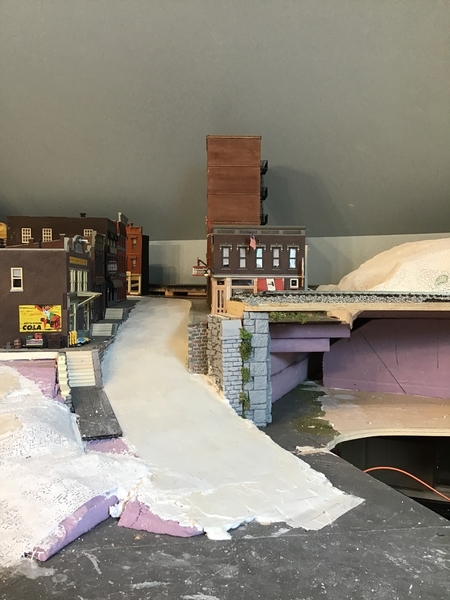
Anyhoo, we worked on the town scene(complete make-over). The pics show the initial layout of the buildings, then added foam, then finally the start to the road system. The center of the layout will feature a small park with a creek that ends at a pond. This gives the truss bridge more of an excuse to be in the way. The park area is a much needed pop out for this area of the layout. I have provided two close up pics of the two main roads that run east-east on the layout and what work has been done on each of them thus far...sidewalks, retaining walls, steps. At the top of both of these roads will be Main Street which made use of some flats I acquired a few years ago.
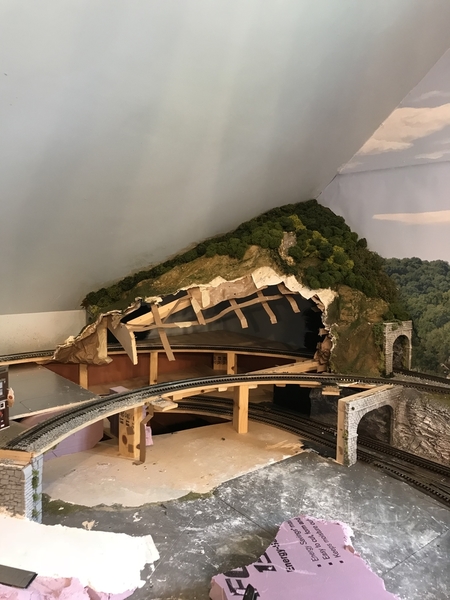
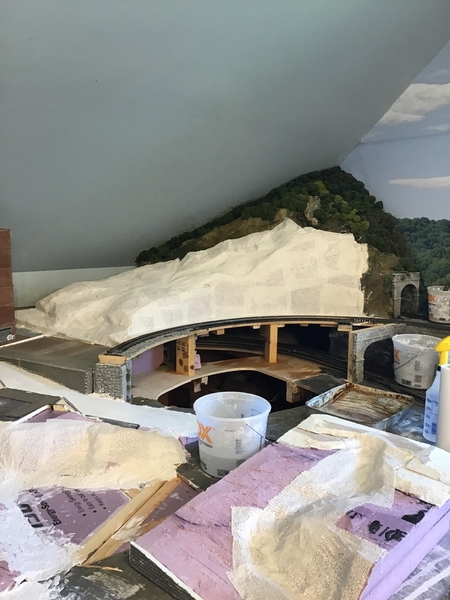
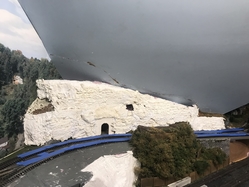
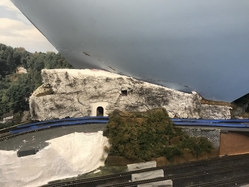
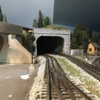
The next area was the hillside. With Peter's suggestion I decided to removed the outer tunnel and just have that part of the hillside act as a section that was "blown out" by the railroad. You see pictures of the initial tear out of a large section of the hillside to the beginning stages of the alterations with plaster cloth. I now need to create a rock face on the vertical area in the front along with some rock carving. Below the track and in front of the hillside is another project in itself. There was a hatch that was closed up and another was created in the same area. It gives me more access to this section of the layout as well as a large portion of the hillside.
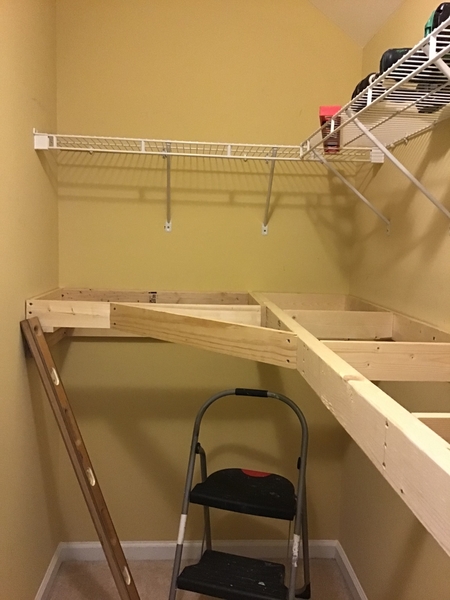
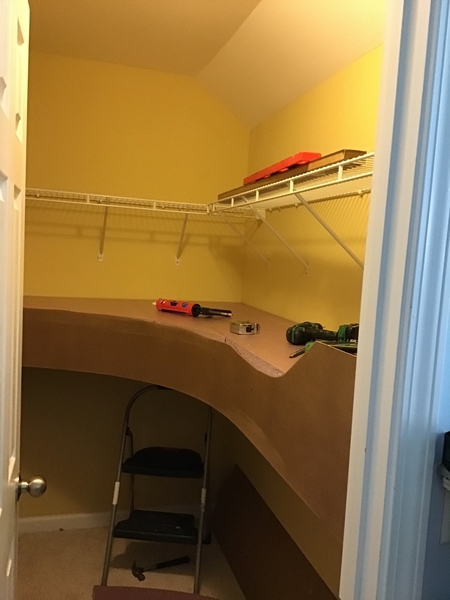
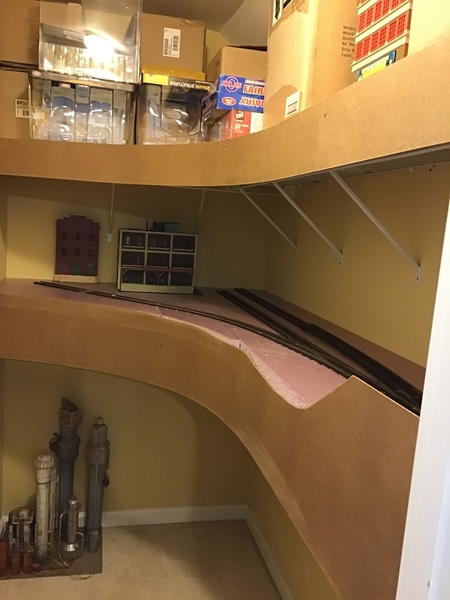
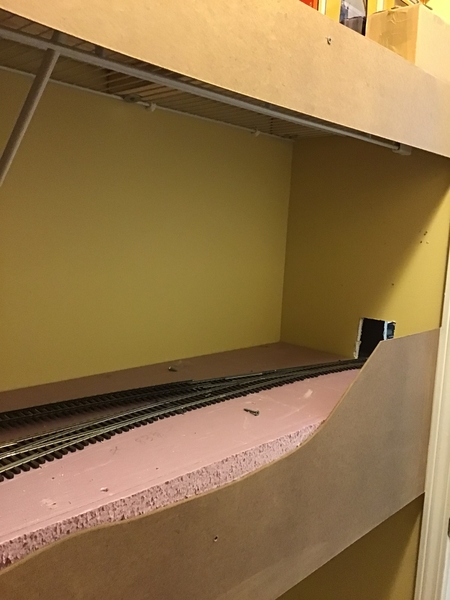
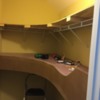
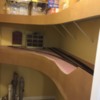
Lastly, I made use of my 4X8' closet in the 2 Rail room. It is now an industrial area that comes off the mainline. This gives me more switching options and also adds more interest to this relatively small area of 2 Rail. You will see pics of the initial framing to the installation of the valance(with storage already being utilized), to the initial laying of the track.
As always, thanks for viewing and any comments are welcome.
Dave
Attachments
Dave,
That looks like a lot of good progress to me! So many things to do! Just work on what you feel like working on any particular day!!! The closet area looks great!
Thanks Mark,
That's just what I intend on doing. I will pick one large project or a couple small ones and concentrate on them until near completion. I believe I am at that point on the layout where no one area is completely unfinished...well except for the closet.
Dave
Wow Dave, it looks like you’re off to a great start. Looking forward to following along.
Andy
luvindemtrains posted:Good Afternoon Guys and Gals,
Below are some pics of some work I have been doing in the 2 Rail room. I installed a stone arch bridge over a section of the yard. I also finished the majority of the rock work. Lastly, I was able to put down some ground foam and start planting trees. The third from the last pic shows the blending of the left side of the layout to the newest section which is the right side. The last pic shows the installed bridge with surrounding rock work and ground foam. This project is far from being completed but I have achieved a level of accomplishment where I feel it would be appropriate to post.
Unfortunately I didn't do the best job of showing progress pics because I simply forgot to stop and snap them. What was mostly omitted was the sub terrain(pink foam) pics before the plaster cloth and rock molds were applied. If you go further back in the thread you will see this technique used on other sections of the layout.
Thanks for following my progress. More to come soon...
Dave
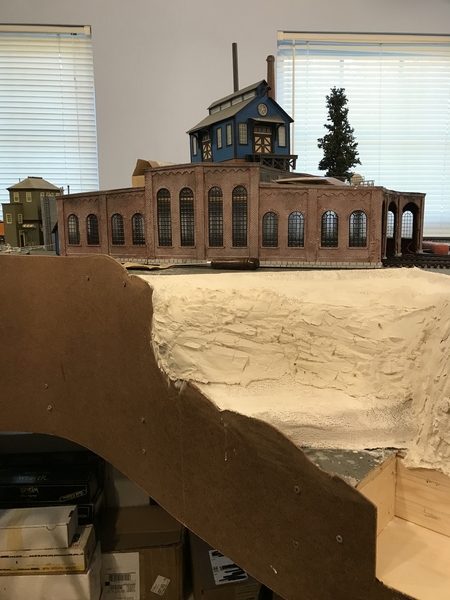
Dave, is the photo immediately above a kitbashed structure from parts of a dual stall engine house?
The reason I ask is I tried unsuccessfully 20 years ago to kitbash an International Hobbies engine house. The shape of the arched windows and color of your structure reminds me of that International Hobbies engine house.
If your structure is a result of a kitbash, I think you did a great job.
What is your structure in the photo immediately above supposed to be?
Arnold
Hey Andy,
Thanks a lot man I appreciate the encouragement. While I am off I am trying to get in and do at least one project a day even if it's small. Of course the larger projects take longer.
Arnold the structure is an Atlas 3 stall roundhouse and it is being used for that purpose. Probably not the best view as the main purpose for the pic was to show the rock work below it. I plan to detail the interior but that is not quite a priority at this time. The building sitting on top of it goes with a coal tipple and was just placed there to clear some space so I could do some work.
Dave
Hi Everyone,
I realized a couple of things just now. One is I haven't done and update since way last summer. Secondly, I started this thread with this particular section. I have had 3 transformations with what I originally did and it's simply because I wasn't satisfied with it. It's in an awkward corner but still in your face when you walk in the room. I will add all of the structures, road, etc. before I make the decision to change it again but I think this may work. Not to mention as I add more things I can't just get up on the table to do serious work back there.
This was my first attempt using resin and though it was a little more involved I really like the outcome. I try to show the stages and have pictured some close-ups so you can see the detail. Elbee asked me to put him near the finished product for a photo opp and I couldn't resist.
I have many more updates and hope to get them posted within the next couple of months. I have been enjoying everyone else's work and have neglected to show my own.
Thanks for visiting,
Dave
Attachments
Beautiful, Dave!
Thank you much!
It looks great, Dave! Elbee looks great with the hillside as a background!!
Thanks Mark, I think he does too but he won't be permanent so I guess I need to add a coal tipple and bridge.
Looks great.
Thank you much Dave!
Looking great Dave! I like how you took the slope of the ceiling and have the hillside flow right into it! I think when your done you will really like how it looks!
Thanks Mike! I just have a few more things in that area to do and then I can move on.
Hello Guys and Gals,
It's been a very long time since I posted any progress on the layout. I have done some work on the layout but between not feeling it was worth posting to just plain ole' laziness, I haven't posted in a while. With that being said there has been quite a bit of work done since my last post. Some of that work is "do over because I didn't like". I have no particular order I am working in and that's exactly how I navigate different projects on the layout...good or not so good that's me. However I am getting better with the use of logic in moving from one project to the next. I will post more projects in the next couple of weeks that will give you a glimpse into my shenanigans.
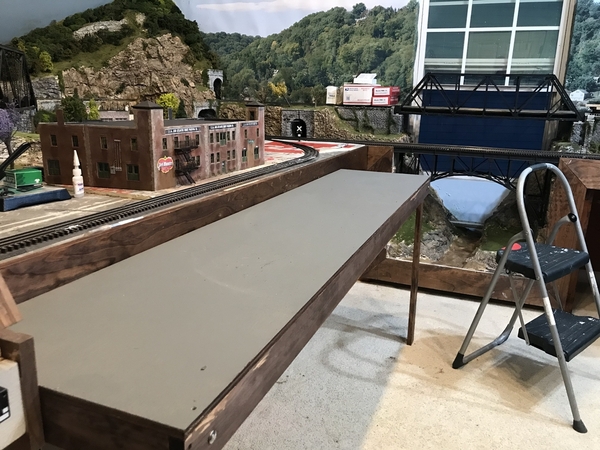
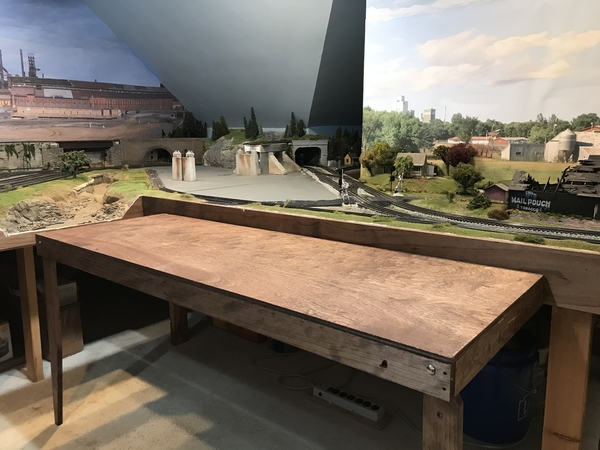
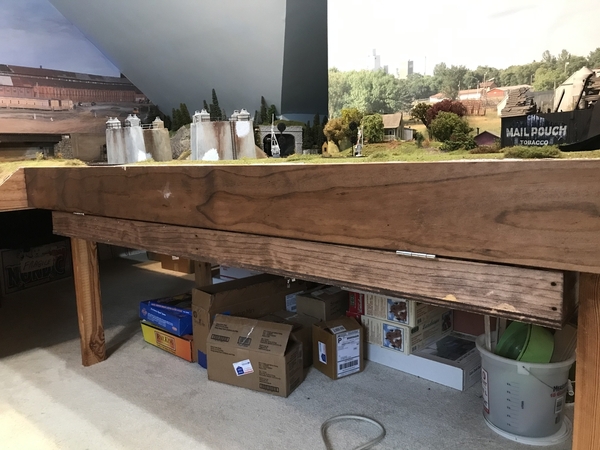
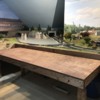
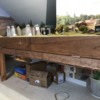
I will start with some added "furniture". These are pics of my work bench and the finished bench work for my harbor scene. I have posted the harbor scene bench work unpainted but wanted to show the finished product. Before about three days ago it was my work bench but now I have a permanent area to do work. The first pic is the harbor bench work and the last three are of the work bench. Both tables fold under the layout as seen in the last photograph. This project was necessary because I do not have a basement or another room I can set up shop. I was tempted to buy a work bench from one of the hardware stores but decided against it because those things can get pretty pricey.
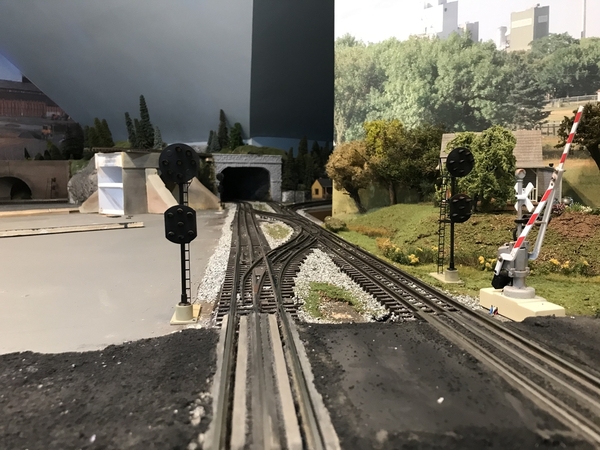
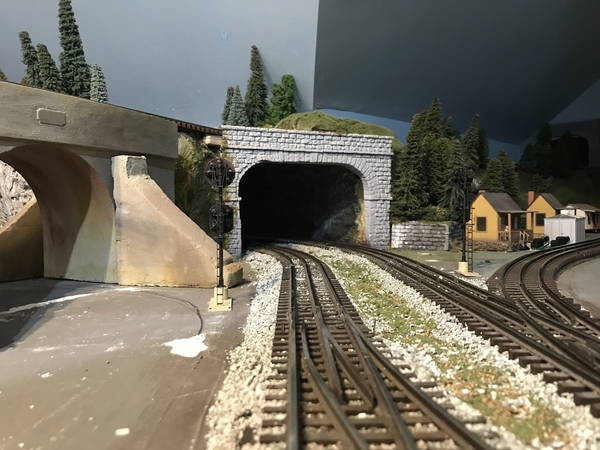
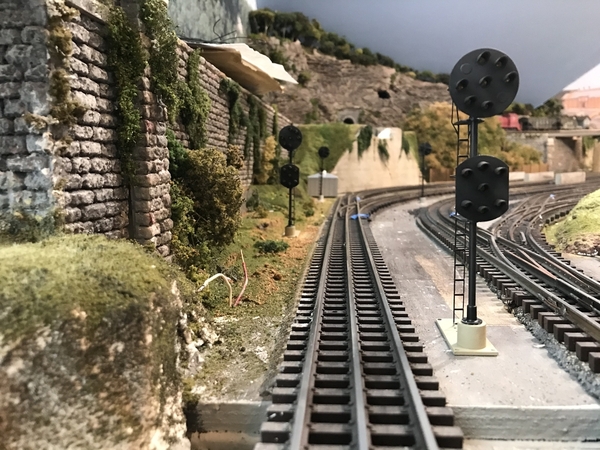
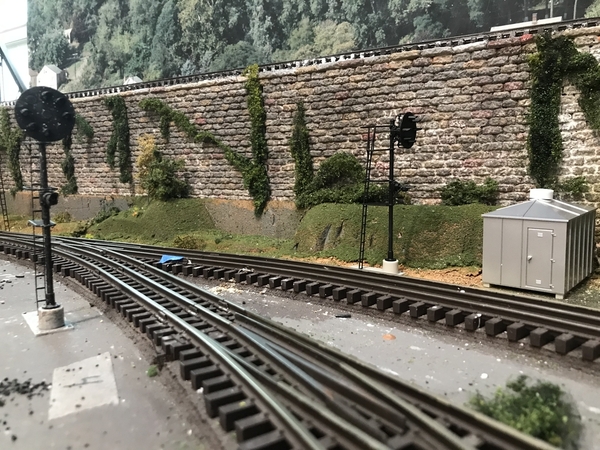
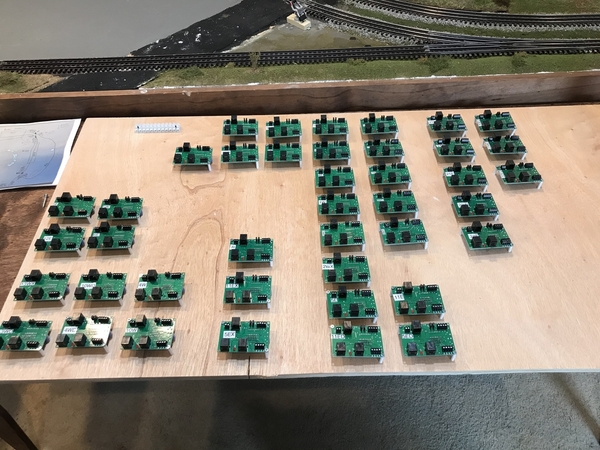
I also wanted to post some progress on the installation of the signaling system. The photos show signals installed on the lower level of the layout. They are not yet wired. I also have provided a photograph of the panel where the signal circuit boards, etc. will be housed. This is the last major electrical related endeavor on the layout and it is a big undertaking. I am happy to say that things are moving along pretty good. A few people reached out to me after one of my posts about the signaling system and have been of great support. I also have to thank Dave Bennett, of Train Installations and one of our forum sponsors, for his help with both of these projects. Any bench work or major wiring on the layout is being or was done with Dave's help and expertise.
Dave
Attachments
WOW Dave, That looks great! I do have one question, How do you keep your work bench up when its under the layout?
Dave;
you may want to put a wiring label list on your signal board panel, so that you can easily see which wires go where. I made one out of an XLS spreadsheet. After a few test prints, I was able to make the printout match the locations on the signal boards. There are so many wires involved, proper labelling is very important, and can help when troubleshooting the initial design, plus later when something goes wrong.
This is the front of the panel, before most of the circuit boards were installed. Note the distribution block at the top, so all internal wiring can be completed, the just connect the wires from the layout to the top of the board. This terminal strip covers all occupancy detection, power and switch position. The signal phone plugs go straight from near the signals straight to the circuit board plug.
This is the back of the panel, with the power and detection wires all connected from the circuit board to the distribution strip. Be sure to leave enough wire to re-strip and connect, as the wires can break and replacing the wire is a bit more work. I used 22ga phone wire.
Below is the panel as pre-wired in my workshop.
This is the panel, up at the layout. I have enough wire length that I can pull the panel out from under the layout to easily and comfortably work on it. I place the panel on my lap, while sitting in a chair. This panel is quite large, so I have two sides to it, connected by a door hinge.
This is the panel opened up to show both sides.
If you have any questions, email me from my profile or just ask here. I can send you my excel files, which you could use as a starting point. Again, be sure to develop a wiring label standard. I can share my standard with you if you are interested. Really, anything that has short names will work OK. I printed out multiple copies of all my label names on a piece of 8-1/2x11 label paper, then cut out the wire labels, stuck them to the wire and reinforced with scotch tape. I figure the label will dry out and fall off, so the scotch tape will help it last longer.
I also have developed a troubleshooting list. You would not believe how many mistakes can be made. I have had a bad signal board, bad switch board and a few bad (or mysteriously inconsistent) signals. Of course I had spares, as perfection is just a theory.
Then there were my mistakes, too numerous to discuss here. I kept notes as this helps with future installations. You will also need a logic table to keep track of what needs to be checked and verified for each signal. The logic list allows you to conduct your testing over a period of time without the need to remember where you left off. My list started out small and kept growing, as no assumptions are allowed on a real railroad. Again, the logic list is to catch all my wiring, plug connection and maybe a few logic errors.
Good luck and enjoy hooking up and testing your signals. It can be fun if you have the time and patience it requires.
Attachments
Thanks Mike,
I can better show you than tell you. But, a hole was drilled into one side of the tables just large enough for the pin on this latch to go into. This holds the tables up under the layout just fine. Also the legs fold inward. They are attached to the inside of the framing. I used a washer and wing nut to tighten the legs when they loosen up from being folded in and out. The harbor table will not be folded often, only for maintenance or work on the main bench work. I will only fold the work bench under when I have visitors, taking pictures/video, or again doing work on the layout.
Dave


