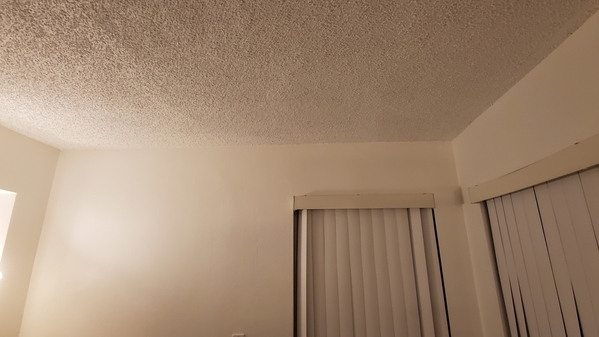
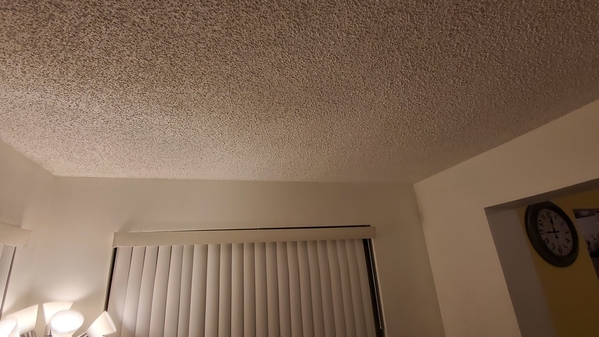
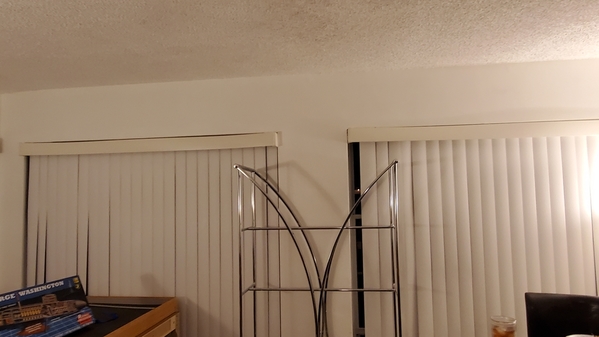
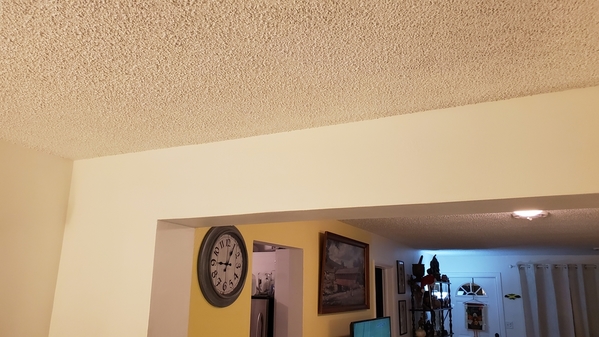
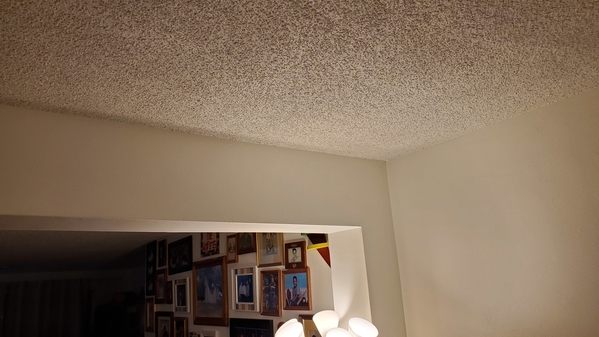
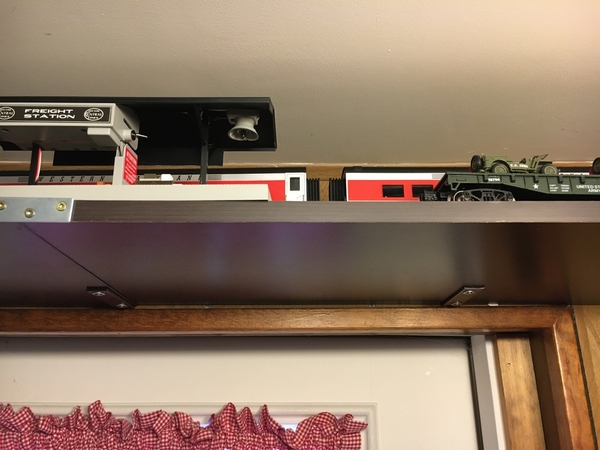
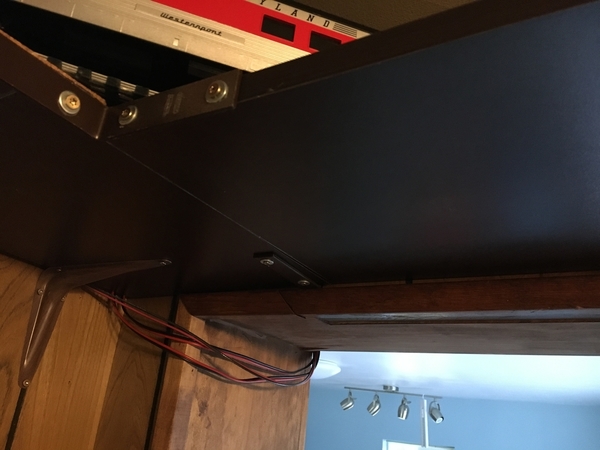
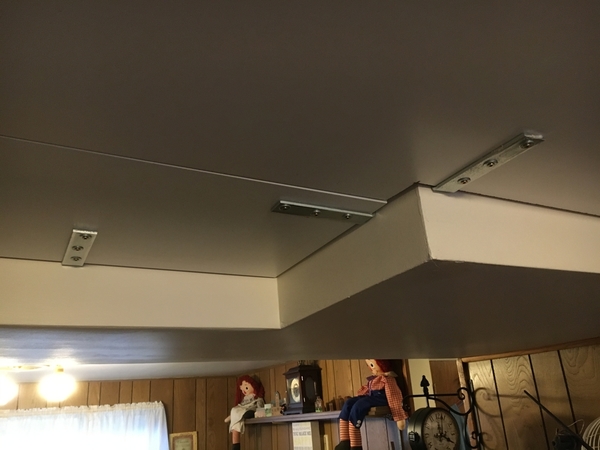
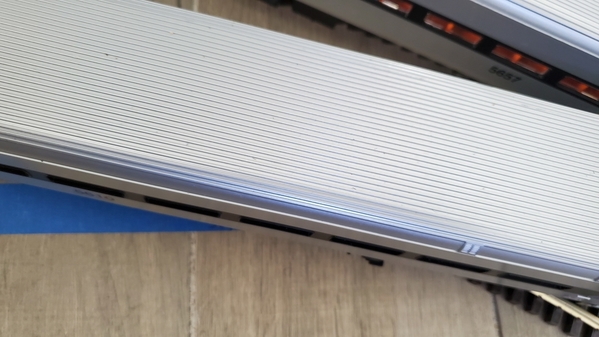
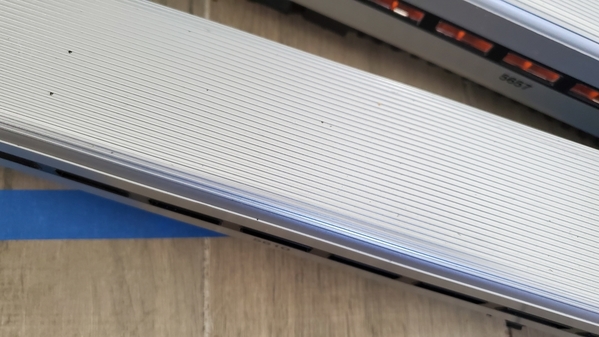
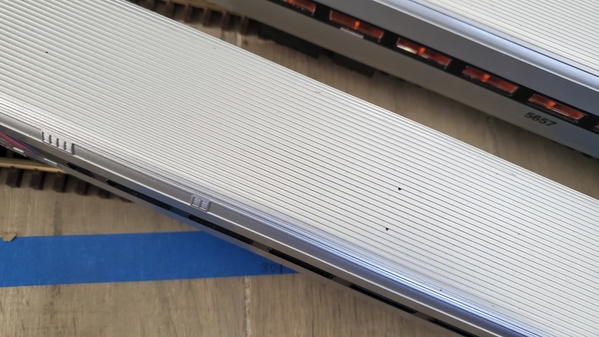
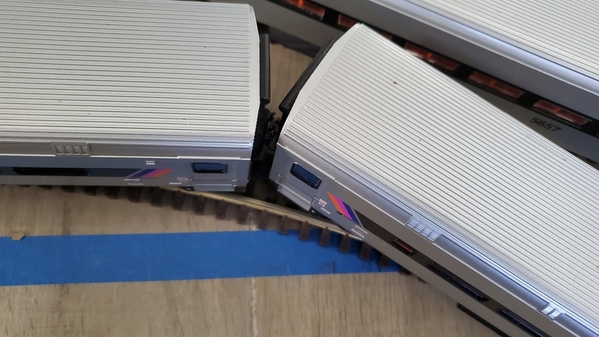
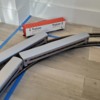
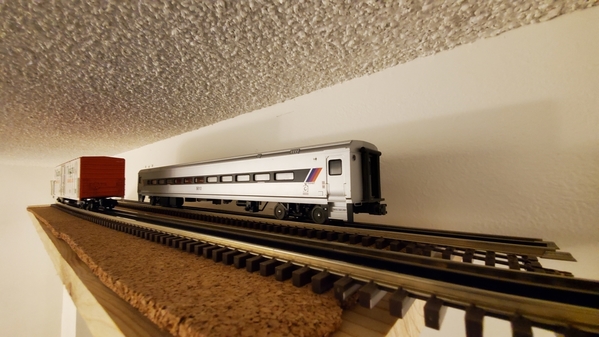
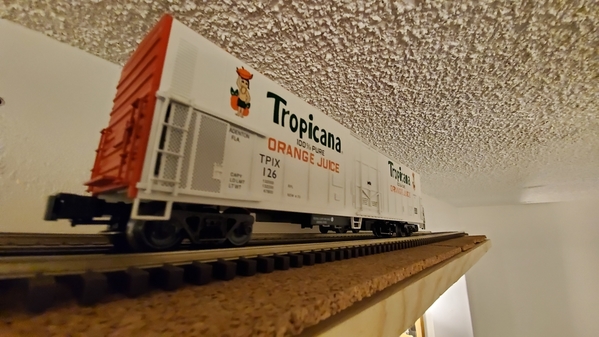
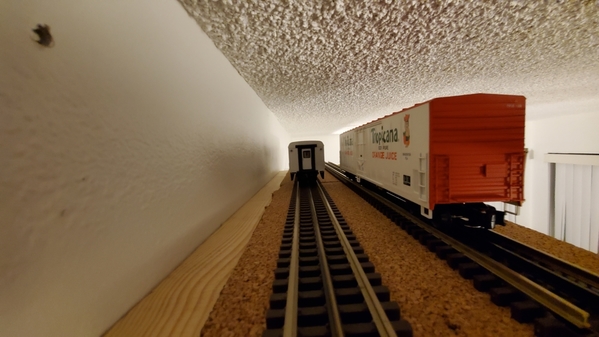
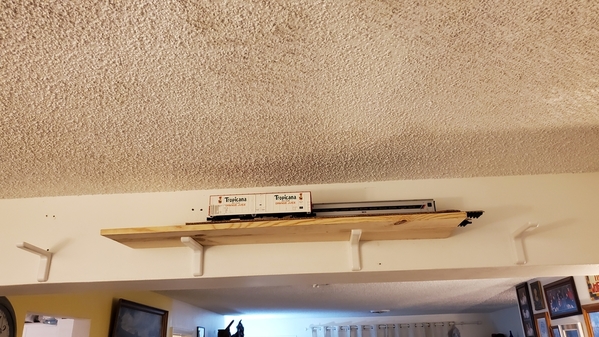
We’re in the process of moving this month and long and short - I still don’t have a hobby room for my trains and model kits yet and have to continue sharing space with other household activities, in this case the dining area.  The space in question is a 14’ x 9’ “Sunroom” with windows on all 3 walls and with the fourth side being open to the rest of the living area.  As such, although I would prefer to have a table with the accompanying helicopter view scenery of buildings, vehicles, etc., one of my thoughts is to maybe go with a double track (O-54 and O-63*) ceiling layout around the entire room and utilize building flats and backdrops for scenery.

QUESTIONS:

1)-For those OGR members who have ceiling layouts against the wall (not ones that are suspended through the interior of the room), do you feel that the noise is noticeably increased because the location of the track being higher up and having noise reverberating on the nearby wall and ceiling instead of being on a table top out in the open?

I’m thinking that it might be easier for “Plug-n-Play” purposes to use my RealTrax integrated roadbed track supply for the ease of identifying power provided to the track thru lighted lock-ons, but that comes with a higher noise level compared to my other track inventory (Atlas).  Regardless of track type, I would still be using a foam base on the wood and indoor/outdoor carpet on top of that.

2)-Also, do any of you use switches?  Thinking of maybe using two switches in order to create a siding on one of the 14-foot sides for storing a train that’s not being used, not much as to create operational interest if was taking a POV video from the locomotive.  For the switches, do you run a single batch of wires up the wall to feed all the various switches instead of switch control wires hanging down all over the place? Plus, other than seeing a POV video, one can’t tell from the floor if the train has switched tracks.  Or are switches not worth the trouble and just run independent loops?

*-With the exception of my Christmas & Halloween trains, all of my current and future train purchases will be scale size rolling stock with 20+ inch freight and passenger cars, thus limiting my track curves to O-54 and wider.  I’m doing this fully knowing that until I get a stand-alone train room of say 12x12, all of my O Gauge train running will take place at the club or hobby store.

While getting rave reviews from visitors is not my prime importance, I believe that having a ceiling train would get more interest from visitors because of it’s uniqueness.  

Last edited by Amfleet25124
Original Post

Replies sorted oldest to newest

Disclaimer: I do not have a ceiling layout.  However, I do use FasTrack and noise is an issue.  On the plus side, I use carpet pad and green-turf-style carpet and it keeps the noise to a minimum.  Also, I find FasTrack switches extremely reliable so if you really want that siding, it would be easy to do.  That said, I use USA Track, three-rail track for Standard Gauge and it's virtually silent.  If I was doing a ceiling layout, I would go with good old tinplate track.  You can't see the track up there anyway.  It's reliable and quiet.

I love ceiling layouts so I'll be interested to see pictures when it's complete.  Good luck to you.

Kevin, I have the kind of Ceiling layout you are considering.  I lined the top of my shelves with 1/8” cork sheets, then set GarGraves track on top of that.  I did not screw the track down.  I do not have any appreciable noise from the shelf.  I can hear the great sound systems of my DCS and TMCC engines fine.  I tried to make a passing siding, but with 7’ 6” ceilings and the shelves above the 6’ 8” doors, I don’t have enough head room to get the switches working right.  It was a quite literal pain in the neck.  So I abandoned the switches for a future date or never.  I can post a few photographs if you wish another day.  I wish you well on the project.  Mine is pretty basic, but does the job well.

AMFLEET,

I'm currently running a ceiling/shelf layout just like the one you're looking to build (see the link below for a video of mine).  Regarding your first question, yes.  It's probably going to be louder than a table layout.  When I built mine, I used MDF for the shelf, Woodland Scenics foam roadbed and then Atlas Track ontop of that.  The mistake I made was not adding a layer of Homasote or soundboard above the MDF.  This coupled with the fact that I may have screwed my track down a bit too tight makes running my trains at 35 Scale MPH or faster really, really loud. 

When my trains run at those speeds, it's ungodly loud.  The sound travels through the walls and into the living room and kitchens.  Having said that, if you ensure that your actual "shelf" is isolated from the vibrations from the trains/track, yours should end up being much more quiet. 

See video below and good luck!

TrainGuyMcGee's Shelf Train

PS... I don't have any switches on my track so I can't help you out there.  I wish I would have added some though.


Last edited by TrainGuyMcGee

Thanks for the input everyone.

Mark - If you have any photos that you can post, that would be ideal

TrainGuyMcGee - Interestingly enough, your YouTube video was one of the ones that I looked at yesterday.  Small world.  Very nice work on your shelving.

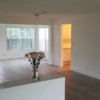
Unfortunately we didn't take any good photos of the Sunroom prior to boxes coming in.  This photo is the best I've got (it's the room in the back with the windows).  I have a better photo from Zillow but due to the ongoing photo copyright stuff, I won't post it.  The dining area will be on the right side and my hobby acreage on the left side.  Distance from the ceiling to the top of the windows is around 14 inches, so in that space would be bracket, shelf, foam level, carpet, and then Atlas track. I hope that will leave enough clearance for me to run Husky Double Stacks. I would run PlexiGlas around the entire edge to prevent flying trains.

OGR Sunroom & Living Area [8.1.19)

This is an AnyRail layout that I just drew up oriented to the same viewpoint as the photo above.  It's a twelve-inch width on three sides and 18-inch width on the side with the windows where the passing siding would be.  Curves are Atlas O-54 and O-63 and the switches are O-72.  The blue block is not water, it is to represent the two-track 30-inch long MTH Arch Bridge that will connect a purposely built gap in the wood shelf, as I want the bridge to be a focal point and for folks to be able to look up under the bridge and watch the trains passing overhead.  The bridge ends would rest 6 inches on either side onto the wood shelf.    

OGR 14X9 Ceiling Layout - Atlas O [8.4.19)


Attachments

Images (2)
  • OGR Sunroom & Living Area (8.1.19)
  • OGR 14X9 Ceiling Layout - Atlas O (8.4.19)
Last edited by Amfleet25124

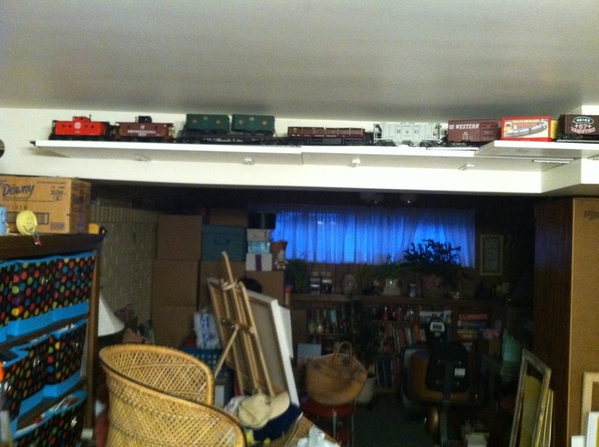
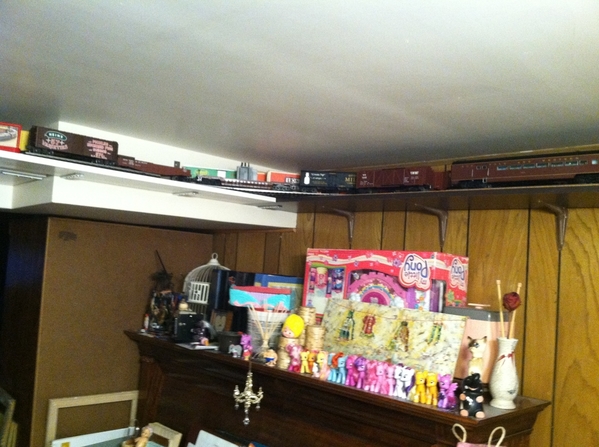
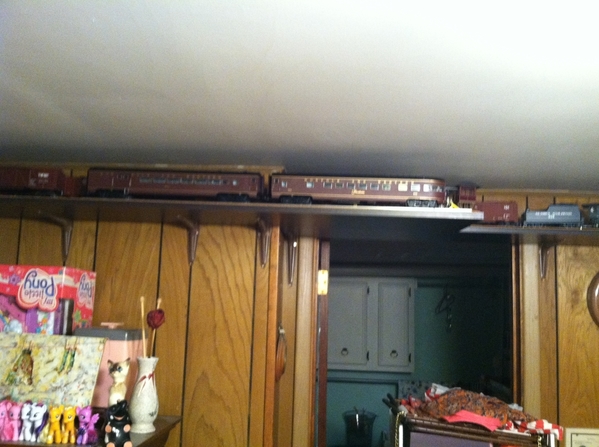
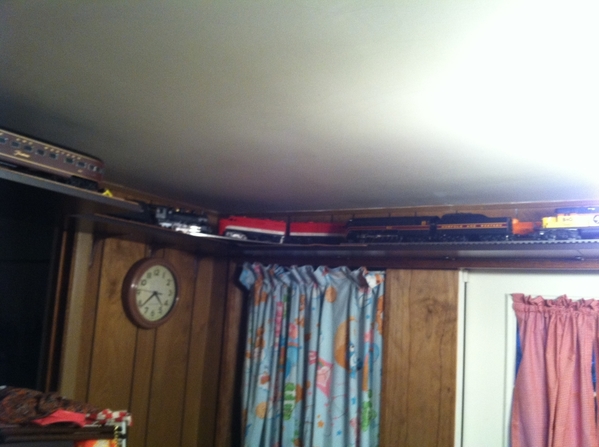
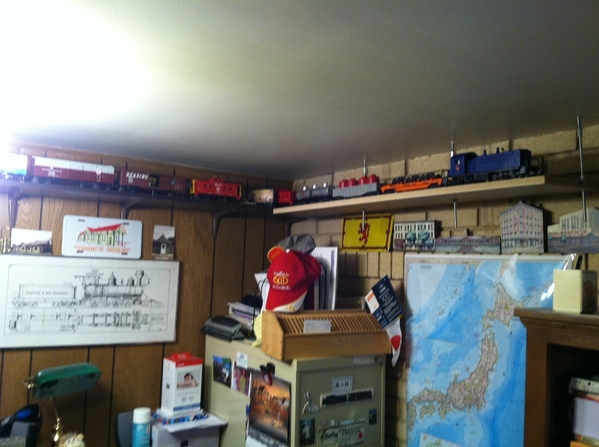
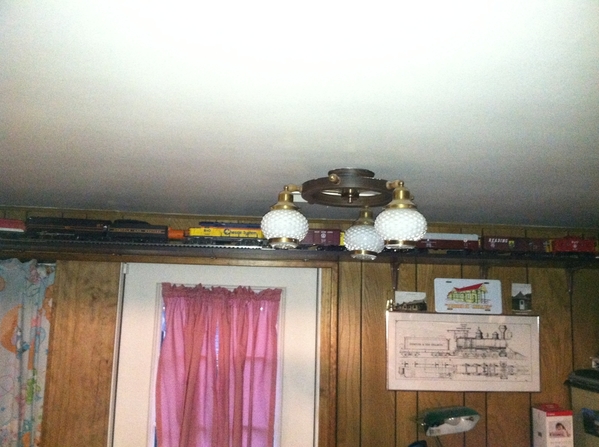
Yes, it will be more noisy than a platform layout with foam and cork, for example, under the track. Although I never got around to it a friend used acoustical tile on the wall and ceiling above his shelf and to my surprise it reduced the noise. I stuck with the noise for 15 years except when the domestic CEO was watching Oprah in the Den. A few fuzzy photos---operation removed in 2008. (14x32 w/20' ceiling@ ridge, 5 tracks).IMG_0002IMG_0004).IMG_0003

IMG_0001 

Attachments

Images (4)
  • IMG_0001
  • IMG_0003
  • IMG_0004
  • IMG_0002

Kevin:

You're already done some of my "advance homework" for a ceiling layout I'm now considering. Refer to the attached  track plan; it was created with ANYRAIL. I included two WYE configurations for reversing the direction of travel of the trains; and there are sidings for parking trains at the ready.

The concept calls for wall-mounted shelves, with some ceiling-suspended sections around a "L" shaped train room.  My big problem -- I already built a "L" shaped O-gauge layout in this room, so installing the ceiling railroad up above it would admittedly be an operational challenge.  Moral of the story: install the ceiling-mounted layout FIRST.

About switches ...
For convenience, I intend to use Lionel FASTRACK, and all the switches in the track plan would be Lionel O72 Command Control switches -- no wiring required inasmuch as those switches use track power. A CAB-l would present a command to each number-identified switch via TMCC. The CAB-1 can also control "routes" - a handy feature.

I've sought bids from local carpenters, but visitors to the train room have declined to offer a bid. I believe it's because the existing train layout is "in the way" and they don't want to risk causing damage to it and facing liability issues. Perhaps
a specialized cabinet maker with "aerial credentials" would be required.

Mike Mottler     LCCA 12934


Attachments

AMFLEET,

I built a shelf layout around my loft train room, it is 12 inch wide with 4 inside curves and one outside curve with 2 tracks, I settled for 031 and 036 curves to keep it manageable, then built my lower main layout under it. I used MDF and 3/4 White Pine for the shelf, with Korbels every 3 feet for support. I only put foam roadbed under the Gargraves track as it had to be above the windows and this only left about 10 inches of room. It is a bit noisy but my loft is isolated enough and the wife works full time so I get plenty of track time in. I run long trains on this, the walls are 24 feet and I have 19 MTH Premier UP Coal cars behind 2 GP-38-2 Williams on the inner track, and 17 BN boxcars,spine cars and caboose behind a Williams F-7 AB with both powered.  It is nice having trains above as well as below.IMG_0143IMG_0889IMG_1660

Attachments

Images (3)
  • IMG_0143
  • IMG_0889
  • IMG_1660

Kevin,  I'm thinking that you're most of the way completed with your ceiling layout, but, I normally respond to these posts.

1.)  No.  The noise is not increased at ceiling level.  In fact, most tabletops are louder because there is more table.  Roadbed is virtually a must.

100_0608

2.)  Switches are not a problem if you have the room.  The track above shows a long spur to the left.  It runs all the way to a small yard in the back of the layout that has one more switch for two more short spurs.  I use the siding often, because it is long enough to hold my long consists and you may want to get trains out of the way for track cleaning.  I have the two main lines connected with switches but, I find they are rarely used with my 100 foot long double-track, holding four DCS engines and 100 cars up there.   I highly recommend you assembling and testing any type of yard before you put it up.

100_0615

Yes, all wiring runs up the wall in one spot, from my one ZW and TIU.  All wiring is bus and runs completely around the layout, with power drops in the four corners.

20191113_151208[1]

You may want to consider backdrops.  Since my overhead is supported by brackets from above, it is necessary to hide them. 

100_0654

100_0621

The boards should look good from below.  These are stained, sealed, and sanded three times each.  It's worth the effort.

20170507_105202

Lights, signs, and extras can easily be added.

20150916_155807

Hope this gives you some ideas...

Best wishes,

Jerry

Attachments

Images (7)
  • 100_0608
  • 100_0615
  • 20191113_151208[1]
  • 100_0654
  • 100_0621
  • 20170507_105202
  • 20150916_155807

I did one that was simply a single track on Baltic Birch plywood, unfortunately I wasn't very imaginative to build in such a manner as to allow for building facades, scenery, etc.
However I did use Woodland Scenics foam under tubular "O" gauge track. The foam was glued to the plywood and the track glued to the foam. No fasteners thru the metal ties into the plywood. They run almost silently with the sounds turned off, the primary sound you hear in that case is the wheels going over the rail joints. Kind of like a real clickity clack as opposed to the electronic sound offered by the different operating systems and cars which can get pretty annoying

Last edited by Doug W.

Ok, Kevin.   Mark, Ron, Dewey, and the rest of the guys always have a few good ideas.  Since you already have your track, that issue is moot.  I'm sure you know the boys are always willing to help further the hobby.  The OGR forum is the best there is for that.

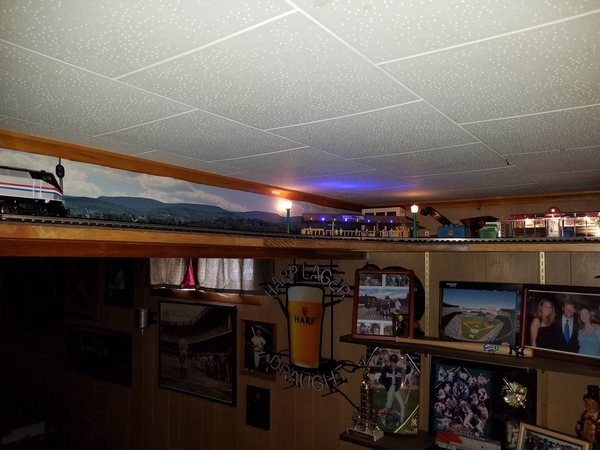
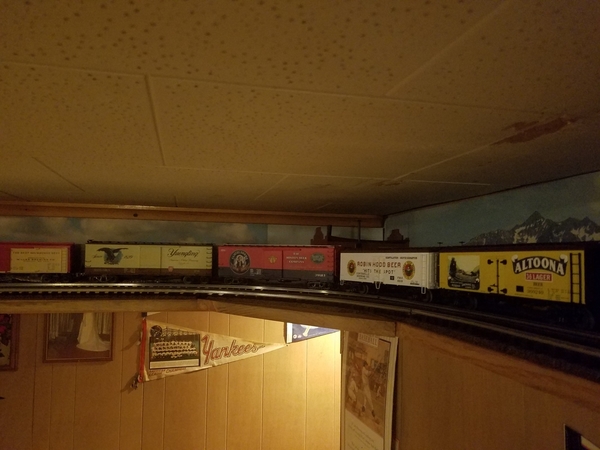
Here's my beer/booze train on the inside line.  As you can see, none of the wiring or lighting is visible, even at this elevated camera angle.

Ask away.....

Jerry

Attachments

Videos (1)
20190914_104459

Okay, here we go before it gets too late in the night.

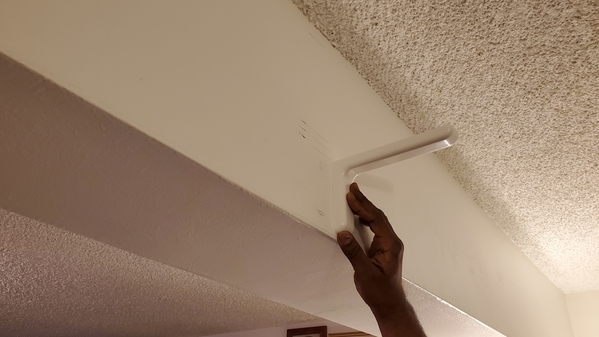
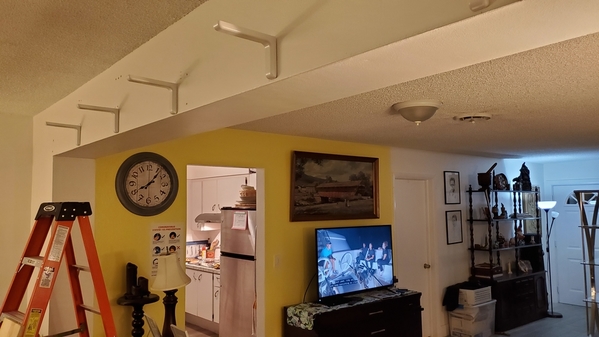
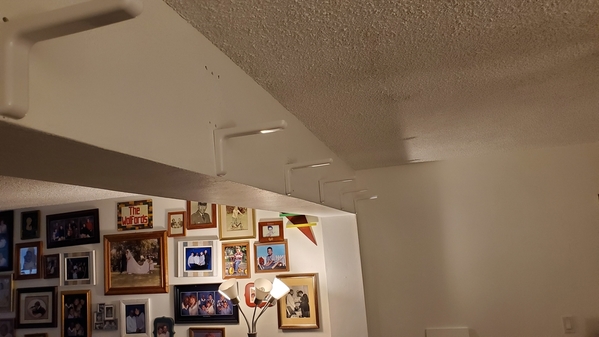
Since moving in, the dimensions of my idea for a ceiling layout have change.  I can only get a 12-inch maximum shelf width due to the size of the overhead beam between the Sun Room and the Living Room. I can’t and don’t want portions of the brackets protruding below the beam.  So only so only two tracks and no siding (see the AnyRail attachment).

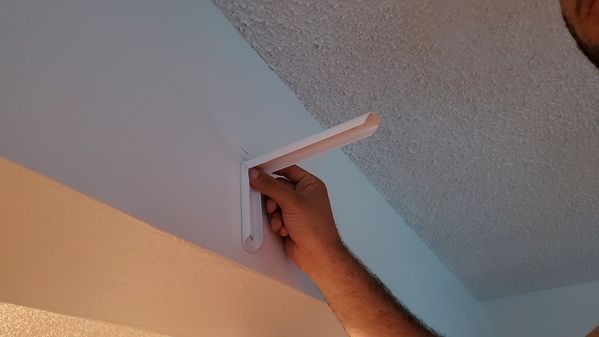
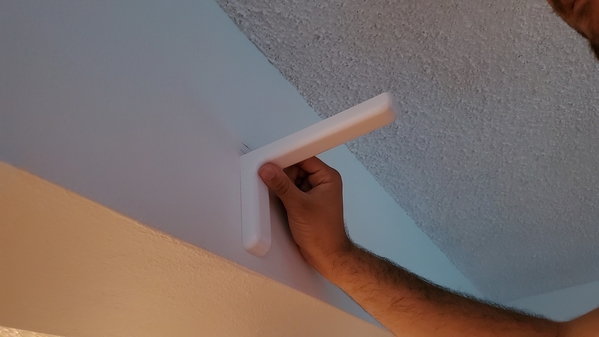
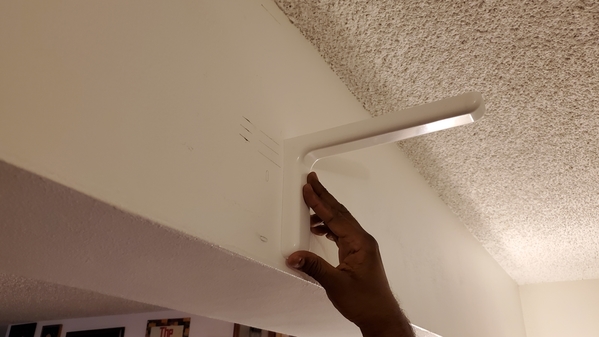
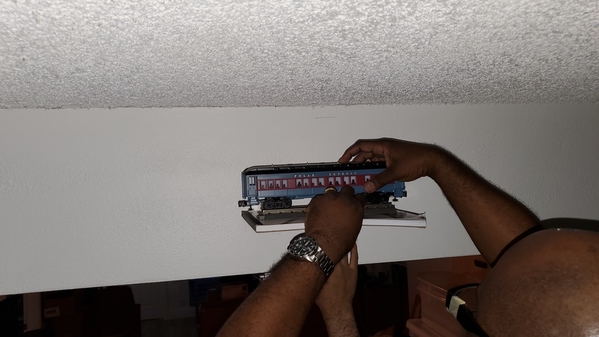
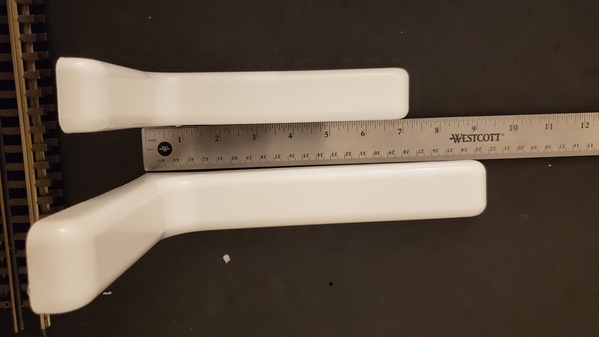
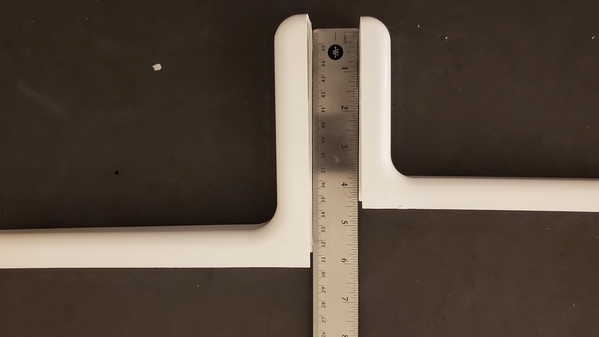
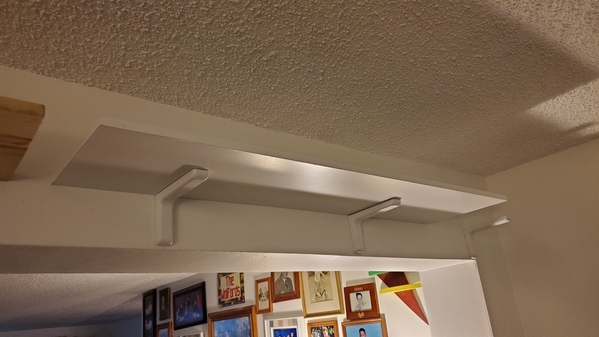
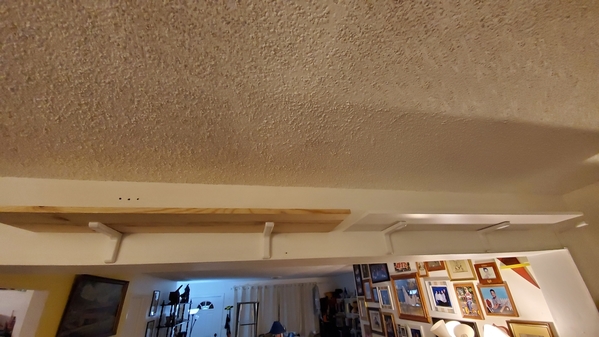
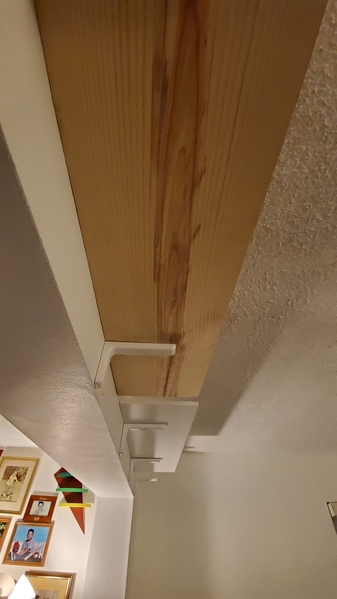
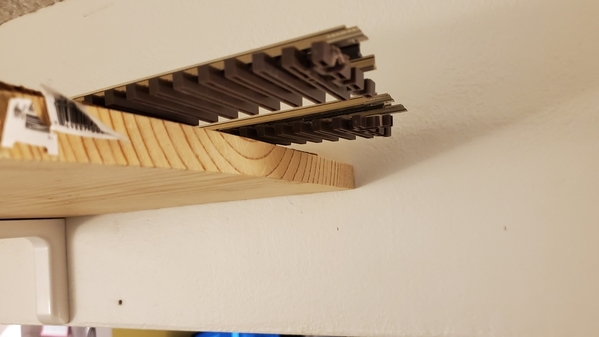
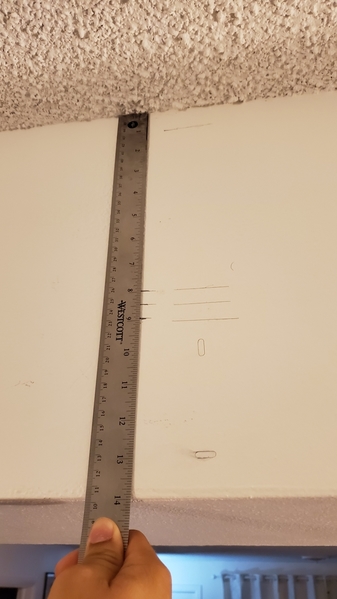
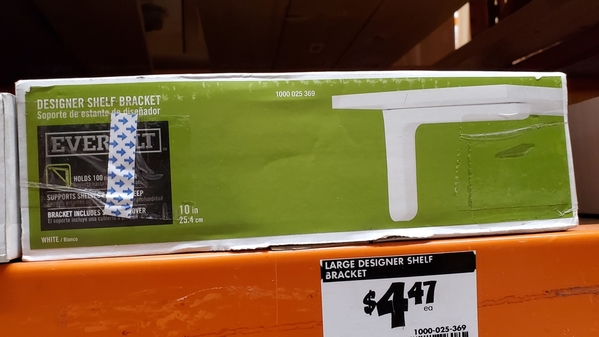
I like these brackets that I found at Home Depot because the mounting hardware is hidden by a white covering case. It looks like I might have to use the 8-inch brackets instead of the 10-inch brackets so that can get 8 inches of clearance from the track to the ceiling to insure that scale size Husky Stacks can fit without any issue. The three horizontal parallel pencil markings on the wall represent the ½-inch blue foam on top of ½-inch MDF . 

 20191118_220555

20190915_183242

20190915_190112

20190915_190125

20191118_213132

20191118_213148

20190915_192845

20191118_210112

20191118_210135

20191118_210515

20191118_210536

20191118_210541

20191118_212928

20191118_213001

It's too late to have the ceiling layout up and running for Thanksgiving Dinner in 2 weeks, but it would be nice to have the "under construction" setup being a conversation piece for the 15+ folks in the house for Thanksgiving.

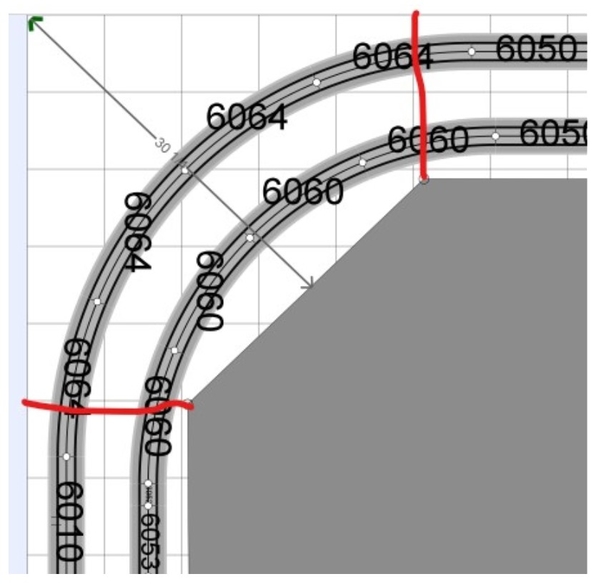
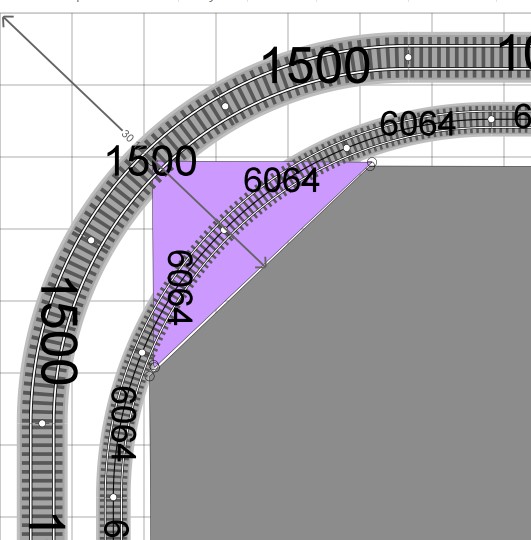
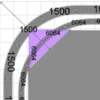
Ah my question. I need help with the corners. I don’t have any machinery at home to cut curves, so it can only be straight lines.  The two red lines represent the shelf bracket placements at the end of the straight.  However, that is a huge 30-inch wide span that needs to be supported. Any suggestions on how to do that without having to use two of the shelf brackets in the corner that basically come out to meet each other?  That will look weird when all of the other brackets are spaced 3 or 4 feet apart.

 Shelf Corner Dimensions

Jerry, I’m interested in your idea of the brackets forming an “L” and cradling the shelf as opposed to the upside down “L” and pushing the shelf up.

Attachments

Last edited by Amfleet25124

Mark, yeah, it's pretty quiet up there with the cork roadbed.  It's really quiet with the engine sounds off.  I run the Conrail 30 car consist and an Amtrak 10 car passenger train together on the inside line, and a New Haven ABA 26 car consist with a SF ABA 26 car consist on the outside line.  I rarely run any of them over 16 SMPH.   For me, that conserves power and the guys get a good look at the passing trains.

20170929_210307

Especially this one of themselves!

20190929_094856

Kevin, almost all of my cutting is done with a 65 year old jigsaw.  Haha, I go slow with it.  I used a small electric hand sander to do the finish work.  In addition, my shelves aren't glued, they're doweled.  For corners, you can only dowel one of the ends.  The other end is supported the same way as you have drawn, with brackets fairly close to the corner. 

20181105_201346

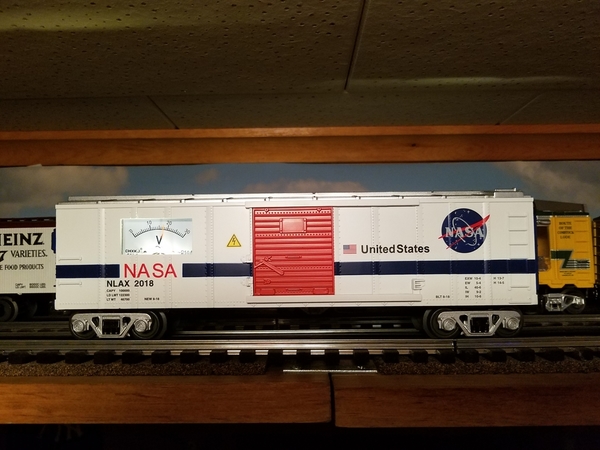
To secure the other end, I would use a steel board joiner, like the one just below the NASA car.  It took me awhile to find a pic of one, so don't worry, no one will notice it.  I'm not sure where this is located myself but, it's up there.  

20190124_155329

As you can see in the first pic, most of my corners are rounded with the jigsaw.  Not all of them, though.

20180201_131250

20181102_125727

Thirty inches is a pretty big corner.  Hanging a rod from the ceiling is out.   Without these tools, you could get small L brackets, put them toward the back, then paint over them to keep them hidden.   To shorten the span that needs support, you could run the straights together, then cut a triangle like I did here.

Keep us posted....

Jerry

Attachments

Images (6)
  • 20170929_210307
  • 20181105_201346
  • 20190124_155329
  • 20181102_125727
  • 20180201_131250
  • 20190929_094856

So today is drill holes in the walls day and I’m at the point of “measure twice, cut once” before a single hole is drilled.  I’m 90% all set with the bracket style and size that I’ve been locked on, however, it does have its drawbacks.  Because of the required/desired width of the shelf (12 inches) the brackets used means that there’s only 7 inches of space from the top of the cork roadbed to the ceiling. 

20191118_213148

20190915_183242

Due to that, I would (1) not be able to utilize the MTH double track Arch Bridge as a feature and (2) not be able to run both G and O track up there as the little LGB Stainz locomotive is 6.75 inches high from the top of the railhead.


AnyRail Atlas O + LGB Corner

JerryG & Mark:

This is where you come in. I’ve been looking at these 10-inch Zinc-plated Corner Braces at Home Depot to cradle instead of pushing us the MDF boards like you guys do.

https://www.homedepot.com/p/Ev...race-15085/202033947

Using these corner braces would allow me up to 12 inches ceiling clearance which expands the possibilities immensely. However, reviewing the manufacturer Q&A on the Home Depot website, they stress continuously that the steel braces are not meant for load bearing. They don’t even mention the load bearing capacity. That’s most likely for general knowledge but also for liability on their part.  What material brace did you use or do you think that the weight of model trains don’t come close to the stress limit of the braces?  The 10-inch white shelf brackets I’m planning on using holds 100 lbs per pair and because MDF bows, I was planning on placing them every 24 inches. 

Speaking of weight, do most of you leave your trains up on the shelves the entire time or do you remove them when done because of weight concerns?

Thanks for your assistance.


Attachments

Images (3)
  • AnyRail Atlas O + LGB Corner
  • 20191118_213148
  • 20190915_183242

Thanks Mark.  Did you use steel or zinc-plated corner braces?  It also looks like yours are like 5 or 6 inches in length as they don't reach out very far.  If so, that is good news.

Looks like it is back to the home improvement store, get the corner braces, and do some re-measurements.

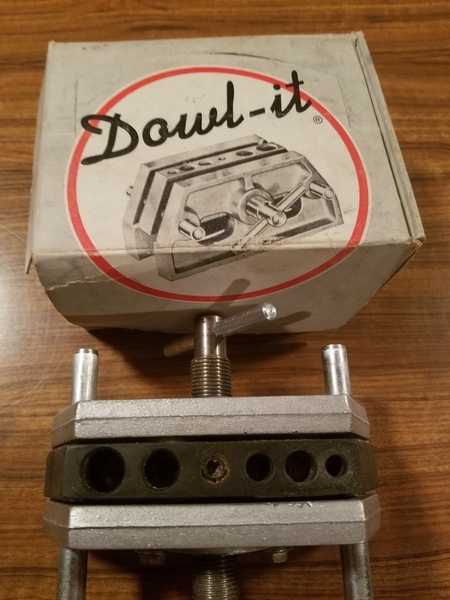
I'm also going to order one of those Dowel-It's online to see it up close and in person.

Last edited by Amfleet25124

Kevin, my test was with pretty thick 6 inch steel brackets.  You can get a good idea of them from my first pic on 11/18.  I've always advised to test with your hands and see if you can bend them.  If not, you might try a hammer to make sure, which I did, haha!  Your 12 inch boards should actually be 11 1/2, so a 10 inch bracket that will bear 100 lbs should be fine.

I have no experience with MDF, all my overhead layout is pine.  I would advise you to avoid much bowing!  That will lead to your trains derailing, probably sooner than later.   Simple changes in grade are okay.  Beside the obvious danger of trains falling, you don't want to be frequently getting on a step-stool to put trains back on their tracks.  Also, derailments have the potential to harm the electronics in your engines.  Make sure you install fuses or breakers between your track and your controllers. 

You may also want to shim some of your corner tracks to help avoid derailments.  I have several turns, and had to do it for the inside line in one of them.

Since my boards are all doweled, they are pretty strong.  I run two ABA engines with over 25 cars apiece on the outside line.  The inside line has a single Amtrak with 10 passenger cars, including 4 Superliners, and a single Conrail that is pulling 31 cars.  That may seem like a lot of weight but, my main concern is weather the CARS can pull each other, rather than the engines or the boards handling the weight.  Based on what you've told us, you shouldn't have any weight problems up there.

No, I never remove any cars because of weight concerns.  If you grab a board and pull down on it, it will bend but, they NEVER bend because of the trains.

So, you won't be assured until you mount a board.  One board is all you'll need to tell you what you want to know about the weight.

As always, good luck and keep us posted.

Jerry


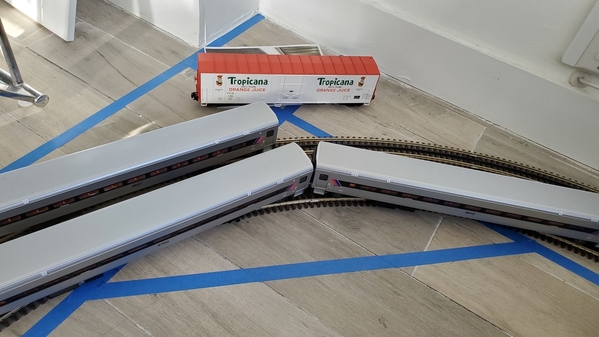
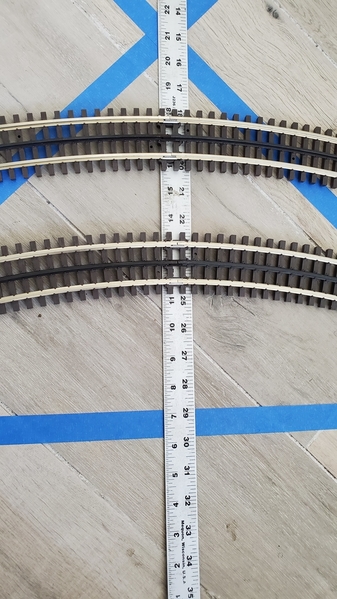
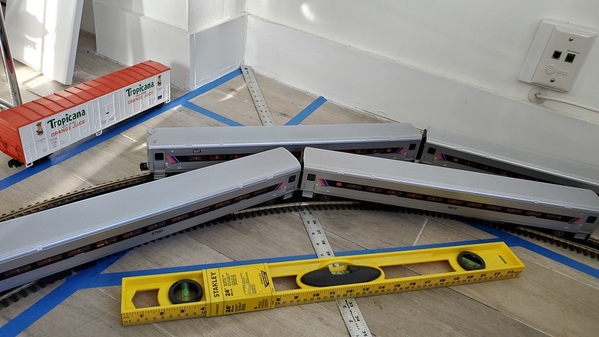
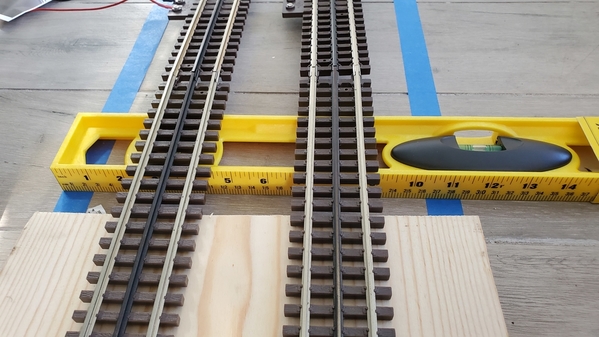
So this afternoon with no sports to watch on TV, I used the time to work on getting the delayed ceiling layout started.  First, I did some radius testing with O-63 and O-72 track on the floor to see how large of a triangle corner piece I'm going to have to make. 

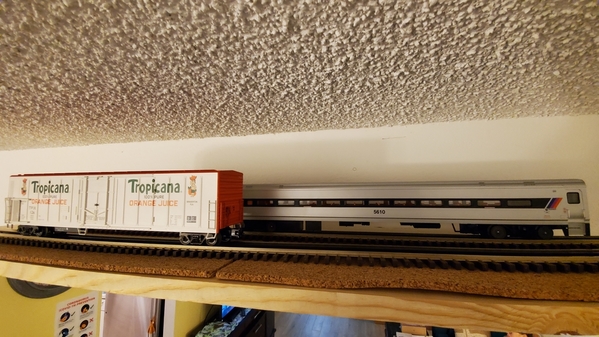
Used 4 of my 21.5-inch New Jersey transit cars as they and any Autocarriers will be longest rolling stock that I have.  I had to set mark points for the left and right ends of the triangle at 30 inches from the wall so that the sides of the cars would not clip the edges where I will be installing PlexiGlas barriers.

20200314_17455220200314_174601

I had the tracks spaced at 4.5" per center following Atlas' 9-inch diameter separation.  Man those cars came close to touching!

20200314_174611 

 Views of the coach overhang on the O-63 curves and how they met and crossed over the aforementioned 30-inch mark.

20200314_17471820200314_17472620200314_17473020200314_17473520200314_17474020200314_17474520200314_175001

Huge amount of shelf corner space that will need to be supported 

20200314_17505020200314_175342

Lumber is listed as a foot wide, but is only 11.25 inches wide.  Did all of my calculations based on the full 12 inches but should have known better.  Would love to have that 0.75-inches for the clearance on the outside of the inner curve, but at least the clearance on the wall side of the outer curve is sufficient enough so that the rolling stock isn't scraping the wall.

20200314_175713


Attachments

Images (13)
  • 20200314_174552
  • 20200314_174601
  • 20200314_174611
  • 20200314_174718
  • 20200314_174726
  • 20200314_174730
  • 20200314_174735
  • 20200314_174740
  • 20200314_174745
  • 20200314_175001
  • 20200314_175050
  • 20200314_175342
  • 20200314_175713

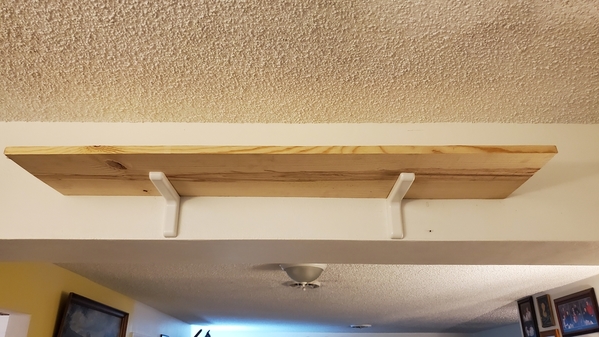
After the floor radius testing, it was time to start putting up some of the brackets so I did 6 of them one side.

Watching some Below Deck: Thailand on Bravo Channel with my wife.  (I used the hammer drill into the wall during the commercials )

20200314_20062620200314_200707

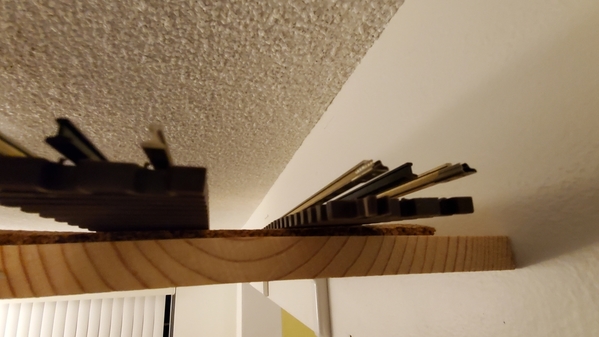
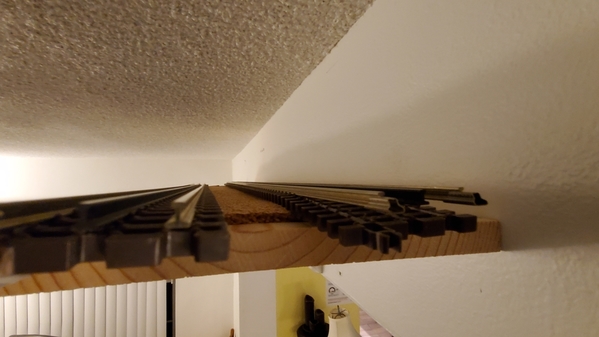
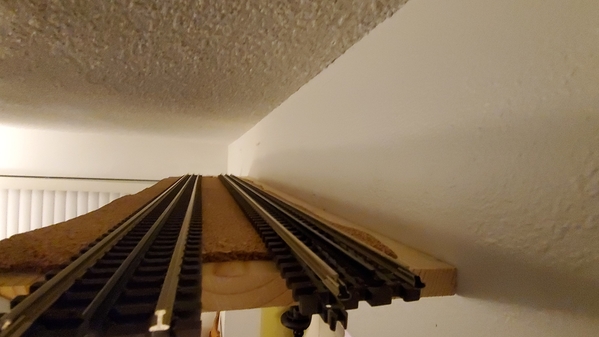
A view with the wood shelf (I will eventually paint these white)20200314_200739

And then with the MDF shelf.  These are way too heavy so will not be the final choice.20200314_20081420200314_20082420200314_200837

And then did a photo shoot with the track and two train cars for a visual of what it will look like20200314_20304420200314_20311020200314_20311220200314_20311820200314_20453220200314_20454620200314_20463020200314_20463820200314_204647

This view is from the south wall.  Directly overhead is where I want to place a bridge with at least a 24 inch span.  I don't think my desire to use a MTH double track arch bridge will come to fruition as the height of the bridge arch is too high to fit the clearance space between the shelf and the ceiling.  Disappointed as the goal of the bridge span for me was to (1) have it be the centerpiece display facing the rest of the living area and (2) have the trains running overhead with a clearer view of the underside of the train as it runs by.  

20200314_204712


Attachments

Images (16)
  • 20200314_200626
  • 20200314_200707
  • 20200314_200739
  • 20200314_200814
  • 20200314_200824
  • 20200314_200837
  • 20200314_203044
  • 20200314_203110
  • 20200314_203112
  • 20200314_203118
  • 20200314_204532
  • 20200314_204546
  • 20200314_204630
  • 20200314_204638
  • 20200314_204647
  • 20200314_204712

MikeH, yes, the wood is 1x12 Pine Common Board.  I'm not using plywood as would like to have the edges be clean to the surface like the MDF.  Plus you can't drill into the edge side of plywood without splitting up the layers and losing the structural integrity.  I plan on having PlexiGlas around the inside edge all the way around except for the bridge portion.

Everything in my corner is put back in place for the night

20200314_234048 [1)

Attachments

Images (1)
  • 20200314_234048 (1)
Last edited by Amfleet25124

Kevin,

Re the use of 1x12 pine boards - this is a bit late, but hopefully not too late.

Wide boards like that, especially the stuff we get these days, are prone to seasonal movement and warping.  While I understand your reasons for not using plywood, I suggest that you let the boards acclimate for awhile and then prime and paint them before permanent installation.  Let them fully cure before attaching anything.

Also, depending on where you buy your pine, you can look for "select" boards - generally flatter and have tighter grain so they're smoother and more stable.  They're considerably more expensive, but IMO a good investment when one considers the amount of time and effort involved in building the layout.  

Kevin- I agree with Mallard- pine boards with wide grain and lots of checks and knots will warp. The tighter the grain is the more stable the boards will be. Definitely prime and paint first.

Another suggestion for plywood use would be to glue a 1" strip of pine to the edge to fasten the plexi too. Also will give you a cleaner edge for a better appearance.

Looks good so far tho....

Last edited by RSJB18

Good morning folks.

Carl - There is 8.5 inches of clearance from the top of the board to the ceiling. Add in the 0.5-inch cork board and the clearance is 8 inches which is where my peace of mind threshold will be for the 5.5-5.75 inch high husky stacks and auto carriers.  The bridge information MTH provides is all over the place (It lists some 2-track bridges having the same dimension as single track bridges).  Says that the bridge is 14 inches high but that includes the supports. 

I'm going to have to go back to the LHS (Ready to Roll Trains as my train is pictured below) and measure the dimensions of one right out of the box for myself, not what MTH says it is, unless a fellow OGR member has the dimensions handy 

20200201_144010

I don't want to have to resort to a girder type bridge - also in the above photo - as those are too short in length and I would have to jerry rig with steel rods, etc. so that the connection of the two bridges is properly supported.  Will have to do so some internet searches for O Scale bridges that will fit my requirements.  Atlas O's 6923 Deck Girder Bridge would be great fit and look but is ridiculously expensive, and as it's a single track, I would have to buy two of them.  Having a single track bridge for a 2-track set up would be great for a layout in which one is trying to simulate realistic operations with one train having to wait for the other to clear, etc., but that works on a surface that's at eye level or helicopter view.  What would not work really well if you're going to have to crane your neck upwards constantly to do that.  Ceiling layouts, are for the most part, designed as loop runners.  Scratch building a bridge is not an option.
Mallard + RSJB18 - Understood, and it's not too late.  The two boards that you see in the photo is all that I've purchased so far just for testing purposes.  Haven't invested heavily yet in lumber but I do know that I won't be using the MDF because its too heavy. Interesting idea on gluing the 1-inch pine to side of plywood for the clean surface.

Attachments

Images (1)
  • 20200201_144010
Last edited by Amfleet25124

Avoiding MDF (and particle board) is a wise move - it will sag without a lot of support - needs a lot more support than plywood or solid wood.  MDF and particle board are great products when used appropriately, but trains are just too heavy for them.

Gluing a solid wood strip to the edge is a great idea; I frequently do this when building shelves for cabinets.  However, doing it right requires some equipment that you might not have - biscuit joiner, clamps, air nailer - need to keep the joint tight while the glue dries.  Hopefully there's a woodworker in your club who can offer assistance.

Kevin, You are wise to do all this testing upfront!  Your brackets and shelving looks good and you have plenty of height clearance.  Yes it is amazing how much the curves reach out from the corners.  I think a lot of us don't think of it much on a tabletop layout, but on shelves it really shows.  Excellent work to solve a lot of issues before final installation!!

Kevin, thanks for the reply and good luck in your hunt for an appropriate bridge--I have no suggestions on that score.

Plastruct offers a 30" single track truss bridge kit which you might be able to install two side-by-side:

KIT-2_c012c004-a2f2-4c3f-9ffc-3cd33f082fbe_1024x1024@2x.jpg?v=1566432947" />

https://plastruct.com/products/3002-kit-3002

NOTE:  The gibberish above the link is the result of pasting a photo of the bridge taken from Plastruct's website which appeared fine before publishing my reply.


Last edited by Pingman

I have my office room which is about 9' by 12' with 8 foot ceilings. I have been thinking about a ceiling layout just above the doors and windows which would leave about 10" from the shelves to the ceiling. Instead of wood I am thinking of plexiglass for the shelving which would allow me to see the trains from underneath. Home depot sells plexiglass in sheets which could be cut into 8" wide strips. Has anyone heard of a ceiling layout with plexiglass?

JohnF

John F posted:

I have my office room which is about 9' by 12' with 8 foot ceilings. I have been thinking about a ceiling layout just above the doors and windows which would leave about 10" from the shelves to the ceiling. Instead of wood I am thinking of plexiglass for the shelving which would allow me to see the trains from underneath. Home depot sells plexiglass in sheets which could be cut into 8" wide strips. Has anyone heard of a ceiling layout with plexiglass?

JohnF

John, I've seen such layouts on YouTube.  Here is an example of one that has partial lexan/plexiglas flooring: https://www.youtube.com/watch?v=qt367afSbwg

Pingman posted:

Kevin, thanks for the reply and good luck in your hunt for an appropriate bridge--I have no suggestions on that score.

Plastruct offers a 30" single track truss bridge kit which you might be able to install two side-by-side:

KIT-2_c012c004-a2f2-4c3f-9ffc-3cd33f082fbe_1024x1024@2x.jpg?v=1566432947" />

https://plastruct.com/products/3002-kit-3002

NOTE:  The gibberish above the link is the result of pasting a photo of the bridge taken from Plastruct's website which appeared fine before publishing my reply.


Carl, I will look into that Plastruct bridge

Last edited by Amfleet25124
Amfleet25124 posted:

MikeH, yes, the wood is 1x12 Pine Common Board.  I'm not using plywood as would like to have the edges be clean to the surface like the MDF.  Plus you can't drill into the edge side of plywood without splitting up the layers and losing the structural integrity.  I plan on having PlexiGlas around the inside edge all the way around except for the bridge portion.

Everything in my corner is put back in place for the night

20200314_234048 [1)

 WOw Kevin, you sure accomplished quite a lot .. Amazing what can be done when the TV is off'...... And [BTW] you did a very nice job'.... Keep going'...

Add Reply

Post
The Track Planning and Layout Design Forum is sponsored by

AN OGR FORUM CHARTER SPONSOR

OGR Publishing, Inc., 1310 Eastside Centre Ct, Suite 6, Mountain Home, AR 72653
800-980-OGRR (6477)
www.ogaugerr.com

×
×
×
×
Link copied to your clipboard.
×
×