Disclaimer: I'm not a 3RS guy (although I did partially build a P&D Hobbies F-unit once )

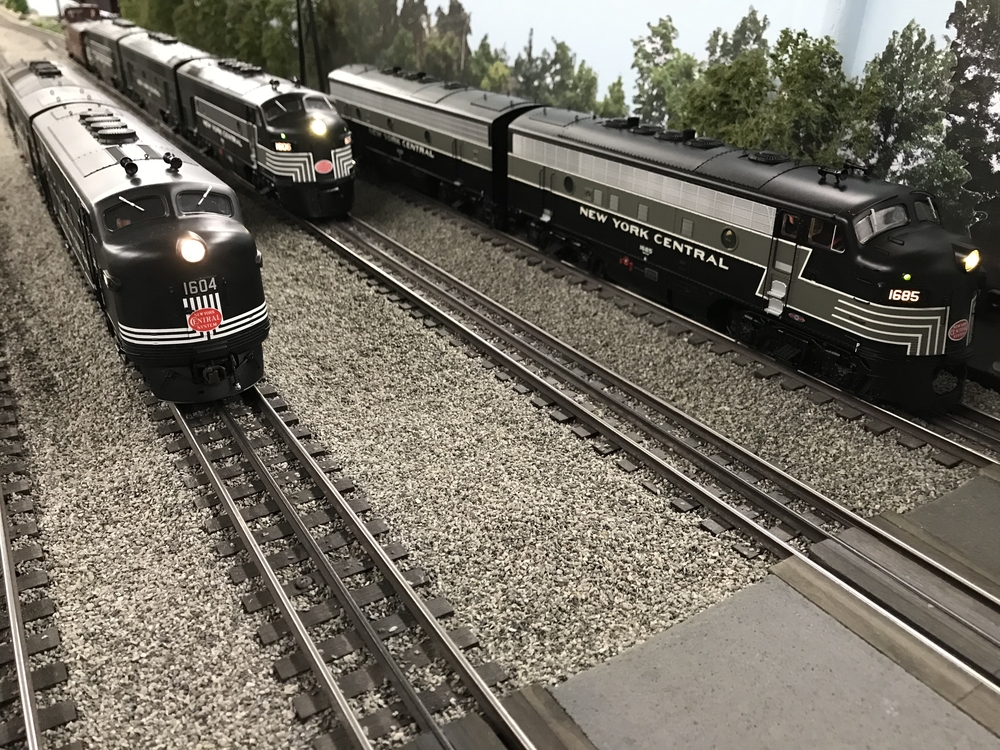
I'm *mostly* a steam guy.  One of the things that bothers me about 3-rail diesels, is the "swinging pilots," which swivel with the truck, and leave an unsightly gap between the body and pilot.  For hood units that might be used for head-end switching, I'm willing to concede realism to achieve operation on non-prototypical sharp curves.  But I have a harder time accepting the look of a swinging pilot on cab units.

I have a Lionel Legacy F3 circa 2010, and I would like to improve the front end to the standards of a 2-rail model.  Fixed pilot, small coupler opening, and either a scale coupler or a "dummy" coupler.  I'm not planning to do any head-end switching, or climb any Lionel trestle sets with abrupt transition to a 5% grade.  But I would still expect the loco to navigate O42 (21" radius) curves.

So I'm asking all of you 3RS'ers who have done it:  What parts do I need for this conversion?  Where can I get them, and what are the modeling steps to achieve this outcome?  Thanks in advance for sharing your tips and experience!


Last edited by Ted S
Original Post

Replies sorted oldest to newest

I believe P&D Hobby sells pilots for F and E units that can be glued right to the bodies. They have smaller openings if you want to put a dummy or kadee coupler or you can get a cover to close the opening. This K-Line E unit has a P&D pilot with coupler cover. Just google P&D hobby and go to their two rail detail part section.

Note I think all of their pilots are the passenger style. To keep the freight style you will probably have to remount the existing one with a spacer to fill the gap.

image

Pete

Attachments

Images (1)
  • image
Last edited by Norton

I recall the P&D parts being a soft, flexible plastic.  What kind of adhesive would you use to glue this to metal?  (Or do you glue it to the protruding "overbite" of the plastic shell?)  If it matters, the first model I would like to update is 6-34589.   The stock pilot is the right shape and fairly detailed, but the coupler opening is huge, and I think I would have to make some kind of spacer to prevent excessive clearance from the railhead.

Ted S posted:

I recall the P&D parts being a soft, flexible plastic.  What kind of adhesive would you use to glue this to metal?  (Or do you glue it to the protruding "overbite" of the plastic shell?)  If it matters, the first model I would like to update is 6-34589.   The stock pilot is the right shape and fairly detailed, but the coupler opening is huge, and I think I would have to make some kind of spacer to prevent excessive clearance from the railhead.

Ted the P&D pilot is a plastic that works with solvent adhesive (ABS??). I glued it right to plastic body, not the frame. It doesn't interfere with removing the body at all. Using the supplied metal freight pilot would require a different adhesive plus a spacer to fill the gap.

Pete

Norton posted:
Ted S posted:

I recall the P&D parts being a soft, flexible plastic.  What kind of adhesive would you use to glue this to metal?  (Or do you glue it to the protruding "overbite" of the plastic shell?)  If it matters, the first model I would like to update is 6-34589.   The stock pilot is the right shape and fairly detailed, but the coupler opening is huge, and I think I would have to make some kind of spacer to prevent excessive clearance from the railhead.

Ted the P&D pilot is a plastic that works with solvent adhesive (ABS??). I glued it right to plastic body, not the frame. It doesn't interfere with removing the body at all. Using the supplied metal freight pilot would require a different adhesive plus a spacer to fill the gap.

Pete

Genius. I never thought about gluing the P&D pilot right to the body. I lowered mine to eliminate the need for a spacer, but also glued the P&D pilot to a 3D printed frame that also holds the Kadee box, if needed. 

B5EF95AB-E20F-45B3-8A1B-46F29B7BCE445F34AEC8-A9BB-4C17-A843-80BA062F4A9F

This uses the stock holes to align the pilot and then drill though the frame and tap for the coupler box, or in this case, to hold the whole thing solid. 

For the F7, I used the stock Lionel pilot, lowered the body and mounted it right to the frame.  It takes some work but it’ll do.

EE925DDF-C3DF-4427-861B-A47500825BB1FA8D356C-C347-46A4-BD0F-8367F898C6822864E1A4-E8AA-42CD-AABD-152FD7045231

Thanks!

-Mario

Attachments

Images (5)
  • B5EF95AB-E20F-45B3-8A1B-46F29B7BCE44
  • 5F34AEC8-A9BB-4C17-A843-80BA062F4A9F
  • EE925DDF-C3DF-4427-861B-A47500825BB1
  • FA8D356C-C347-46A4-BD0F-8367F898C682
  • 2864E1A4-E8AA-42CD-AABD-152FD7045231

I've used several of the P&D pilots. My first P&D was for an E7, mounted to the chassis. Fit was perfect.

Since then have used the P&D pilot on Lionel Legacy F7's, mounted (glued) to the shell using Loctite GO2 glue.

In both cases I elected to add closed doors for the coupler opening. I think for my next project, I'll leave the doors open and add a Kadee coupler.

RAY

Ray of sunshine posted:

I've used several of the P&D pilots. My first P&D was for an E7, mounted to the chassis. Fit was perfect.

Since then have used the P&D pilot on Lionel Legacy F7's, mounted (glued) to the shell using Loctite GO2 glue.

In both cases I elected to add closed doors for the coupler opening. I think for my next project, I'll leave the doors open and add a Kadee coupler.

RAY

It's easy, I cut the pilot doors along the seam and just used two screws to hold them in place, open.

Image result for Centralfan1976 Lionel F3

042 curves?????

Well then you better just leave the fixed pilot and Kadee to the front of the F/E units and not try to close up the gap too much between A and B units.

This type of "closed gaps" between units will NOT negotiate 042 curves. Like you said, there is a trade of between realism and toy train curves. You can't have both with this type of operation.

19LABC20150507_125006

Attachments

Images (2)
  • 19LABC
  • 20150507_125006

Thanks for all the tips and for sharing your hard work!  I'm not too worried about the gap between units, and I don't intend to convert the rear coupler, (or the rest of my 3R equipment) to body-mounted Kadees.  Not sure how well that would work on O42 anyway.

My concerns are overall height, excess clearance between the pilot and the railhead, and especially the "dislocated jaw" front-end appearance that comes with using a truck-mounted pilot on sharp curves.  I'm not going to switch with the front end of an A-unit.  If I run two of them back to back in an A-A configuration (unlikely), the unmolested unit will be coupled to the train.

I really wish Lionel would put a scale pilot in the box.  I'm tired of seeing dislocated jaws and gaping maws!

Add Reply

Post

OGR Publishing, Inc., 1310 Eastside Centre Ct, Suite 6, Mountain Home, AR 72653
800-980-OGRR (6477)
www.ogaugerr.com

×
×
×
×
Link copied to your clipboard.
×
×