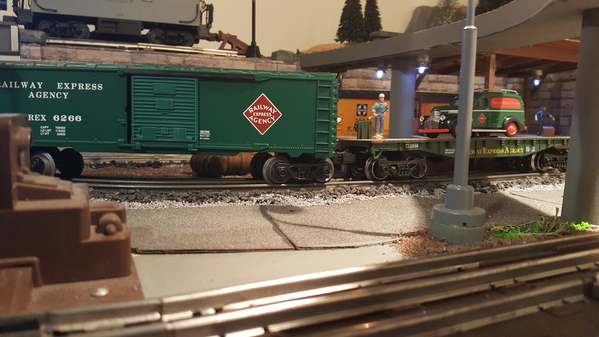
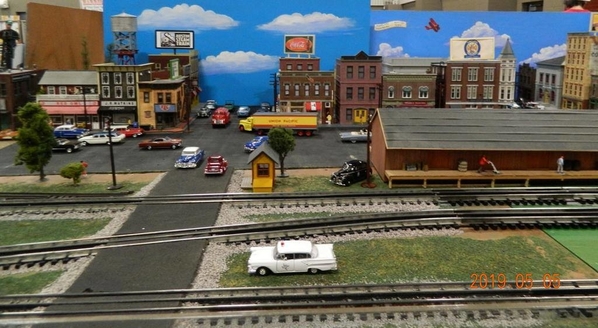
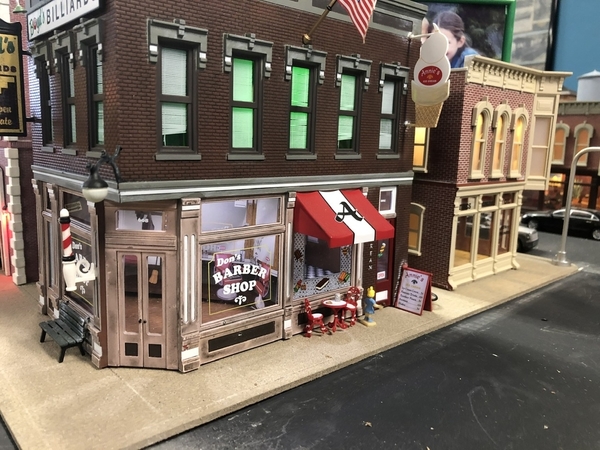
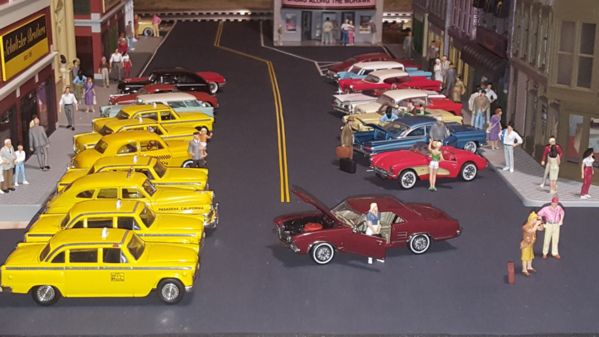
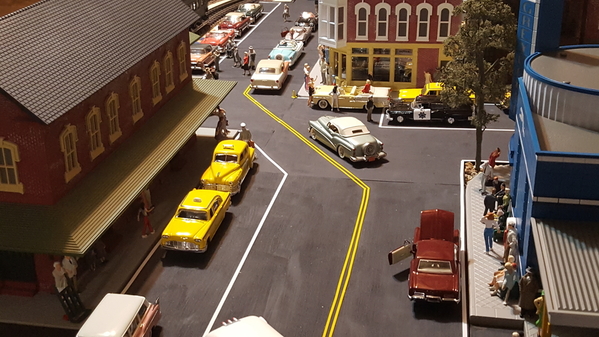
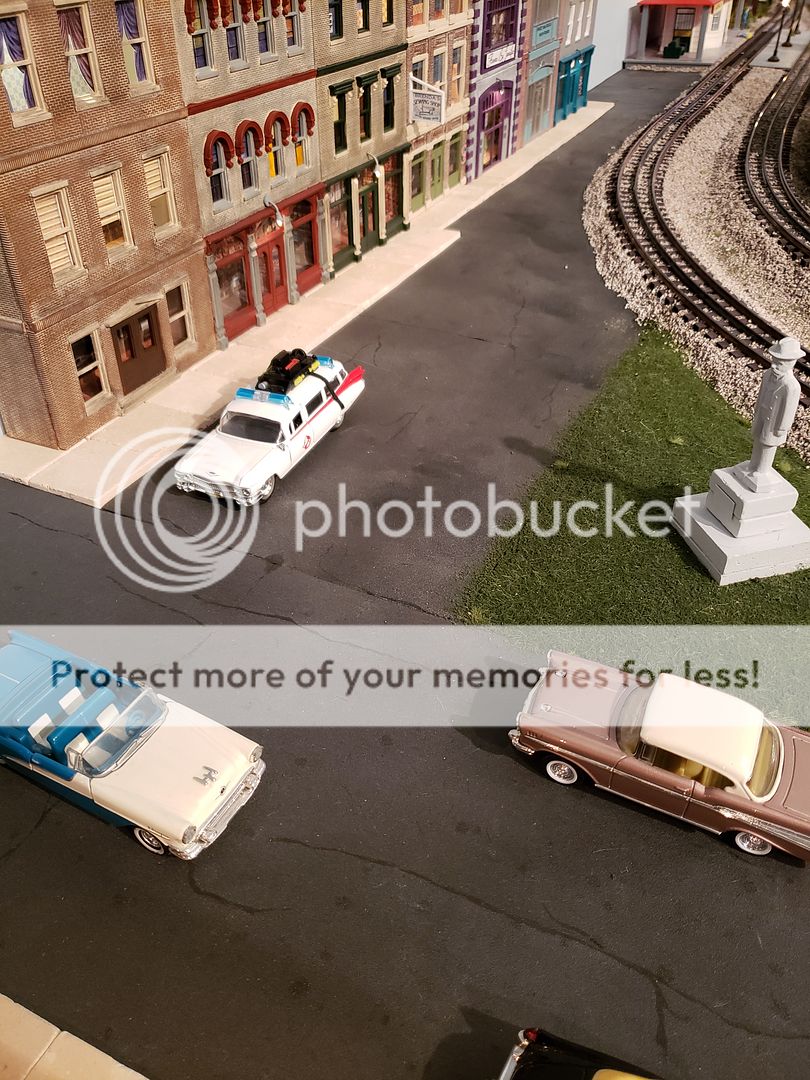
Using this down time to add streets and sidewalks to my o scale layout Any Hints??
Replies sorted oldest to newest
I used Woodland Scenics road/ sidewalk kit. Asphalt paint real easy to apply with 1/2" foam brush. Sidewalk are as easy, concrete grey color. Flat color effect, paint real thick and surprising how far it goes. I painted mine over plywood that was already been painted cream. Very easy to use.
Attachments
thanks for your quick response...I will look into your suggestions and let everyone know how it works out. As of today I have lots of time on my hands so no rush.
Concrete is not as grey colored as many folks model it to be. Aged concrete has a yellowish tinge to it.
The expansion grooves in the concrete can be drawn on with a pencil.
if you’re cutting your streets, one of the great techniques is coating with durhams water putty. after it dries, you can slightly bend the street and it will crack in a way that mimics real streets.
another material i’ve used is task board. usually comes in two thicknesses (i think 1/8” and 3/8”). can be cut easily, has a slight texture and easily painted. i often start with primer gray, adding lighter gray, a camo tan and a camo green as desired all with spray cans. then add chalks for tire marks and markers to draw cracks or very thin application of black paint to simulate tar.
for sidewalks I used paint stir sticks. Paint a concrete beige. Scribed with a hard pencil for expansion grooves. Look great, inexpensive!! JohnA
I made streets from thin card stock (cereal boxes) painted with Rustoleum Textured Black. The joints are painted with black acrylic to mimic tar-filled joints. Cheap and easy to install with a few drops of glue. No sidewalks here but gravel along the edge hides the ends.
Attachments
I've been using HO cork switch pads. It the right width for a two lane road in O scale. I paint it with Woodland Scenic's asphalt paint. It looks similar to some of the various tints of different asphalt down here in Texas. One can tell when driving thru Texas that you have entered a new county because the color and feel of the road changes.
Since our layout is modular I have never setup my city exactly the same way twice. To this end I have to be flexible so many times I use black poster board and cut out the shape of the road I need. I have lots of pieces stashed in a box along with more cork.
Attachments
For sidewalks and concrete paved areas I use Plaster of Paris. After it sets I apply a thin wash of alcohol and Testors Sand color, which gives it a sand, rather than gray color.
Attachments
For my roads I use 0.125" Masonite. I paint them a random flat black and then top coat with a Woodland Scenics blend of their blacktop and concrete paint in a random pattern. Finally I sand them a little with a 120 sanding block.
For my sidewalks I use a Bar Mills product. I glue the sidewalk to another 0.125" strip of Masonite which provides the proper sidewalk height. The Bar Mills product is a compressed paper product that cuts easily and is embossed with cracks and curbing. I paint the sidewalks and parking lots with a base coat of a "concrete" looking paint. After that dries I paint a random pattern of Woodland Scenics concrete paint that I thin down with water over everything. Then using an old t-shirt, I wipe" it off in a random pattern.
This might all sound a little tedious but it goes quickly.
Donald
Attachments
I've used a variety of materials...black foam board and painted it with asphalt paint from Woodland Scenics; I've used "Foamie" a thin, very flexible material which is much easier to work with than foam board, I've painted it, and also glued on small cinders to give it a more realistic look. Finally, I've used a mixture of large and small cinders. Below, in the same order are pics of the results.
Foam board:
Foamie:
Only cinder:
For the area between the rails, I used Foamie with a layer of cinders. Perfect fit and look matching the road.
I show how I built this on my youtube channel.
https://www.youtube.com/watch?v=sWtLqoPx790&t=39s
Attachments
3rail posted:
For my roads I use 0.125" Masonite. I paint them a random flat black and then top coat with a Woodland Scenics blend of their blacktop and concrete paint in a random pattern. Finally I sand them a little with a 120 sanding block.
For my sidewalks I use a Bar Mills product. I glue the sidewalk to another 0.125" strip of Masonite which provides the proper sidewalk height. The Bar Mills product is a compressed paper product that cuts easily and is embossed with cracks and curbing. I paint the sidewalks and parking lots with a base coat of a "concrete" looking paint. After that dries I paint a random pattern of Woodland Scenics concrete paint that I thin down with water over everything. Then using an old t-shirt, I wipe" it off in a random pattern.
This might all sound a little tedious but it goes quickly.
Donald
great looking roads and sidewalks. thanks for the weathering tips, too. i’ve also used the barmills sidewalks with good success.
So many great ideas from everyone!
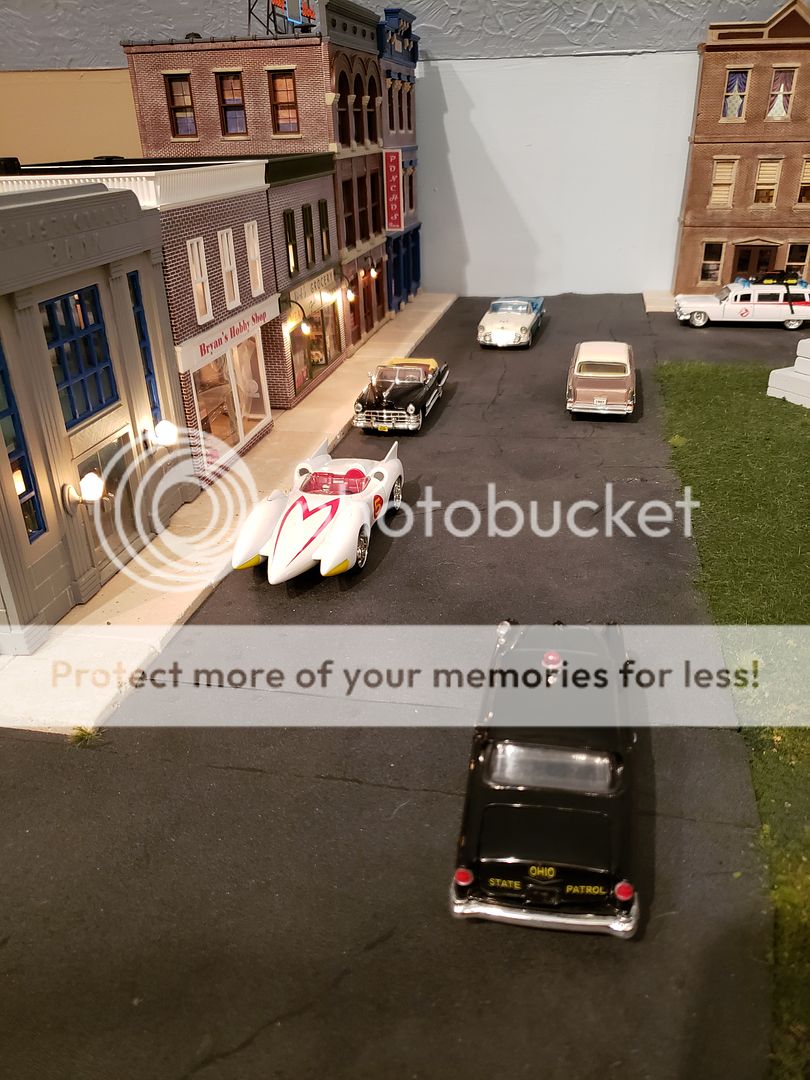
I used 2"x2" marble floor tiles for sidewalks, I found them at Home Depot glued onto a mesh and sold as a 12"x12" sheet which was nice. My asphalt is super easy, I glued black fine grit sandpaper sheets to foam board, lightly sprayed them with gray primer to take the "newness" off of it then painted tar lines randomly around.
Paul
I use rolled roofing for asphalt streets, and ado title spray painted with rustolium. Camo khaki. I scribble the joints in and then wash with India ink and alcohol
I used 220 grit sandpaper for streets and 1/8" Masonite hardboard for sidewalks. Expansion grooves in the sidewalks were scribed with a sharp X-Acto knife and colored with a very sharp lead pencil. Sidewalk color was just a mix of black, white, tan, and yellow craft paints that sort of matched a piece of concrete chipped out of a city sidewalk.
Attachments
I find curbs or culvert ditches can be more important for defining than color or texture. Apple Barrel "Concrete" too dark imo(still used it, but light granite is closer imo. The roads tend to be light grey here. Just laying a chopstick curb next to a (kinda thick) rubber sheet helps shed the "sheet sitting on grass mat" look. Country roads don't have the straight edges of the city either. Often you'll see old buried paver sticking out of the edges of new etc..
Cork and shingle make for a good packed asphalt, rubber for poured on sealers. Grainy textured concrete; paint sandpaper (or use wet dry paper for textured asphalt).
Spellwreck fought me tooth and nail changing words. I hope it makes sense when I hit post.
skpy. I posted a similar thread a few months ago on the scenery forum...had several great responses with many similar to the ones above. You could search the scenery forum under my name to checkout the comments. I ended up successfully using "Foamies." To raise the height of the road to make the curbing height more realistic against the MTH buildings, I used a 6mm thickness with a 3mm glued on top. I painted the product with an acrylic paint. The product is easy to work with, and so far I've had no issues with indentations in the road surface from the wheels on the vehicles. Good luck with your project...


