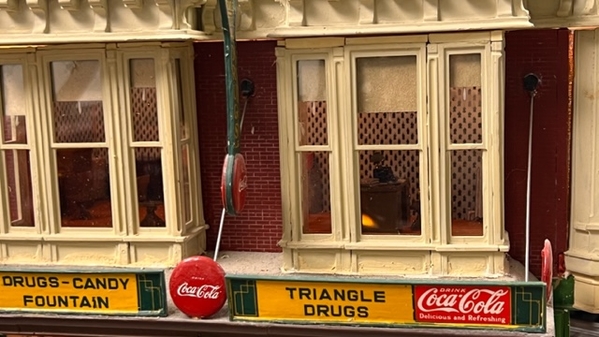
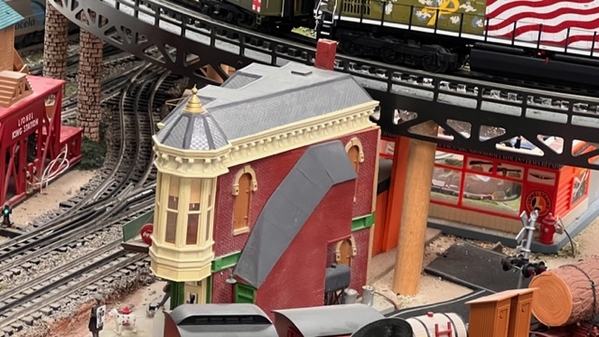
I agree - working with the lead (except details) is tough - trying to straighten the pieces and working with the seams.

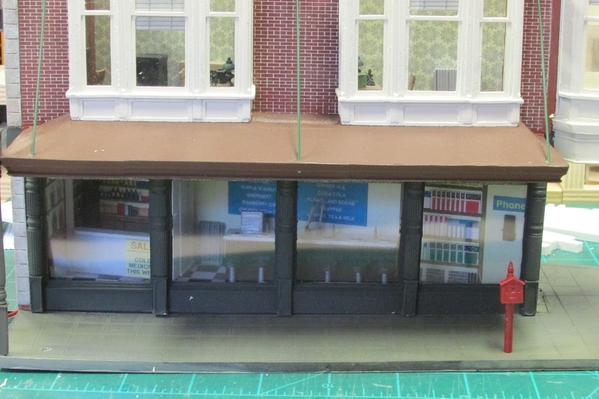
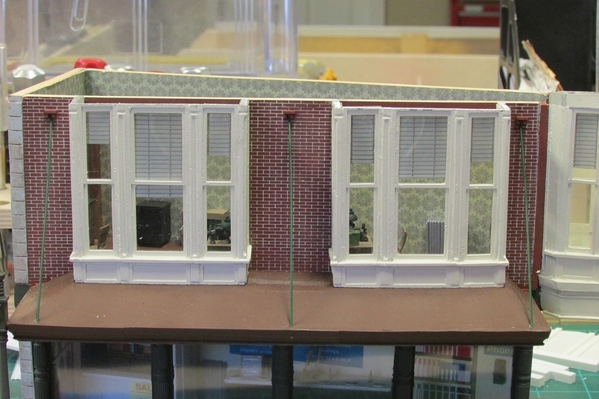
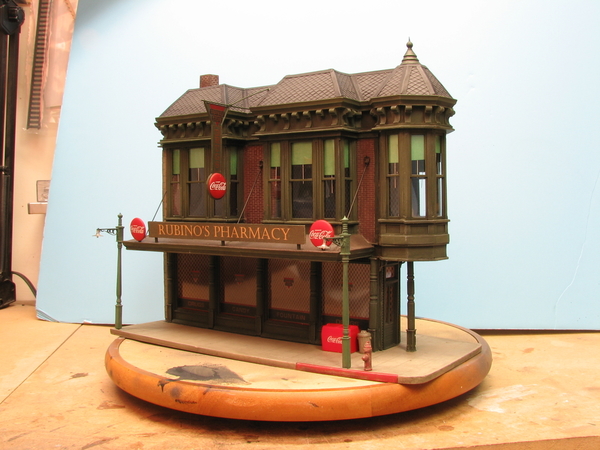
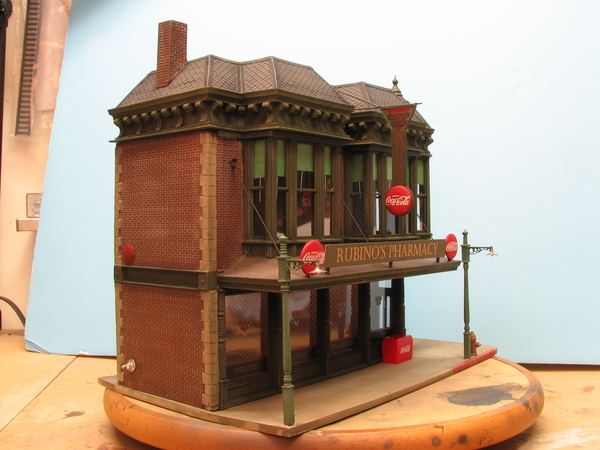
I attached the 'awning' and the stairway on the opposite side today. I also did some more filler work on the cupola and the bay windows. The paint is curing right now. I also sanded the top and bottom smooth so that they will fit the base and roof.

IMG_3207

IMG_3213

IMG_3214

IMG_3215

Attachments

Images (4)
  • IMG_3207
  • IMG_3213
  • IMG_3214
  • IMG_3215

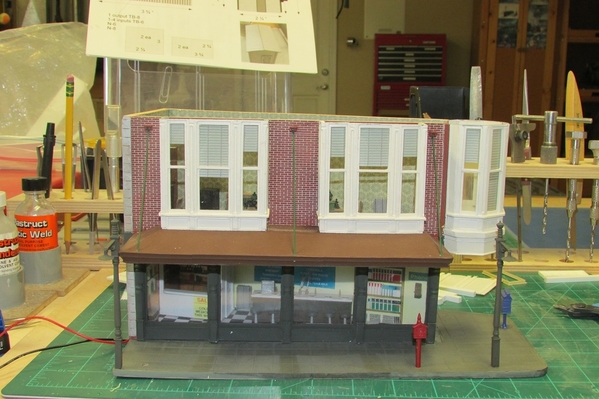
I did a lot of work on details and installed lights
IMG_3231

I struggled with deciding whether or not to glue in the interior and exterior details due to shipping concerns then decided:

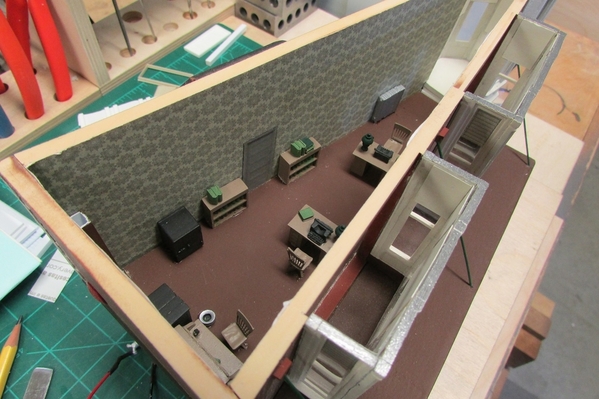
1. I would leave the second floor loose and glue the details to the floor. The bottom of the floor has lights attached.

2. I glued lights to the bottom of the roof and will leave this loose also. I will most likely use rubber cement to tack on the roof for shipping. This way if details pop off the customer can get to them. I will recommend he uses rubber cement to glue this on since he will need access for various reasons.

3. I drilled a hole into the base for the red fire box then drill small holes into the base and lamp posts to fit the green wire that comes with Korber kits used for down spouts. If they pop off during shipping it will be easy to relocate and glue again. The blue mail box is almost guaranteed to pop off during shipping.
I also used the Korber wire for the struts to hold up the over hang - saved me time since I did not have to paint.

3. Where I could I glued first floor details (radiators / soda boxes) to the wall. The counter and seats are glued to the base. I will again tack the building to the base with rubber cement and again recommend to the customer he also does so for access.

I glued the front column to the copula but not being anchored to the base it popped off pretty easy. I may leave this to the customer.
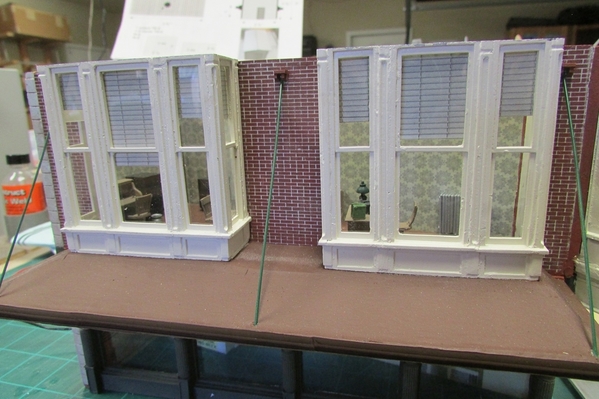
IMG_3228


IMG_3229


IMG_3232


IMG_3233

I basically have some decal work to do plus the front banner, hanging sign and the various coke signs and things should be done.

Attachments

Images (5)
  • IMG_3231
  • IMG_3228
  • IMG_3229
  • IMG_3232
  • IMG_3233

Except for decals I am pretty much done.

IMG_3239

The first floor with the lights on (I am using Model Power LED 12- 16 volt - polarity required)

IMG_3240

Second floor with the lights on


IMG_3241

Whole building

IMG_3242

The base fully populated. The aux tank, garbage cans and coke machine are not glued in.

IMG_3243

I drilled holes in the sign posts and the roof so it will be easy for the customer to attach.


IMG_3244

The hanging sign will be shipped separately.


Attachments

Images (6)
  • IMG_3239
  • IMG_3240
  • IMG_3241
  • IMG_3242
  • IMG_3243
  • IMG_3244
Norm Charbonneau posted:

Good job so far! I built one 10 years ago for a pal (custom named for a family member). He did not have the detail kit at the time. I wouldn't mind building one of these again with the full interior and lights. I'd probably paint it a little differently. I have a collection of BV/Chooch kits. The BV Plumber's Supply kit is real nice too.

IMG_4101IMG_4116

Wow! Now that green really makes the model POP! It nicely accents the bricks as well as the red Coca Cola button signs. Really classy!

It is always the last spark plug..........................


Every thing was done except for the decals. I cut them out and place one in the water where upon it promptly disintegrated. Same for the second then the third. These decals were simply too old or I missed in the instructions where it said to spray them.

2019-09-09 Corner Drug Store 001

Fortunately I have a friend Stan (Cedarleaf Decals) who prints decals using Alps printers. So he can print white text. I use his decals on dark color backgrounds. I believe he prints white then prints color over it so his decals show up spectacularly on dark background paints. the silver lining - I can now make the decals specific to 'Cambria' drugs.
Joe

Attachments

Images (1)
  • 2019-09-09 Corner Drug Store 001

Stan to the Rescue! His decals came out great.

This puppy is done

2019-09-14 Berkshire Valley Corner Drug Store 001

The roof is not glued on, neither are details like the garbage cans / tank, hanging sign etc and the building is not glued onto the base. I will ship these as is to help protect against damage.

2019-09-14 Berkshire Valley Corner Drug Store 002

2019-09-14 Berkshire Valley Corner Drug Store 003

2019-09-14 Berkshire Valley Corner Drug Store 004

2019-09-14 Berkshire Valley Corner Drug Store 005

2019-09-14 Berkshire Valley Corner Drug Store 006

The cupola support is crooked - it is not glued in

2019-09-14 Berkshire Valley Corner Drug Store 007

2019-09-14 Berkshire Valley Corner Drug Store 008

2019-09-14 Berkshire Valley Corner Drug Store 009

Attachments

Images (9)
  • 2019-09-14 Berkshire Valley Corner Drug Store 001
  • 2019-09-14 Berkshire Valley Corner Drug Store 002
  • 2019-09-14 Berkshire Valley Corner Drug Store 003
  • 2019-09-14 Berkshire Valley Corner Drug Store 004
  • 2019-09-14 Berkshire Valley Corner Drug Store 005
  • 2019-09-14 Berkshire Valley Corner Drug Store 006
  • 2019-09-14 Berkshire Valley Corner Drug Store 007
  • 2019-09-14 Berkshire Valley Corner Drug Store 008
  • 2019-09-14 Berkshire Valley Corner Drug Store 009
Shawn_Chronister posted:

Bob (RRDOC),

I would like to thank you for this post that was taken down because you used the E-word.

FYI the #808 Corner Drug store kit and the #809 detail kit are on E-word right now

I bought them and they are in great shape.

Glad you got one. I did not realize that you couldn’t use the E word. I thought only links to items there were prohibited.

Bob

RailMan,

The author of this thread is unfortunately no longer with us. However, I'm sure he received your compliment from above. I'm happy you found this thread as I will reference it for constructing the kit. I remember thinking the same thing you did when I first saw the finished product. Norm's build is fantastic as well.

Dave

This was one of the first kits I built when I re-entered the hobby in the 90's. It still remains one of the most impressive structures on my layout.  I recall it took me about 25 hours to paint and assemble including the furnished interior. (I followed the instructions exactly.)  Back then I had no previous experience in assembling these type of kits nor experience with using a paint sprayer. This building's still stands out today as such a unique, highly-detailed structure.  I love it!

Add Reply

Post

OGR Publishing, Inc., 1310 Eastside Centre Ct, Suite 6, Mountain Home, AR 72653
800-980-OGRR (6477)
www.ogaugerr.com

×
×
×
×
Link copied to your clipboard.
×
×