
Replies sorted oldest to newest

CSXAL, thanks. That is almost exactly what I am considering.

I have about 30 feet to get down 9"
Some of the grade will be on a curve. Probably 0-100 or greater diameter.
See pic. This is just of the mainlines and the grade. The grade connects two upper lines to lower line...


To give you a better idea of the area, here is a video of the top two mainlines. The first scene starts in the top left corner of the pic above. There already is a 4% grade coming down in the opposite direction against the wall that will be hidden when RR is complete.

In the second scene, you can see the left hand switch and a few risers I already made for the grade heading down.
http://www.youtube.com/watch?v...index=1&feature=plcp
If you don't have a the room to try Jim's suggestion with the 8-foot piece of lumber, you can try this.

Get a 2-foot long level. Lay out a "sample grade" with a short piece of lumber and then set the level on the grade. Lift the low end of the level until the bubble shows the level is, well...level. Measure how far off the ground the low end is. Every 1/4" is equal to 1%. In other words, if the low end of the level is 3/4" off the ground, that's a 3 percent grade.
quote:
I have about 30 feet to get down 9"

If my math is correct, and as you pointed out in your opening post, 2-1/2% grade is correct, not 9%:

9-in / (30-ft x 12-in/ft) = 9/360 = 0.025 = 2.5%


My post and pictures (above) depict the grade with Ø108" and Ø99" curves. Here are some shots of my first O-Gauge layout before I finished it, using Fastrack Ø72" curves, and the grade was 2-1/2%.


Good luck and let us know how you did it.

Alex
Thanks everyone. All the advice has been helpful.

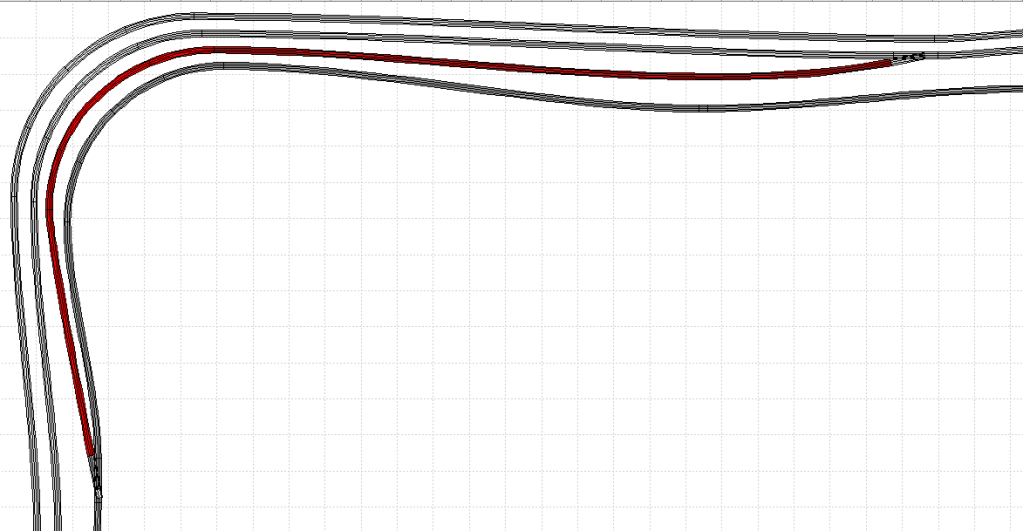
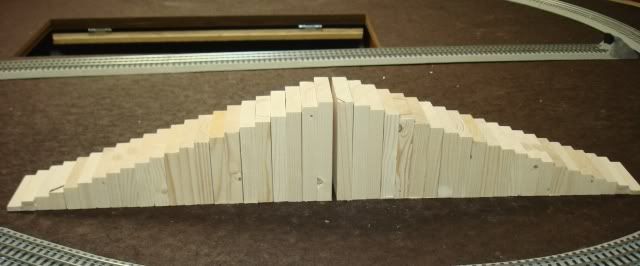
I threw something together this morning just to give me some perspective...


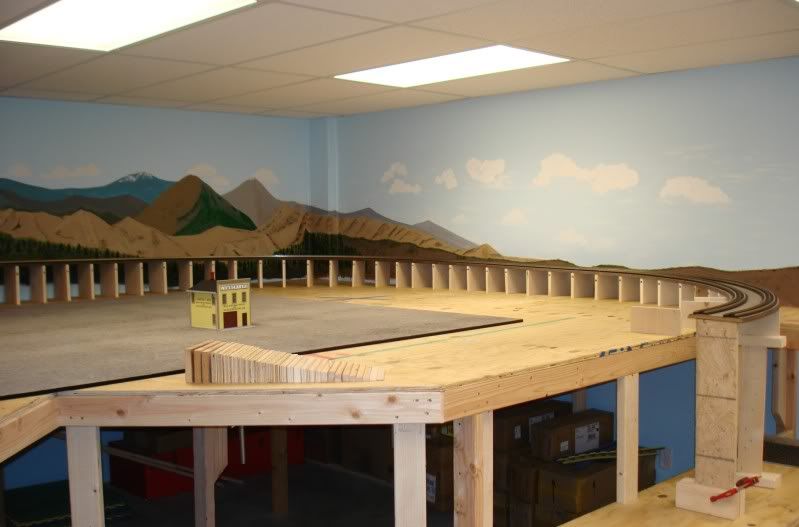
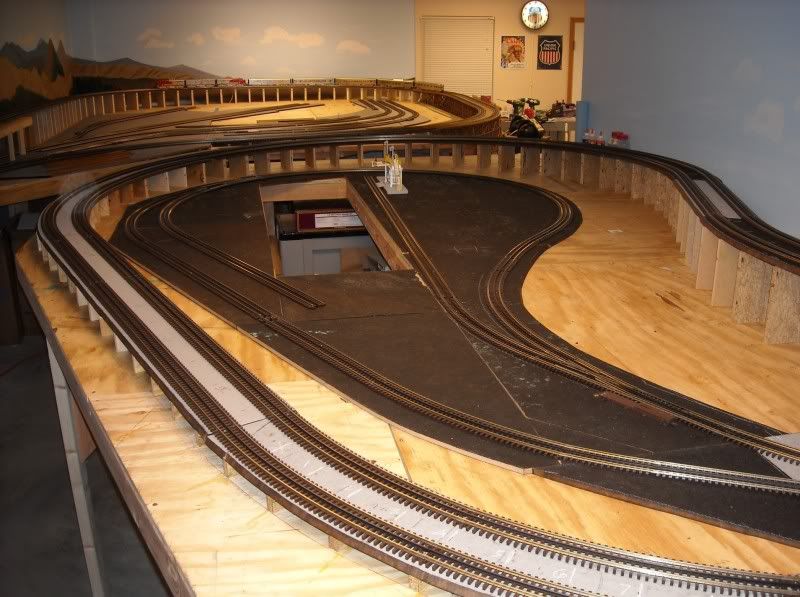
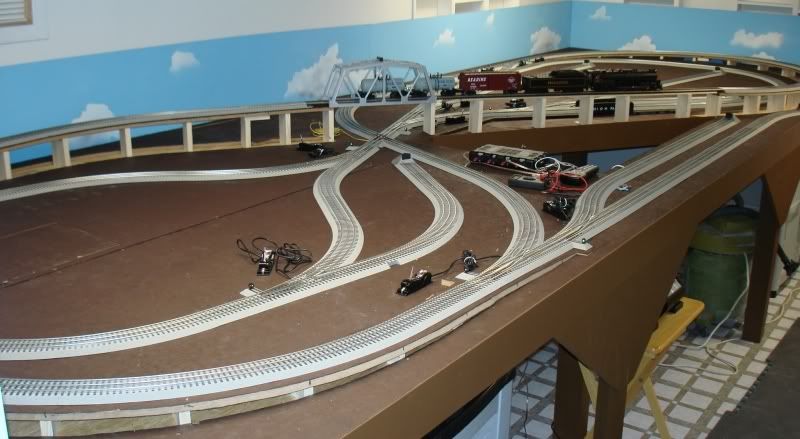
Left hand switch where grade will start...


Looking back at grade...


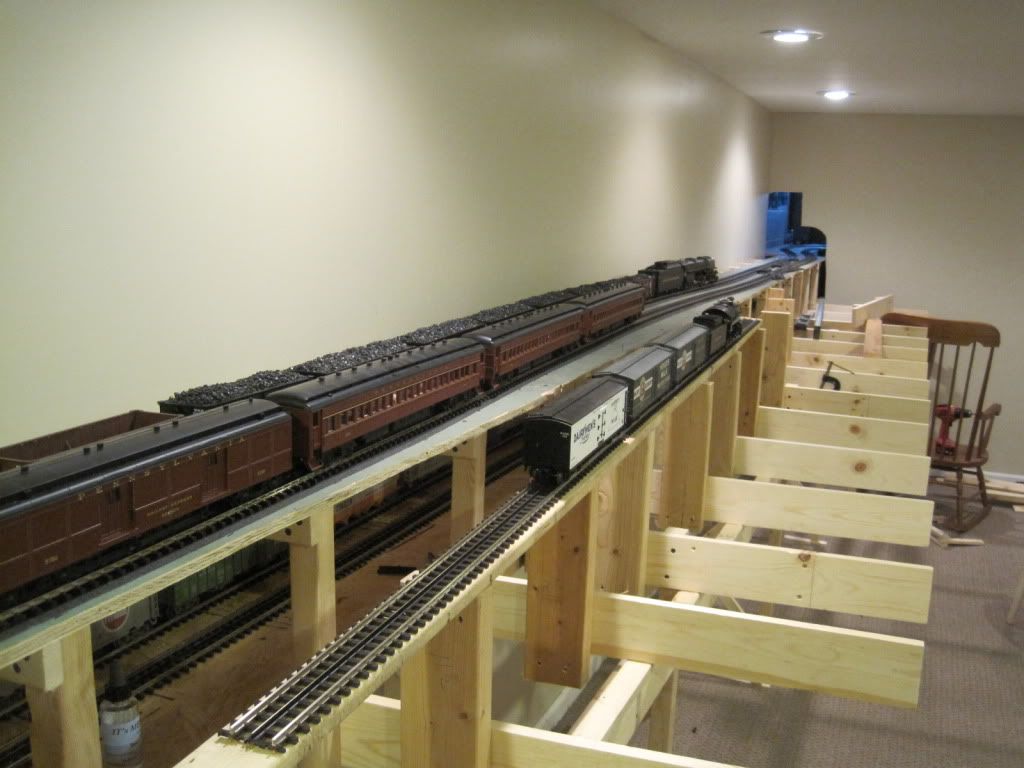
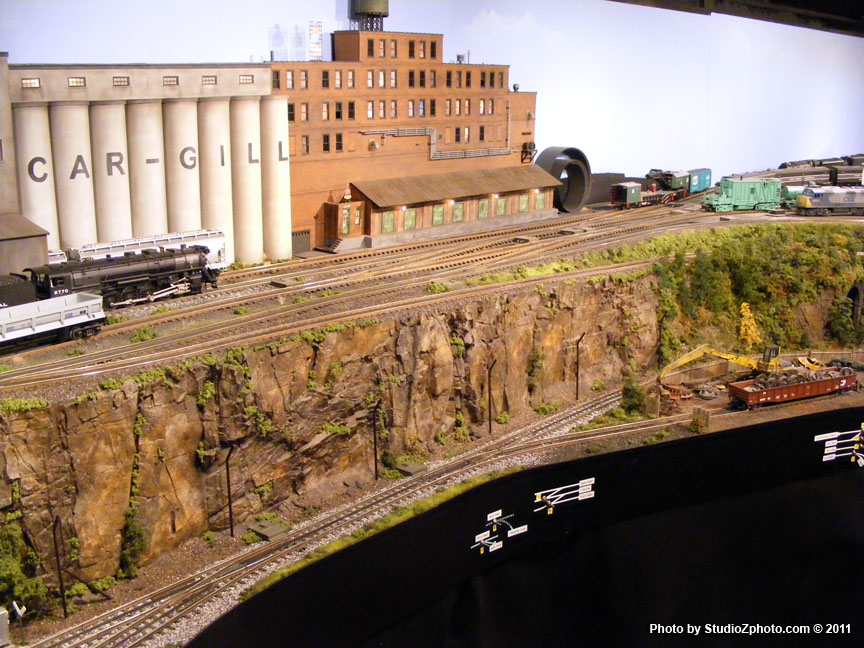
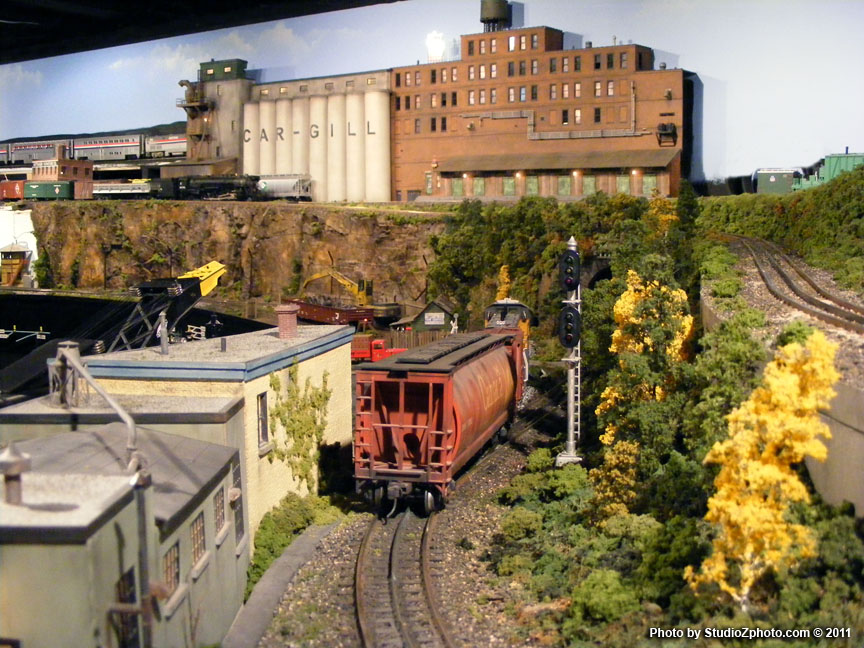
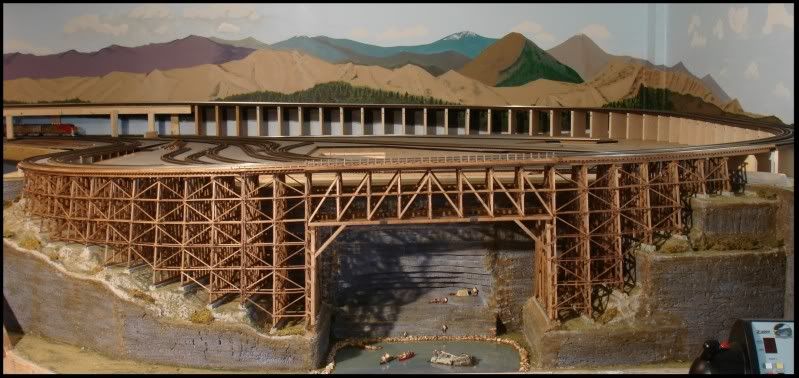
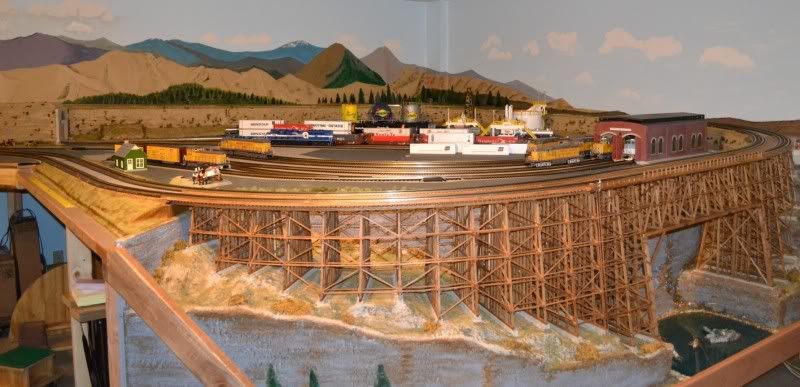
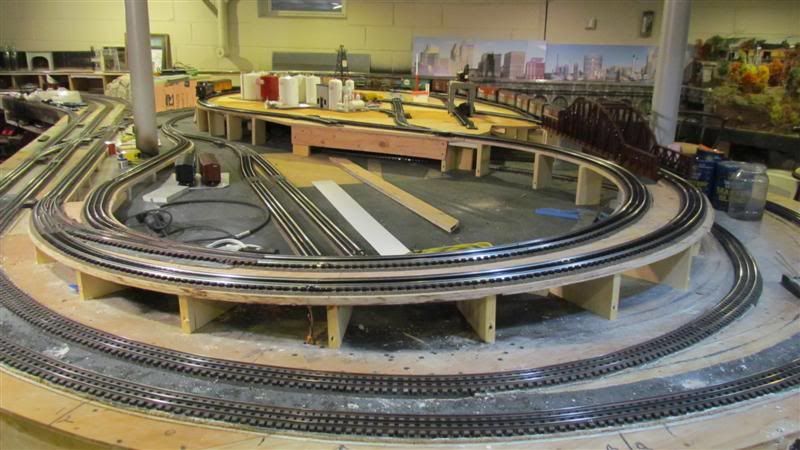
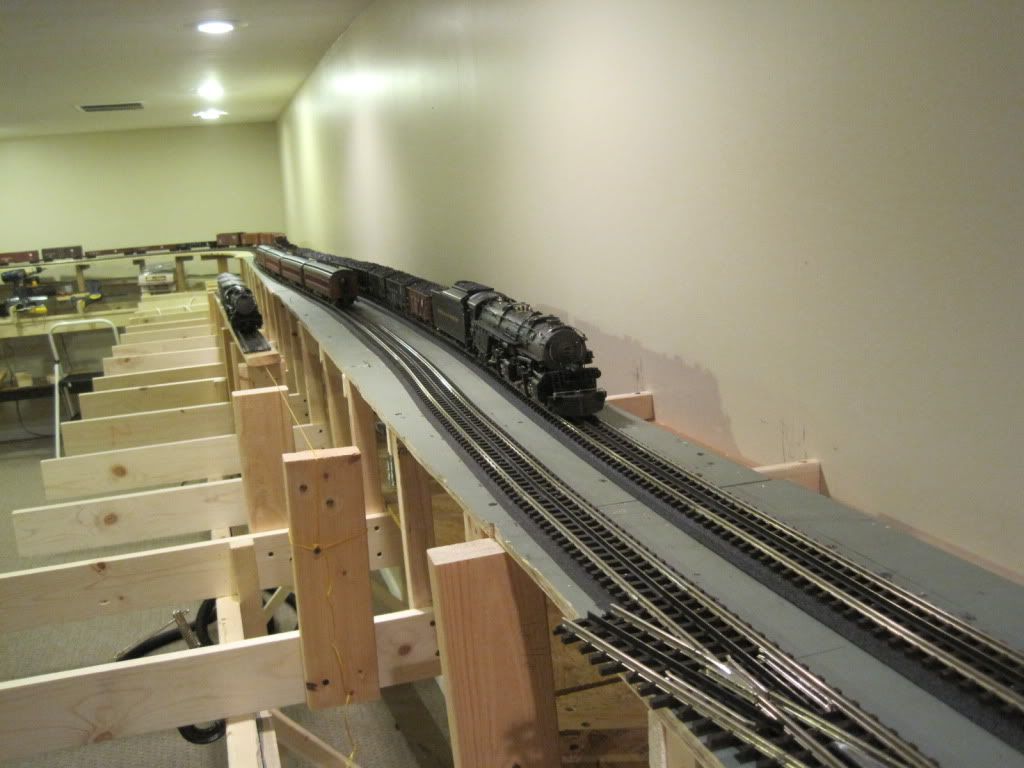
Looking from the side, plan is to have a small yard below.


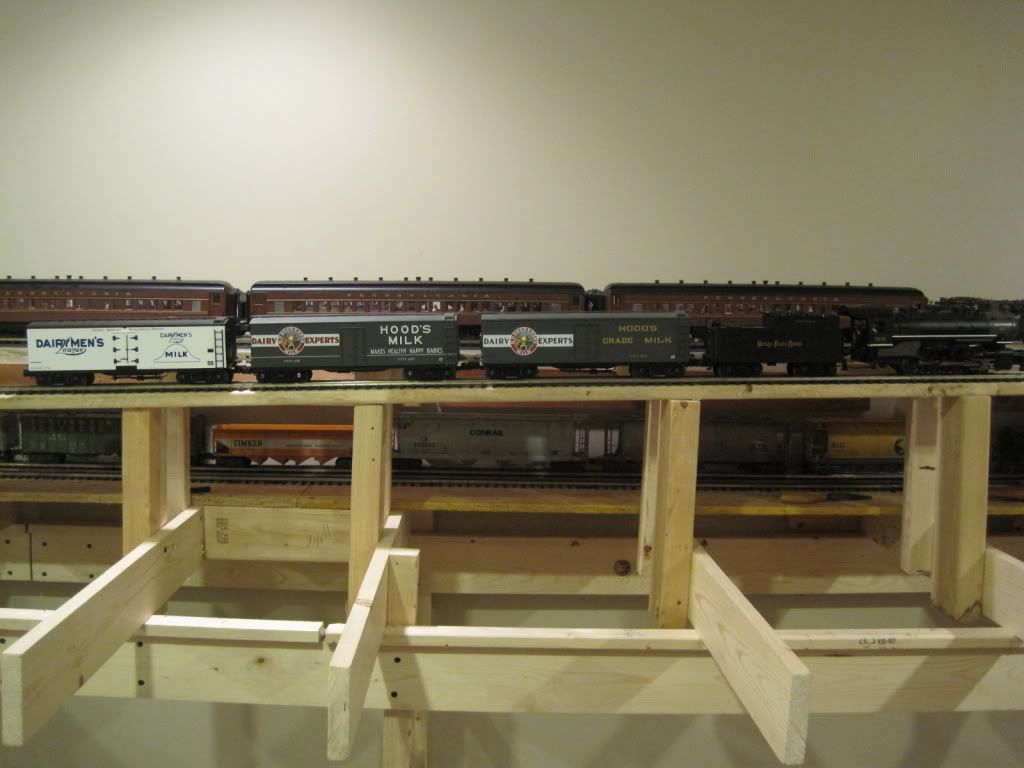
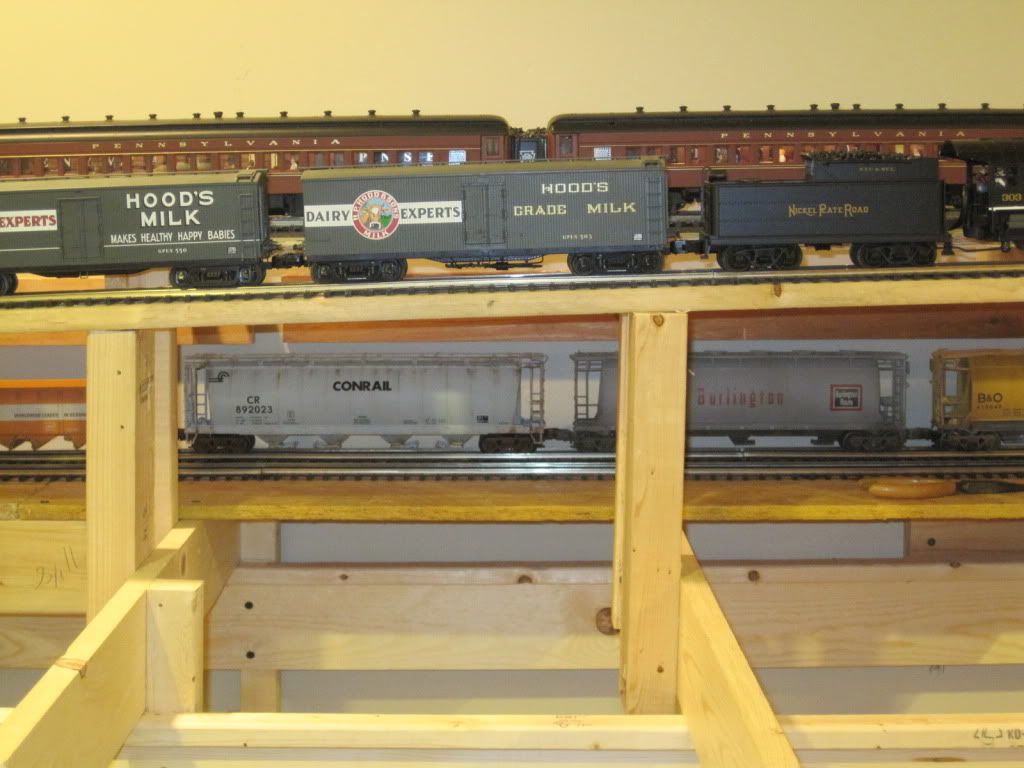
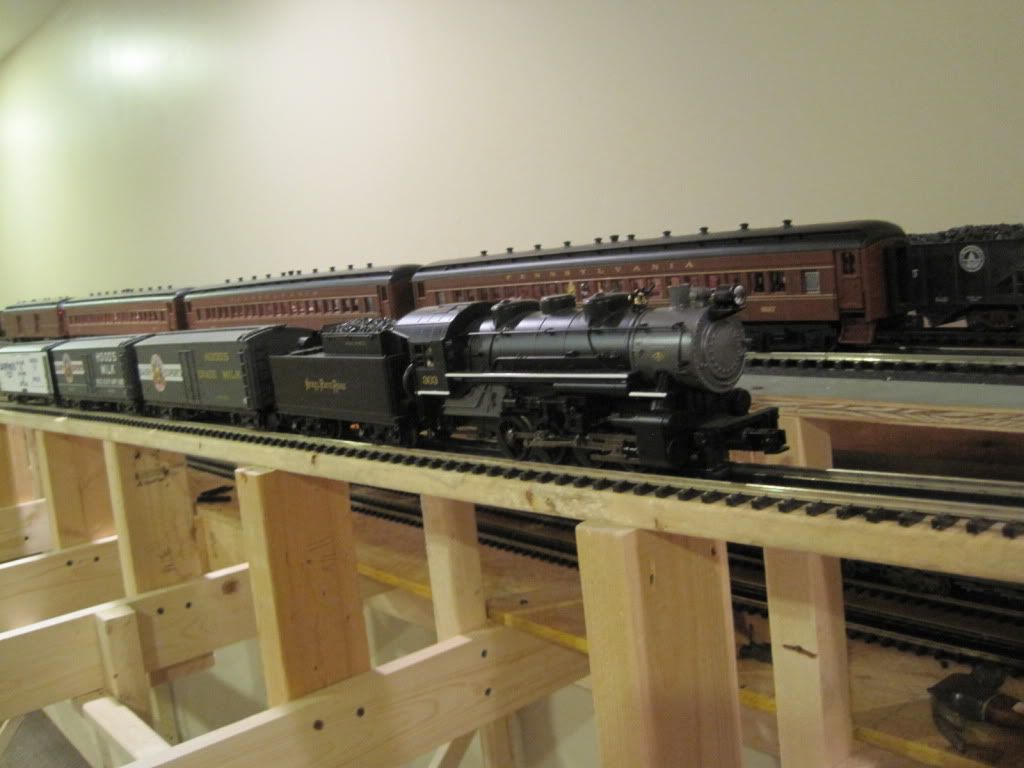
Closer up views from the side.


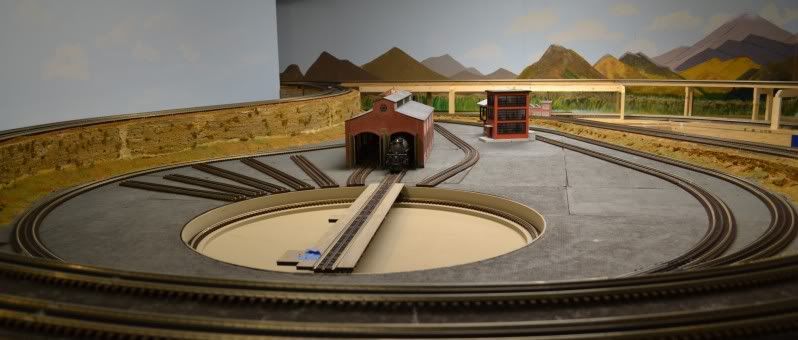
I am considering moving most of the grade into the staging area and getting it down 5", so I will only have 4 inches to go in 30'. My hesitation with that is, having a switch off the mainline in the staging area. I have switches in the staging are, but only for storing trains.
This switch would be one that you would have to use during operations, not just for staging.
quote:
All that grade work is so easy with L-Girder bench work!

Nicely done.


Thanks Rich. I am only about a year or so removed from the table top and many loops of track mentality. So I have tried to change my thought process from building a layout to building a Railroad. This has been a whole new experience. There is a learning curve with L-Girder, but is a quick one. Once you get the basics down it goes really fast and is unbelievably versatile or forgiving to changing what you already built. This is really important since only small portions of my original track plan are still in place.
L-Girder also seems cheaper.


Thanks everyone else for you help and thoughts on this part of my plan.

As far as my grade is concerned, I am going to change the required height that I need to go down to 8" by raising the upper levels 1" on the other side of the layout.

This will get me to about a 2.2% grade. I will post pics after this weekend.
Post
The Track Planning and Layout Design Forum is sponsored by

AN OGR FORUM CHARTER SPONSOR

OGR Publishing, Inc., 1310 Eastside Centre Ct, Suite 6, Mountain Home, AR 72653
800-980-OGRR (6477)
www.ogaugerr.com

×
×
×
×
Link copied to your clipboard.
×
×