While work has slowed on my CNJ Heavy Mike project due to workspace also being used as classroom space, I figured "what the heck, I probably need ANOTHER half-finished project lying around". So, I give you, the "CNJ DRX-6-4-2000" project. What is it with 3 rails and a general lack of Baldwin diesels? I can find shells to easily make one of these in HO, but other than an obscure kit by the now-defunct Locomotive Workshop, nothing close to these has ever shown up on O scale.

For those unfamiliar, the DRX-6-4-2000 was a double-ended version of the  Baldwin DR-6-4-2000, a 2000 HP passenger cab unit with an A1A-A1A wheel configuration built in 1946. Unlike PRR's "passenger sharks" (which are also DR-6-4-2000s), these used Baldwin's older "Baby face" design. CNJ ordered 6 of them, divided into 2 groups with slightly different appearances.

How to go about building one? Well, after some research, it seems the trucks are the same as those used on Alco PA-1s and DL-109s. The DL-109 is supposedly a better fit, as it's close to the DR-6-4-2000's length. The PA-1 is 12' shorter. After a quick search for a donor engine, it seems the best value I could find at the moment was a Lionel 6-18952 PA-1 that I found on eBay. Has TMCC, which saves on a costly upgrade. Sadly, it only has Signalsounds, instead of Railsounds, but it covers the basics. It'll need to be stretched 3 inches, but that shouldn't prove problematic (says the guy who hasn't yet taken off the Alco's shell).

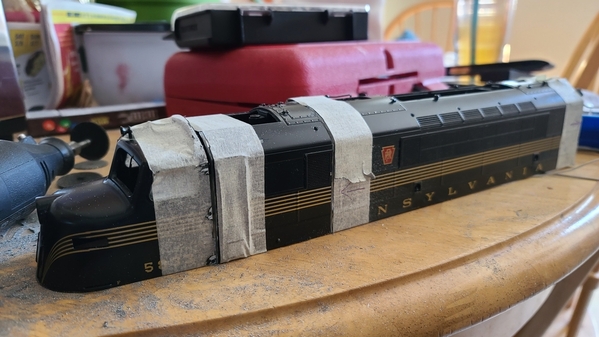
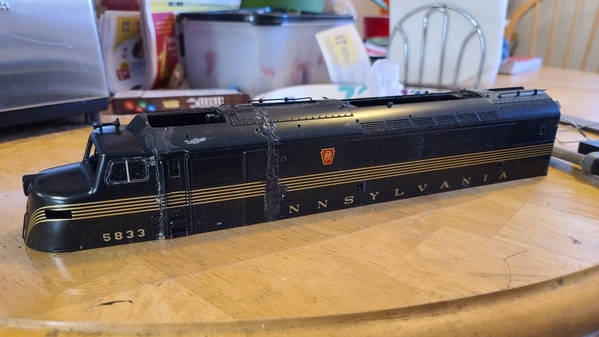
Next comes the trickier part, the body. The ONLY thing readily available with a Baldwin Baby Face profile is the Centipede. Both Lionel and MTH made one, but the cab has an annoying taper starting at the cab door which other Baby Face units like the DR-6-4-2000s and DR-4-4-1500s don't have. I THINK I can offset this using body filler, as it should be less than 1/8th of an inch on the model. I'll have to cut out an inch between the cab windows and the cab door, cut halfway through the first grill (the centipede has 2 grills at either end, and a long set in the center, the DR-6-4-2000 has only 1 at either end along with the long set in the center) and then trim the center section to provide the correct overall length.

Then I have to decide whether to do that all over again for the other end, or make a casting of the first cab and use that for the other. Pics will show up as the project moves along...

Original Post

Replies sorted oldest to newest

Looking forward to the project also. Note, the Centipede Babyface is a different face profile. You may not care as you are willing to deal with the sidewall taper. Just wanted to let you know if it “doesn’t look right” against pics. I too wish someone would make these shells available, hopefully via 3D printing. First Person Scale Models is considering it for a summer project. If interested please contact him, the more interest the better chance it will happen.

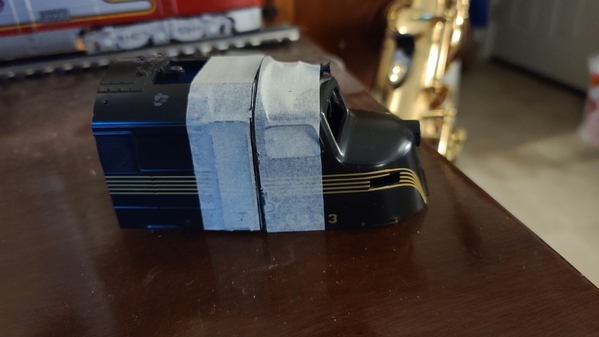
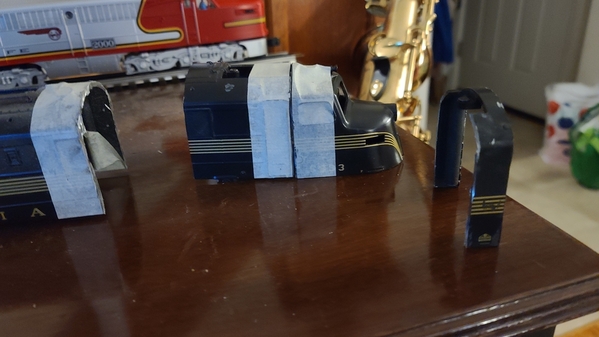
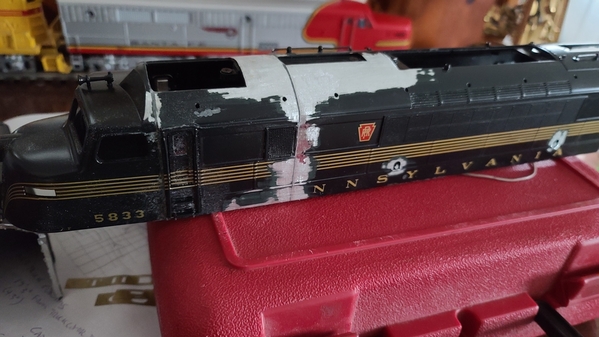
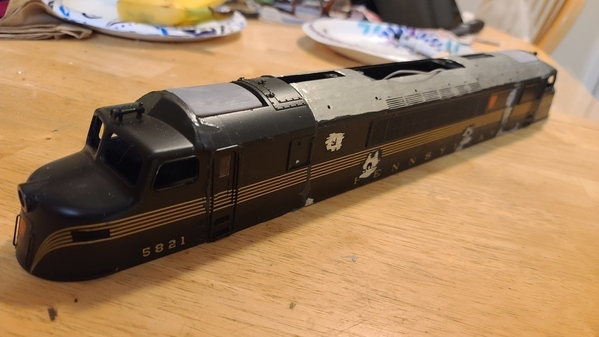
A better modeler than I would have used something like a bandsaw or possibly a bladerunner to ensure straight cuts of the centipede shell. Not having access to a bandsaw, and Amazon jacking up the price of a bladerunner $30 made me decide to try and do the cuts with a Dremel using a right angle attachment. Using a square, I applied masking tape in hopefully straight, perpendicular lines to use as a guide for the Dremel cuts.

Went through 3 standard cut off wheels on the 1st cut. Switched to one of the larger, reinforced wheels after that, and it did the job on the remaining 2 cuts (there'll be another cut, but I need to figure out how long the center section needs to be before I make that one). Next up, some filing and/or grinding to ensure the cuts are straight and smooth, then they'll be joined together.

20210129_22053120210129_220607

Attachments

Images (2)
  • 20210129_220531
  • 20210129_220607
@Trainmstr posted:

Looking forward to the project also. Note, the Centipede Babyface is a different face profile. You may not care as you are willing to deal with the sidewall taper. Just wanted to let you know if it “doesn’t look right” against pics. I too wish someone would make these shells available, hopefully via 3D printing. First Person Scale Models is considering it for a summer project. If interested please contact him, the more interest the better chance it will happen.

Considering what I'm attempting, and the scanty documentation available on the prototypes, there will be no rivet counting. Other than folks online, I doubt anyone who'll ever see it will have ever seen the original (heck, other than photos I'VE never seen the original). The main difference that I can see is the DRX-6-4-2000 and DR-4-4-1500's noses don't start curving in until past the front of the cab side windows, where the centipede starts curving in right in front of the cab door. The rest of the nose profile might differ slightly, but considering there aren't any models in O scale of the others (and how many widely distributed models of things like RS-3s are incorrect), I'm not sweating it.

As it is, I'll be off a few scale inches on the space between the cab window and cab door, but I want to be sure to leave enough material so that the cab door still operates. If it were a plastic shell, I'd work it closer, but since a die-cast shell is more difficult to work with, I'm not sweating it. I'll be moving the running numbers back to the correct position, and filling in the holes where the centipede's number boards attached.

May take a crack at 3D printing the pilot, if that doesn't turn out well, I can always pick up a couple of the Lionel ones, even if I have to wait until November to get them half off. I've talked to Zach about purchasing his DR-4-4-1500 model, but it's currently in a very rudimentary state.

This reminds me of my project from about 15 years ago...still sitting in a box. Combining the Weaver BF16s A-B shells to make a single BP20 passenger shark A-unit.  This was before Weaver produced the brass BP20. Of course, they were introduced right when I couldn't afford it (2nd kid). Anyway, I chickened out right at cutting the back off the A and the front of the B. So it waits...maybe I'll learn enough from watching your posts to get it out and restart.

Removing detail. While the sides are similar, the placement isn't, so much of the detail on both the sides and roof will be removed and then replaced. Thankfully a sanding wheel on the Dremel handles this fairly easily. Wish I had better pictures of the roof detail, but surprisingly almost no one seems to take pictures of the roofs of train engines!

20210131_132639

Attachments

Images (1)
  • 20210131_132639

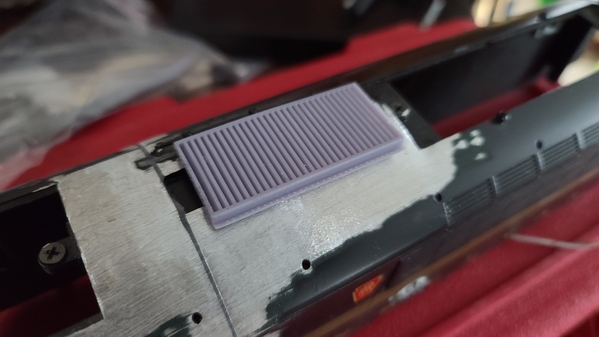
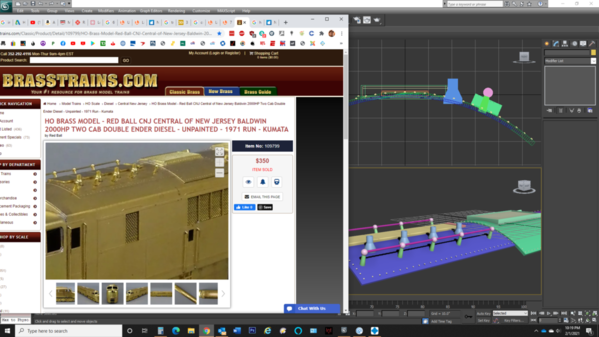
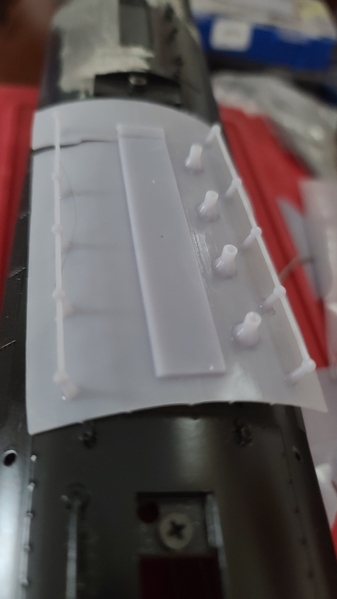
Just a prototype for the roof louver detail, will actually be further back over the "center" section, but at the moment there's a big hole where it goes. Have to work on the rest of the roof detail. Basing it off of the Red Ball HO brass model, figure that'll be as correct as anything else out there. https://brasstrains.com/Classi...nted-1971-Run-Kumata

20210201_134326

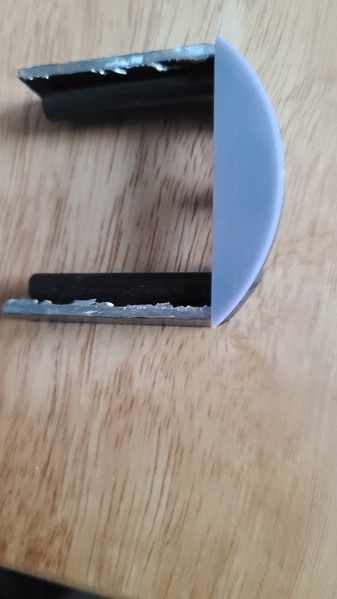
Also printed out a jig to see if I have the curve of the roof correct for roof panels I'll be printing. Looks great except for the corners, which will be adjusted.

20210201_135826

Attachments

Images (2)
  • 20210201_134326
  • 20210201_135826
Last edited by Magicland

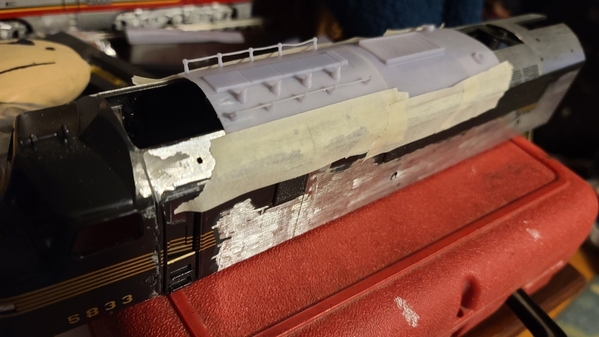
Okay, everything for the roof detail is done and scaled correctly. Just taped in place at the moment (2 panels will be repeated and reversed on the other end), the roof will need to be filled in and smoothed out for painting before it's applied. Glad it looks like Baldwin just riveted on 5 panels (of disparate size) on the roof! I have most of the detail removed from one side of the body (I'll re-add it correctly later). Donor shell for the other cab is on its way, will hopefully show up this weekend if the snow hasn't slowed delivery.

While researching, I discovered that the Red Ball brass has a fairly serious error. The small door in the side of the locomotive is located in the same spot (relatively, ie., on the "left" end no matter which side you view it from), and they have it towards the rear of the engine (the end without the air tanks) on both sides. Tricky, as I could only find one picture of the prototype's left side. This is why you can't blindly base your models on other people's models.

Once the entire shell is together and unwanted detail is removed, I'll move the running numbers back, drill for the marker lights, and re-shape the cab slightly.

20210203_172652

Attachments

Images (1)
  • 20210203_172652
Last edited by Magicland

Today's progress, it's now a double-ender! Even more incorrectly located detail to be removed (sigh!). I'm printing the headlight lenses, side grill numbers, and hopefully a cab side window that didn't come with one of the donor shells (if that works, I'll take a crack at the windshield). I've compiled a list of detail parts I need to design/print, including the undercarriage detail, there's still a ton of work to be done, but it's moving along!

20210206_190853

Attachments

Images (1)
  • 20210206_190853

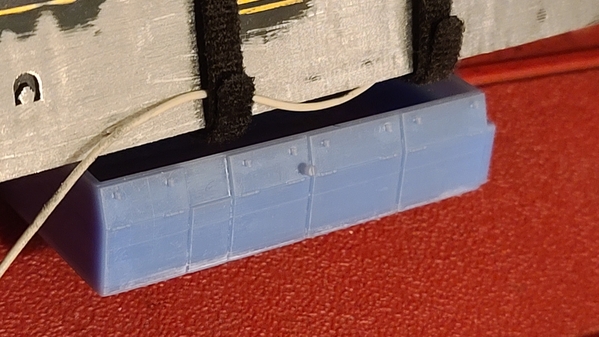
Most body detail removed. Started designing undercarriage detail, first test print done (parts of the latch handles are missing, forgot they needed supports). Currently working on the "front" grouping with the air tanks. Probably dis-assemble the PA-1 "donor" this weekend, and figure where best to cut it to add the needed 3". Then once it's stretched, I'll finalize the undercarriage stuff and print that. Meanwhile, filling and smoothing the body progresses...

20210209_174559

Attachments

Images (1)
  • 20210209_174559

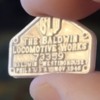
Tomorrow I see if I can reshape the nose to eliminate the centipede's taper (waiting for filler to cure). Meanwhile, back at the ranch, I've been playing around with builder's plates. This pic shows one about an inch wide, which is still way too big. Have ones less than half that size, but working on improving legibility (number and build date are incorrect on this first prototype, current ones are correct)...

20210210_192546

Attachments

Images (1)
  • 20210210_192546
Last edited by Magicland

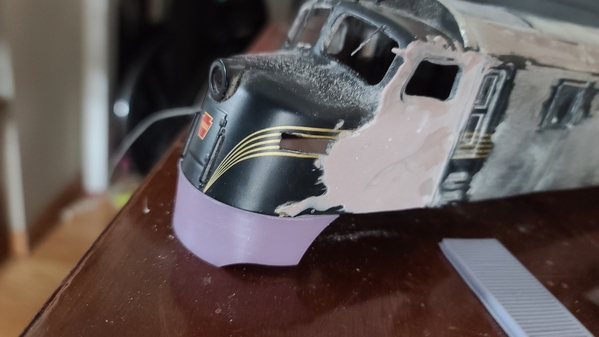
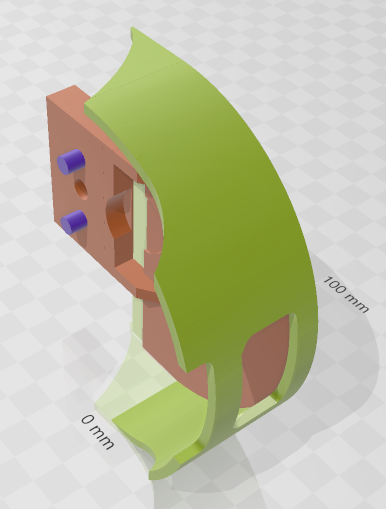
Pilot is ready to prototype (I've got another item in the printer currently, so it'll have to wait, rendered image provided until then). Apparently the thicker die-cast shell doesn't fit on a chassis made for a plastic shell, so that's going to need modified, hopefully I can thin down each side rather than have to cut things.

2" speaker from the "donor" engine won't fit in any of the undercarriage pieces, so I'll either need to find a smaller 8 ohm one, or relocate it.

Going to cut the chassis, and attempt to slim down the sides while I'm waiting for the printer...

2021-02-13

Attachments

Images (1)
  • 2021-02-13

Add Reply

Post

OGR Publishing, Inc., 1310 Eastside Centre Ct, Suite 6, Mountain Home, AR 72653
800-980-OGRR (6477)
www.ogaugerr.com

×
×
×
×
Link copied to your clipboard.
×
×