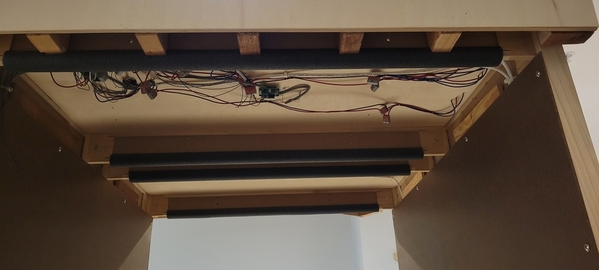
Control wiring is complete and the yellow remote is gone. The cable to the remote has been re-wired to bring common, neutral, and the two motor leads over to the 4x4x4" box.
I was intending to use a plug-in usb charger for 5 vdc power to the relays but I happened upon an ancient satellite radio wall wart. After cutting it open I was so impressed with it's looks it just had to go in the box. Plus it fit along side the motor cap. You can see the two relays occupying the balcony section.

My intent was to hot glue the boards down but I had to remove the psu a few times to fix the wiring so I just left the glue out. I did cut a piece of 1/4" plywood to keep the parts separated.
The two enable lines and a ground were extended to the outside of the box for easier wiring and it also gives access to control the hoist with a jumper wire if needed. No voltage in any of the control wires, just a circuitous path to ground.

I received the micro switches from @gunrunnerjohn and he is correct that these switches make setting the limits much easier and seem to be very repeatable.
Here is the upper limit switch mounted to the upper stretcher of the hoist-side table, wired normally closed. A small block of plywood was attached to the lower stretcher of the rising table and that makes contact with the switch lever in the up position. I am getting a consistent 64 3/4" table rise.

And now the most worrisome limit, the down position. I worry no more, it worked out so well with the cable spring and sliding bolt. The bolt is pulled to the limit in the slot before the table can rise, and the table is fully seated before the bolt is released. It worked the first time and I haven't had reason to touch it yet. This switch is wired normally open.
Up

Down

And last, one of the toggle switches mounted to the table leg. One on each side of the table. These may move in the future depending on how the rest of the benchwork turns out.


 Typical installation


