
Finally started on the layout! But first, following your recommendations, I painted portions of the backdrop. I guess I am more of a carpenter than a painter, but it this will do for now. A couple of shots before starting the fun part.


A new leg design so the frame rests on the legs instead of on the screws that fasten the leg to the frame. (BTW - I just noticed that the camera distorts some of the images - the legs ARE SQUARE to the frame when done!)


Saturday:
Assembling one of the cross braces –


An afternoon’s worth of work - how it looked Saturday night (12' x 12' section):


A now to continue . . .

Alex

Last edited by Ingeniero No1
Original Post

Replies sorted oldest to newest

Hmmm...obviously not modeling Missouri...no trees on them thar hills.

Benchwork and backdrop look very nice. I like substantial bench work...makes you confident that the wood will not "sag" over years and that it will support the weight of the scenery and track.

It looks like that could be a long reach in some places, so I am sure you have something figured out to address that...access hatch, small child that will crawl out and rerail your cars, a system of overhead rails, cable and a harness so you can fly over the layout...something like that last one would be really cool.
Aex

Your benchwork is just fine and so is your backdrop artwork. You did a very credible job with the backdrop.Dont forget to drill the holes in the framework so you can route the wires through the frame and let it support the wiring.

Your leg design is very interesting. I dont think any of us consider how the forces are distributed when supporting the layout and attaching the legs.

How high are you making the benchwork?

Looking forward to your progress.
Greg:
” Are you planning a hatch to access the areas closer to the wall or are you just figuring you can climb up on top of the layout if necessary?”

There will indeed be access hatches. They will be the kind that lift up and will be supported by telescoping tubes so I can lift them up and swing them out of the way as necessary. But I will also climb on top for track laying, etc.

Bruce:
” I appreceate your background painting as well…”

That’s something I have a lot to learn, and my wife will be helping as well. One thing I found: Home Depot sells 8-oz containers of ANY Behr mix paint they offer (over 4000) for $2.94. They call them Interior/Exterior Paint Testers, and they are great for this.

Tony:
” Hmmm...obviously not modeling Missouri...no trees on them thar hills.”

That is correct; mostly west. For now, the railroad is the UPSF, or Union Pacific - Santa Fe merger, which exists is my fantasy world.

Owen:
” add some haziness to simulate distance…”

Precisely what my wife and I have been pondering. I tried spraying it lightly with grey primer paint, but that didn’t work. I wonder if there is some sort of opaque coating, almost clear, as may be used to protect painting drawings, etc., and that doesn’t smell too strong.

Rich:
instead of drilling holes through the bench work.

I may use those as well. The portion that you see above, which is about 1/6 of the layout, already has 140 Ø3/4” holes! What a pile of shavings!

Thank you all for your ideas and comments. I will keep posting progress.

Alex
Hey Patrick!

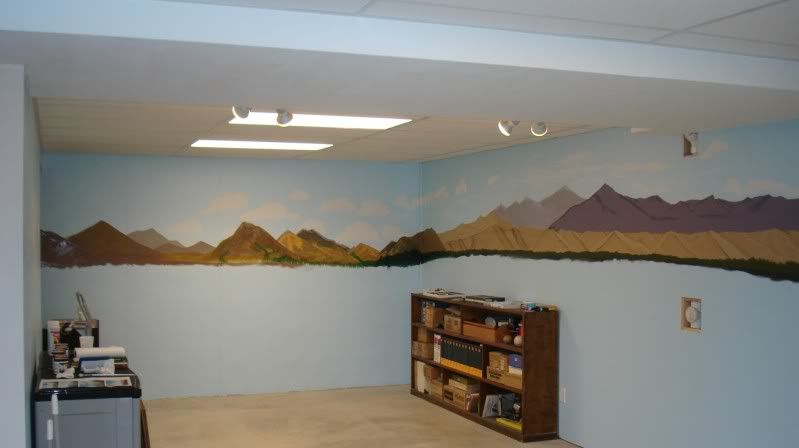
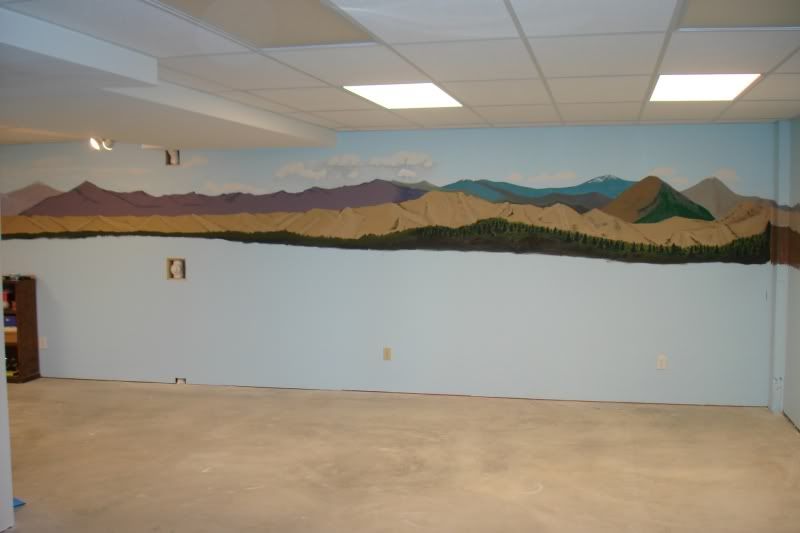
(Background painting is quite a learning process - thanks!)

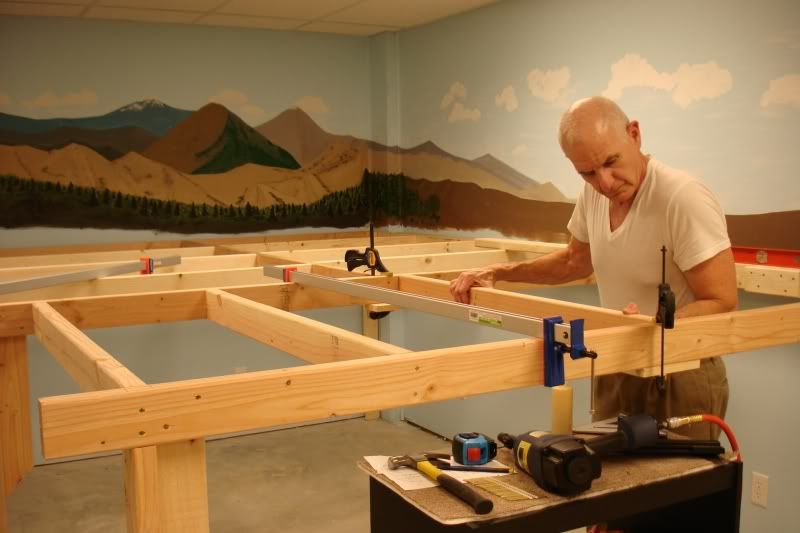
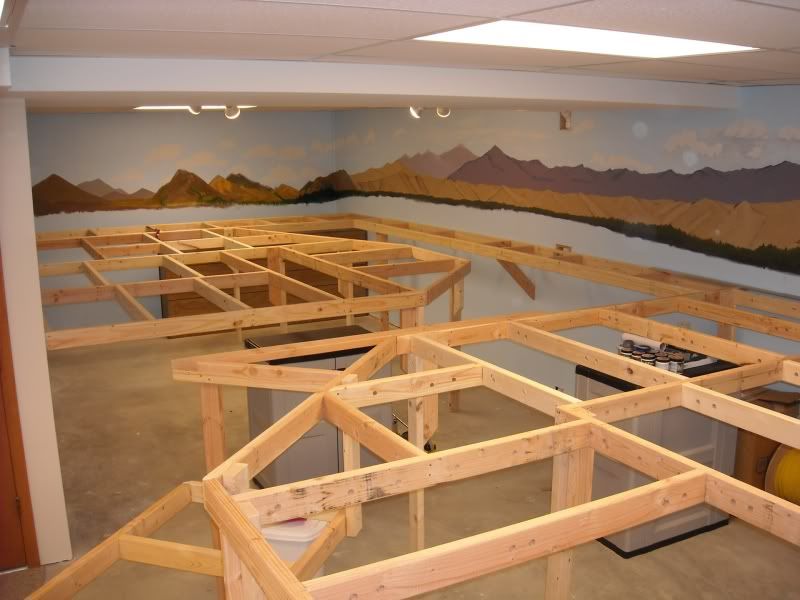
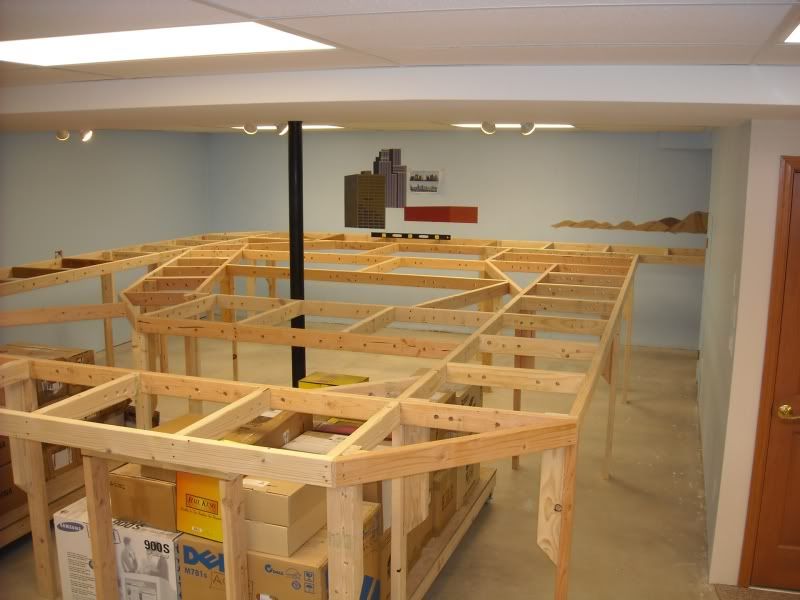
The top of the frame is 47”, and when I add the 5/8” plywood and 1/2" QuietBrace, it will be just over 48”. I have tried different heights, starting at 36” and up to 44” which was my last layout – my first O-Gauge. (BTW, I am 5’11”)

The reason is to make it easier to get under it. My back is not what it used to be, and I like to be able to sit on a short stool to do wiring without banging my head. (I have no hair left on top of my head to tell me that a 1x4 or 2x4 is in close proximity Smile
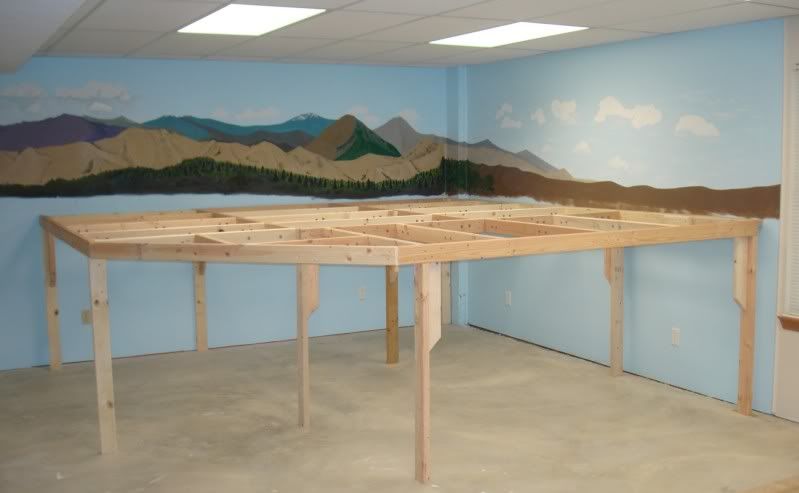
) Also, the perspective for viewing the details is better in most cases. But since you cannot see the whole layout or get a birds-eye view, I will have a couple of platforms, about one foot high, from which to see the layout.

The main level will be 48”, the second level 57” and the “EL” train will be at 66”. My wife says that while standing on the floor, the “EL” train will appear to her as the real thing – she will have to look up to it. There is a lower level up front that will be 25” high, but that will be a gorge for my long trestle. I should finish this portion tonight or tomorrow night, depending on what time I get home from work, and I’ll post some pictures. BTW, I got that idea from you! (Hope you don’t mind.)


Thanks!!
Alex
I am the same height. I like the height in some areas, But what has me a little disappointed is my front section is mostly 44" where i was going to put the town but i couldnt see past the first row of buildings .
When i work my way around to it I am going to lower the town section back down to 32"(the laterials are there luckily).

Since your at this point ,just wanted to point out you might want some low and high sections.

I get the back thing. LOL. benchwork Looks great!!
I do try to do something everyday, and the weekends are great!

With the new frame just completed this weekend, I am about 40% of the overall frame. It is going along well, and although I was planning on adding some plywood and QuietBrace to the partially finished frame, I feel like completing all of the frame and then going to the plywood stage.

Here is a picture of part of the finished are as seen standing on the floor.


This is what it looks like from a platform 18” above floor level, as my Control Center will be. I will be able to see most of the part shown, and if I look to the left, I will be able to see all of the other (60%) portion.


Thanks for looking!

Alex
" wish I lived closer.."
Well, when you come to St. Louis next time, just send me an email and we'll get together!

Made some more progress last weekend. I finished the third, largest, and last section of the framing for the lower level, and started painting some buildings (more time consuming that mountains!).

As seen from looking south west, standing on the floor.


Birdseye view (standing on 18” high platform) looking south east.


What you see under the frame are the two carts I had built to move the drywall and other construction material around while I was finishing the basement. Now I use them to store the train stuff. I can easily roll them out when I need t get a box or work under the layout, and roll them back in when done. We will keep them to store boxes and other things, and will ‘hide’ them with a curtain or something when they are under the layout.

Carts out:


Carts back under:


I'll post a few more details tonight.

Thanks for your comments and looking.

Alex
Wow! This is great! Your benchwork construction is nothing short of perfect! I already find myself anxious to see what you've done next. I really like what you done with the storage carts on the casters. My guys always say if there's a way to use more space then Ill find it. Well those storage carts are right up my alley. Anyway.... looking fantastic. Please keep us posted.

Add Reply

Post
The Track Planning and Layout Design Forum is sponsored by

AN OGR FORUM CHARTER SPONSOR

OGR Publishing, Inc., 1310 Eastside Centre Ct, Suite 6, Mountain Home, AR 72653
800-980-OGRR (6477)
www.ogaugerr.com

×
×
×
×
Link copied to your clipboard.
×
×