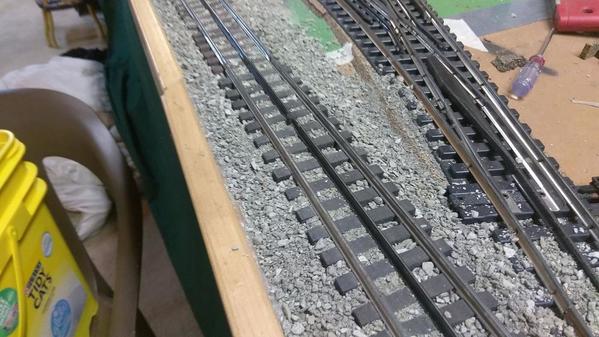
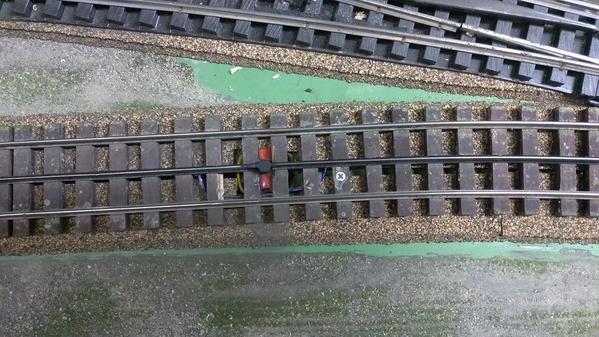
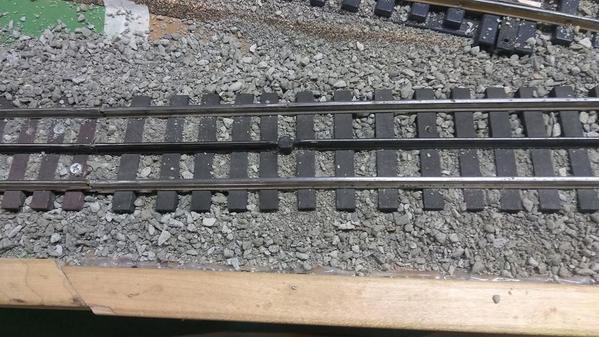
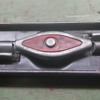
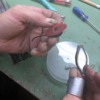
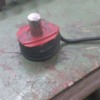
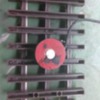
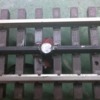
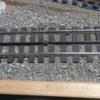
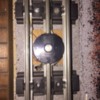
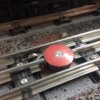
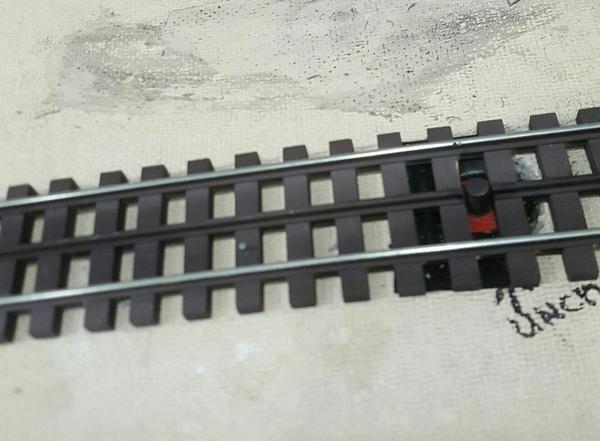
Many folks struggle with hiding the uncoupling magnet in their yards, usually the uncoupling tracks are fairly ugly and really stand out.  Wouldn't it be nice if you could make all your uncoupling tracks look like this.

This is how the uncoupling tracks were done on the NPOG layout.  Credit Harry Henning for coming up with this nifty idea.

Uncoupling Magnet N00

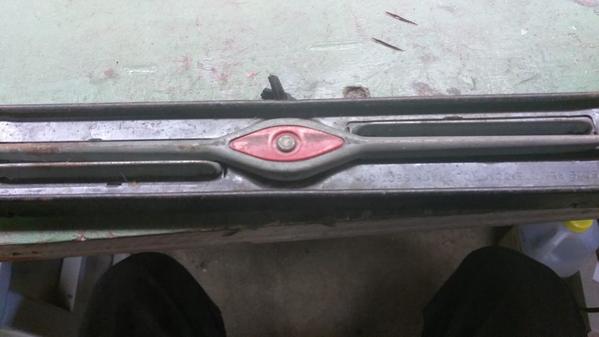
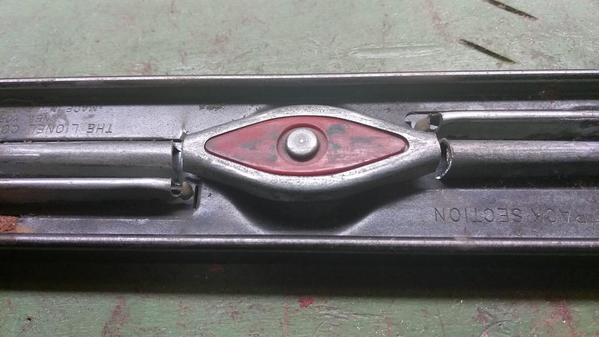
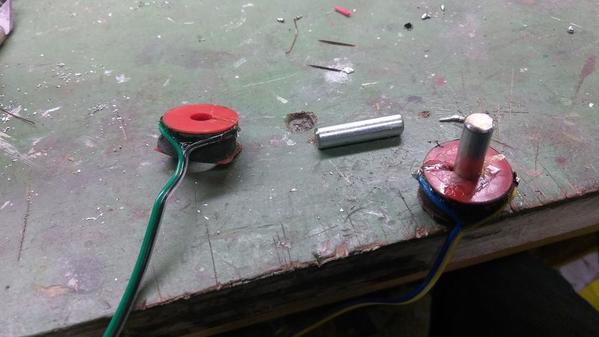
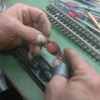
The obvious question comes up, where is it?  You may need a signal post to indicate where to uncouple cars!  Let's examine how this was done.  You start with all those ugly 027 uncoupling tracks you were about to throw out...

Uncoupling Magnet N01

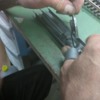
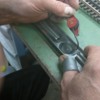
Cut the magnet free on each side.

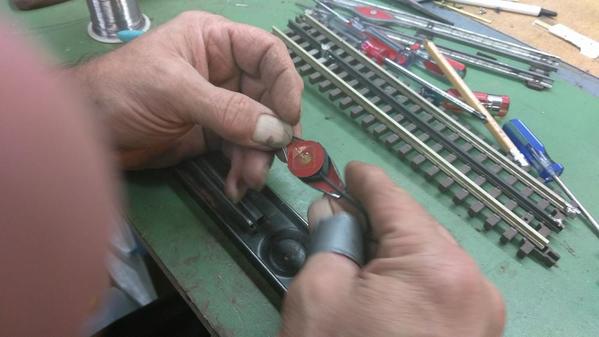
Uncoupling Magnet N02

Remove it from the track, being careful not to break the wires.

Uncoupling Magnet N03

Uncoupling Magnet N04

Cut the wire fee, you can discard that old track you were about to throw out anyway.

Uncoupling Magnet N05

Here's the magnet coil with the core removed.

Uncoupling Magnet N06

Separate the coil from the rest of the metal from the track.

Uncoupling Magnet N07

Cut a proper diameter bolt shank to length to extend the magnetic core.

Uncoupling Magnet N08

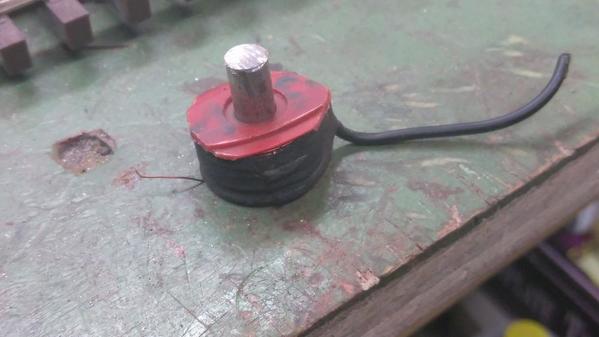
Insert your core into the coil and glue it.

Uncoupling Magnet N09

Uncoupling Magnet N11

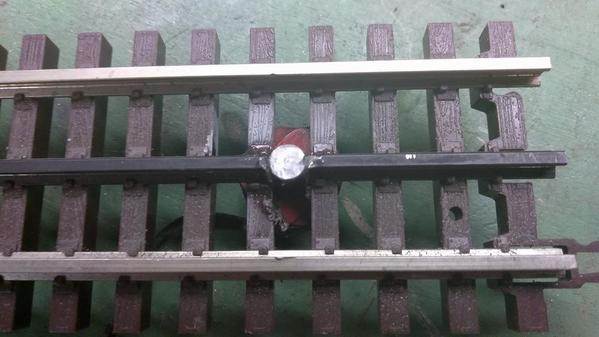
Glue the assembly to the bottom of the track after cutting a slot in the track, see following shot.  Jumper around the cut track to maintain conductivity.  You will need a hole to insert the magnet into in the benchwork, conveniently, that's where you'll run the wires from the magnet.

Uncoupling Magnet N12

Install the track with the magnet.

Uncoupling Magnet N13Uncoupling Magnet N14

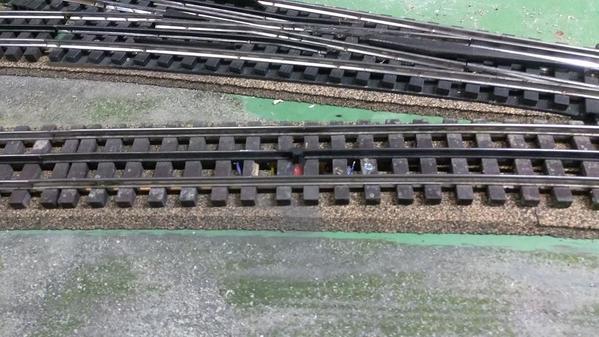
Apply some ballast and it's hidden.  Wire up the decoupling magnet circuit and you have a hidden decoupler.

Uncoupling Magnet N15

I hope this is useful to someone out there.

Attachments

Images (15)
  • Uncoupling Magnet N00
  • Uncoupling Magnet N01
  • Uncoupling Magnet N02
  • Uncoupling Magnet N03
  • Uncoupling Magnet N04
  • Uncoupling Magnet N05
  • Uncoupling Magnet N06
  • Uncoupling Magnet N07
  • Uncoupling Magnet N08
  • Uncoupling Magnet N09
  • Uncoupling Magnet N11
  • Uncoupling Magnet N12
  • Uncoupling Magnet N13
  • Uncoupling Magnet N14
  • Uncoupling Magnet N15
Original Post

Replies sorted oldest to newest

Thanks for posting this GRJ...   I had saved a bunch of the old 027 tracks, but I never liked the other way of incorporating these with the red plastic core showing in the Gargraves, plus it just seemed like alot more work on the center rail .... Inverting it and installing a new core is a great idea.....

John, cool post.  Years ago before TMCC and DCS I did something similar with my tinplate track.   I beat the bushes at every train show for old uncoupling tracks for the magnet and coil.  At one time I was able to buy new ones without the core.  Not a problem as the core was just 1/4 inch round steel.  I control them by good quality push buttons on my panels.  No Radio Shack buttons.  I have 92 of them on my layout and they all still function.  Great for breaking a train.  I hit the button to fire the car and then open the locomotive coil.

magnet1magnet2

Attachments

Images (2)
  • magnet1
  • magnet2

John,  Does the length of the core affect the strength of the magnet?  If not, I'm thinking of mounting the coils underneath the table top and extending the core up through the table top and roadbed.  This would only require cutting a small section of rail and drilling a 1/4" through hole.  This would make retrofitting them much easier as I wouldn't have to tear up a bunch of ballasted track.

Tom

That's really cool John. So low key, they are almost invisible.

Since all of my track is already in place, I've gone with an approach closer to Marty's. I keep the "eye" of the 027 uncoupler, but do paint it black to tone it down. I find the effect to be rather pleasant, and makes it easier to spot when switching. Here's a finished one.

IMG_6334

This is how I start, by cutting away the center rail and two ties.

IMG_7289

These still need paint and ballast.

IMG_7304

Attachments

Images (3)
  • IMG_6334
  • IMG_7289
  • IMG_7304
mike g. posted:

Clem, I was going to ask about a hour ago, but didn't want to feel like a fool. Do those work on Kadee's?I've been

Mike, I don't think they will.. I've been 'playing around' with the regular uncouplers and they won't work with Kadees.. Kadees need to be moved to the side to uncouple.. If two of these can be fitted side by side, in between the rails, that 'should' work.. I'm going to experiment with that idea at some point.. Maybe someone else already has.. In theory it would work..

I have also used the magnets from the old 6019 uncouple tracks.    Cut out the magnet and splice it into my O-31 tubular track.  This magnet is on the mainline track.  The switch is the spur that goes to my 97 coal elevator.

IMG_1282

I have also spliced in the control rails.  Here is the set up I have at my 97 Coal Elevator.   The uncouple magnet is placed before the control rails.  This way I can uncouple the dump car and leave it in position for unloading.

IMG_1279

IMG_1664

IMG_1660

Still need to ballast the track.   Have been working on this area of my layout for the past few months.

Steve

Attachments

Images (4)
  • IMG_1282
  • IMG_1279
  • IMG_1664
  • IMG_1660
Steve24944 posted:

I have also used the magnets from the old 6019 uncouple tracks.    Cut out the magnet and splice it into my O-31 tubular track.  This magnet is on the mainline track.  The switch is the spur that goes to my 97 coal elevator.


I have also spliced in the control rails.  Here is the set up I have at my 97 Coal Elevator.   The uncouple magnet is placed before the control rails.  This way I can uncouple the dump car and leave it in position for unloading.


IMG_1660

Still need to ballast the track.   Have been working on this area of my layout for the past few months.

Steve

I like what you did with the coal loader.  Any info on this project?

Don

Glad you folks liked it, I was quite impressed when Harry came up with it, and I thought it was worthy of sharing.  You can tell that Harry spends a lot of time thinking about trains.   I know many people have commented on how ugly they are undisguised.

As for lengthening the magnetic core affecting the operation, I can't honestly say, though I'd say that a bit more length probably wouldn't have a significant effect.  The best way to find out is to do a trial run and see what your results are.

ogaugenut posted:

Is there any type of electro magnet for this application that we could buy from Digi-Key or someplace?  Could take a long time to get old UCS tracks at train shows for a big layout.

Bill

All really nice ideas!

I'll ask a REALLY basic question though....along the lines of Bill's question above...

Has anyone determined how many windings of magnet wire are on one of the Lionel cores?  

If not, I may sacrifice one to get the answer.

The reason I ask is that, seeing how simple and obscure John/Harry's idea is, it shouldn't be that hard to make electromagnet cores ourselves.  How hard could it be to come up with a supply of inexpensive spools? (a 3D molding '101' project??)  Magnet wire can be purchased in bulk.  1/4" dia. steel pegs?.....easy to come by.  A homemade winder/counter?.....why you could probably crank out a basic coil in a few minutes......without all the scrounging and salvaging.

OTOH, not taking away anything from the recycling aspects of their idea.  Lord knows there are a bazillion rusty, useless UCS relics around........something else to keep a sharp eye out for at the shows, eh what?  (Oh, good grief!  Now I've done it!......the price of junk is sure to skyrocket!)

KD

Last edited by dkdkrd

You're right, I'm sure it would be child's play to totally roll your own, there can't be that many windings on that coil.

If you want a coil form, consider plastic sewing machine bobbins, they're cheap and readily available.

 25 Pcs/Set Clear Bobbin Home Sewing Machine Plastic Spools Thread Brother Singer, $.99 or 4 cents each.

eBay: 401234325488

Attachments

Images (1)
  • mceclip0

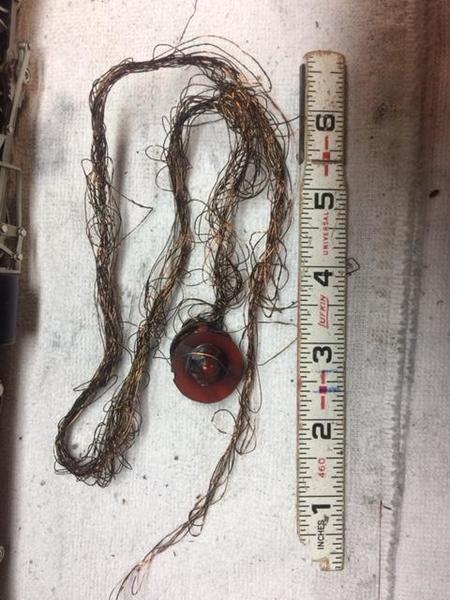
Last year, I had a button stick with a car directly over it and here is what I was greeted with when I came back from supper.  These things have a lot wire in the coil.

+ John, back in December 1991 in OGR run 120 I first showed my uncoupling magnet system and many of my friends followed what I did.  Run 120 was my first OGR cover story.  I was shocked when Fred Dole informed me he was going to put the story in word for word without having to edit a word.  I love what you did and all the guys.  I am still very happy these work great today as they did many years ago.   York was good to me for finding the parts needed.

ucs nightmre

Attachments

Images (1)
  • ucs nightmre
Last edited by Marty Fitzhenry

Add Reply

Post

OGR Publishing, Inc., 1310 Eastside Centre Ct, Suite 6, Mountain Home, AR 72653
800-980-OGRR (6477)
www.ogaugerr.com

×
×
×
×
Link copied to your clipboard.
×
×