
As the RR is actively in the process of gradually taking over the entire basement I find that the various tool boxes, roll around power tool work bench and roll a way tool boxes  are left to fend for them selves.

At one time or another each of them heard shouted from a less mobile soul,  "Roll on, save your self, find a place to hide".  So consequently there are quite a few multi drawer Craftsman, Husky & Snap-on tool boxes snuggled in  at various locations.

I find Covid a very convenient  excuse for not hosting visitors and just maybe by droning on and on the average reader will skip to the next posting and fail to notice the absence of photos of my conglomeration.

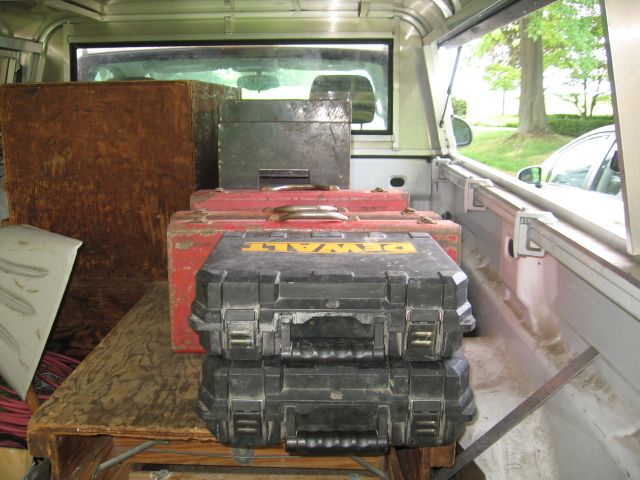
A  moving work bench.   Just returned from a sister-in-law project.

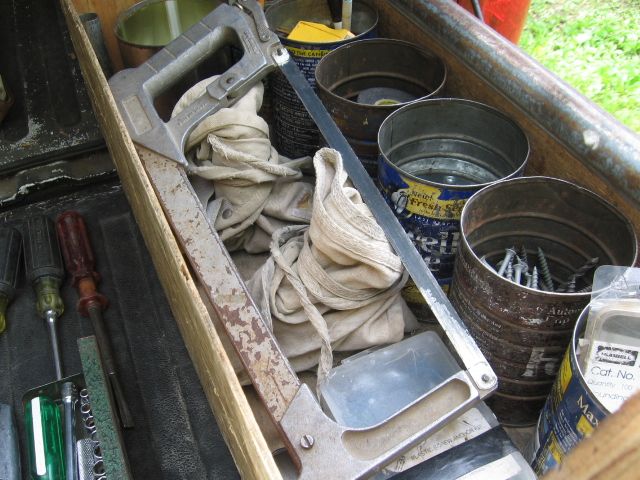
Finding coffee cans has become an issue.

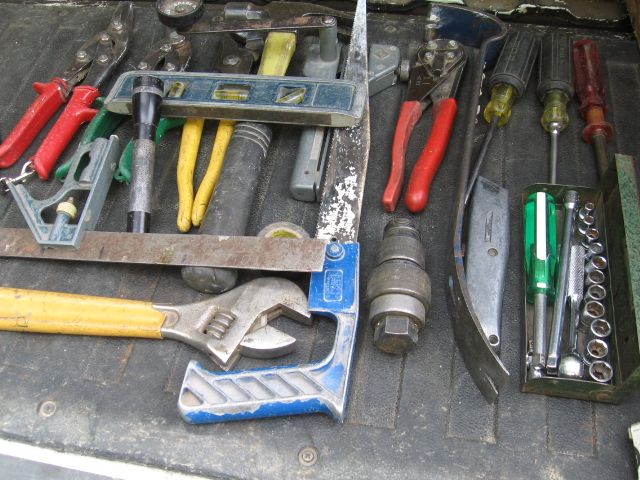
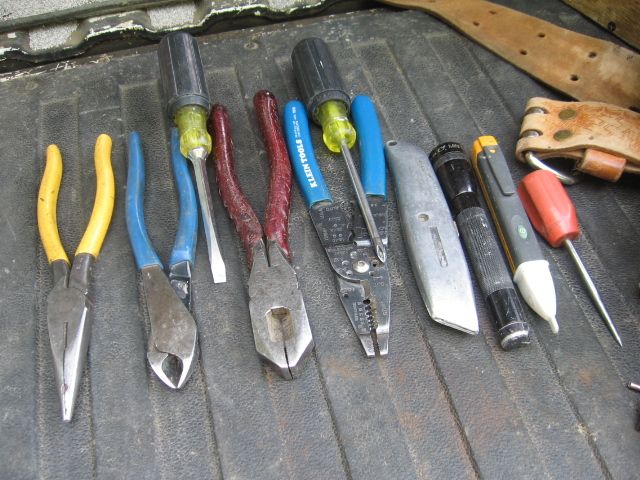
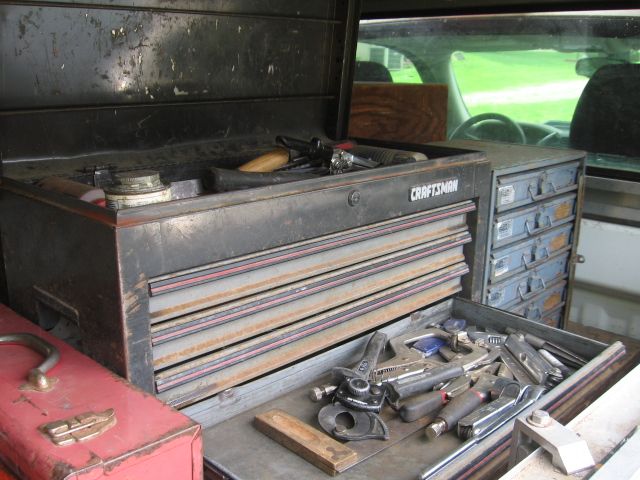
Most of the work gets done with these tools.

A good day, there are not-so-good days.

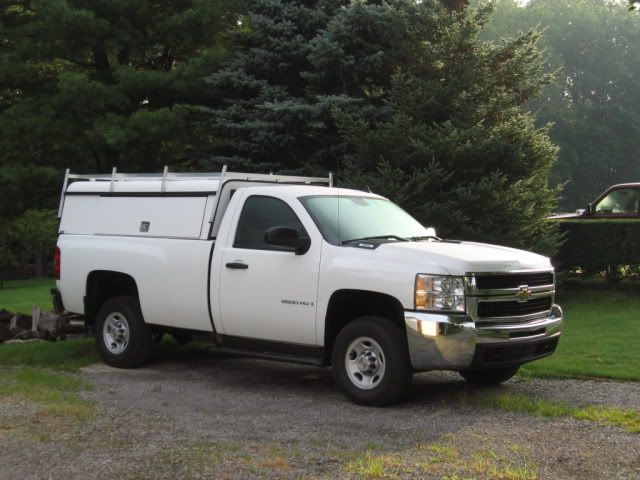
One of the trucks, a long time ago, I installed a pipe vice on the tailgate.  Was O.K., got used a lot, but was always in-the-way.

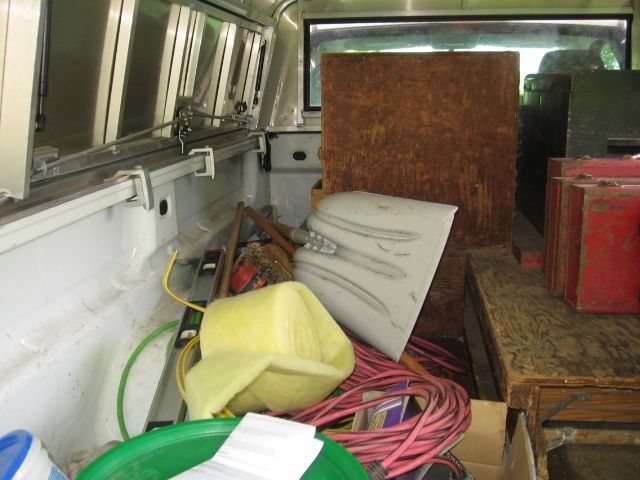
A couple of the trucks, we doubled the ladder storage area, commercial work, an eight foot ladder was more useful.  Tools and tool box was not as side accessible. I was O. K. with the set-up, added a 10 ft or 12 ft step ladder to the roof when needed.

The sister-in-law project required an 8 ft sheet of drywall, which fits in the space pictured.  Recent years heavy duty plastic trash bags have become an additional item.

The 8ft. bed, pictured, has become a novelty, apparently the rest of the world likes the 6ft. bed.  Truck pictured had to be order, 8ft beds don't sell on the car/truck lots, I was told.  The high, walk-in vans seem to be the modern trend.    May be time to retire.

Last edited by Mike CT
@harmonyards posted:

Ok, we need to get off topic just for a second...nevermind the workbench, what do we have here??.....please do tell....afterwards, we’ll return to the regularly scheduled programming....

Pat

5344O

Pat -

Since you asked, I grabbed 2 or 3 photos from last year:

Williams bottom; "ATSF" Warhorse top; I used a hardware store torch to take off the major components on the Dreyfuss.

5344S

New, higher skirting based on the old:

5344J

Since no one would build the proper J1e 5344 in its Century-like garb, I did. I used the Wms brass to streamline the Lionel; Wms tender w/Lionel electronics/tether. Added Lionel valve gear.

Still Pullmor, one chuff. On the list for a chuff-ectomy, if I ever get off the layout work. And get the sound to work again...

(I did not "aluminize" the drivers; this loco is dirty anyway, and I just really like those flat gray Lionel drivers. They look serious.)

DSCN3335

David.

Attachments

Images (3)
  • 5344S
  • 5344J
  • DSCN3335
Last edited by D500

Start off with my not having finished models in the shop other than maybe for reference purposes, but it's dusty and dirty there so as projects get done, off to another room. Workshop space is not the place for storing or displaying models.

Got a 4'x12' main bench and back 12" are parts bins with front being racks of small tools behind 2 dedicated model building spaces of 30"x40" plate glass resting on a cushioned underlayment.  Rest of space is filled with parts and tools associate with ongoing projects.  Small 2nd bench is ~4'x4' and set up for seated close work with shelving filled with parts and supplies.  Other shelving and file cabinets are filled with parts and supplies.

@D500 posted:

Pat -

Since you asked, I grabbed 2 or 3 photos from last year:

Williams bottom; "ATSF" Warhorse top; I used a hardware store torch to take off the major components on the Dreyfuss.

5344S

New, higher skirting based on the old:

5344J

Since no one would build the proper J1e 5344 in its Century-like garb, I did. I used the Wms brass to streamline the Lionel; Wms tender w/Lionel electronics/tether. Added Lionel valve gear.

Still Pullmor, one chuff. On the list for a chuff-ectomy, if I ever get off the layout work. And get the sound to work again...

(I did not "aluminize" the drivers; this loco is dirty anyway, and I just really like those flat gray Lionel drivers. They look serious.)

DSCN3335

David.

Wow, that’s nice work...I remember Pete telling me you had built one, and that’s a fine example.....great job!..and now back to the workbenches...

Pat

The sagest advice I can give is DON’T BE LIKE ME.  My workbenches are places where I drop my tools when I finish a job.  My woodshop workbench is usually so full of stuff that my table saw is my work surface.  I built a second work surface in my staging area because the first one was always full of stuff.  Now they are both full of stuff.  I have a place for everything, but don’t usually don’t put everything back in its place.

IMG_5434IMG_5432IMG_5433

Attachments

Images (3)
  • IMG_5434
  • IMG_5432
  • IMG_5433

Jay Francis:  In response to your opening question may I suggest to consider magnetic tool holders, Speciality gizmos for pegboard use,  tool boxes with primarily low profile drawers, vise, soldering station,  U shape or L shape work area so you can be perform multi tasking within a seated reach,  a spur track connected to your RR, super lighting, lighted magnifier, safe beverage placement, organized small parts drawers for maintenance items like couplers, wheel sets, small fasteners.

One thing I found restricting was a real neat looking machinist tool box.  Very professional looking but an awkward time waster frequently sliding drawers reaching for and returning small tools.  I replaced it with nook and cranny shelving where certain frequently used tools were immediately visible and reach able with out any extra motion.

Work stations are organic, they will develop and grow as your area of involvment expands.

GRJ has one of the most functional work spaces I have ever seen.  He can reach overhead, underneath, side to side and right in front of his position to efficiently address any need.

Hi treasure trove of parts and widgets in the parts containers under his work station is more akin to an electronic supply house.  Total envy!!  Especially of his knowledge!!

Everyone, thank you for the insights and that is what I was hoping for when I posed the question.

TomTee, I’m going to be limited to an oddly shaped closet in my train room. The door opening will be about three feet away from the side of the layout and I won’t be able to run a spur into the area. However, earlier Pat had mentioned that he mounts a toolbox under his layout. I intend to that since it will be within reach. There will also be a work bench in the garage.

Jay

When I built benchwork for Joe Genovario back in '09 he requested a raised portion in his benchwork to allow for a roll out 2' X 6' work bench.  This saved considerable floor space in his limited area.

I started with a 3/4" X 8" X 8' piece of Maple plywood and shaped it accordingly.

Then I made a rollout work bench with four fixed rollers which provided stable back and forth movement.

Joe had drawer units immediately beside and behind him also under the layout for his supplies and tools.  Excellent work provision, zero floor space impact.

Joe, Summer '09 017

For the deck I made a thin honeycomb waffle bottom for a rigid platform.  This configuration served Joe very well.

Attachments

Images (2)
  • Joe, Summer '09 017
  • Joe, Summer '09 017
Last edited by Tom Tee

I’m still figuring out my workflow in my shop areas.  Currently I share my bench between my two hobbies, trains and woodworking.  They share the bench, but have separate storage adjacent.

F4C3AC73-9449-4366-AE26-2658578DC8BB
multipurpose 6’ bench.

C0FE43AF-BB71-4BD0-BB75-E3B0E43BA44D

A recycled anesthesia cart for the woodworking hand tools.

EDA80135-B581-4C1F-81D5-661EC4626BCD

An old microfilm cabinet provides 36” deep, full extension drawers to hold the train specific tools and spare rolling stock.

On the other side of the wall is a dedicated 13’x19’ power tool shop with dust collection.  Keep most  the dust in a separate area that way.  Storage in that room uses a French cleat wall, recycled upper cabinets and some peg boards.

46D4CF3E-9317-4453-A91B-6D67BE6818CE668290B0-878B-418E-80FA-6CD984340C82

During the lock down I built a separate work desk for the trains.  It’s a laminated hard maple desk. But, the wife reminded me I promised to build her a scrapbook table, so I lost the desk and the space.  

2ECE450A-8BD5-4337-AEDD-FE3E7142FEF8

I’m back to using one bench for two hobbies.

Attachments

Images (6)
  • F4C3AC73-9449-4366-AE26-2658578DC8BB
  • C0FE43AF-BB71-4BD0-BB75-E3B0E43BA44D
  • EDA80135-B581-4C1F-81D5-661EC4626BCD
  • 2ECE450A-8BD5-4337-AEDD-FE3E7142FEF8
  • 46D4CF3E-9317-4453-A91B-6D67BE6818CE
  • 668290B0-878B-418E-80FA-6CD984340C82
Last edited by jstraw124

I took a few pics of the shop that is somewhat in order. I am like Lehigh 74, in that I tend to pull out an arsenal of tools and equipment project after project, until most of the tools are scattered throughout! It is usually months after before I finally force myself to organize and clean. The island work table is on wheels, and folds in half to change t work surface from 2' X 8', to 4' X 4'. It is set to he height of the table saw for cutting long materials.

The last two pics are the normal look!

Workshop 11 02 2020 001Workshop 11 02 2020 002Workshop 11 02 2020 003Workshop 11 02 2020 005Workshop 11 02 2020 006Workshop 11 02 2020 007Workshop 11 02 2020 008workshop 002workshop 003

Attachments

Images (9)
  • Workshop 11 02 2020 001
  • Workshop 11 02 2020 002
  • Workshop 11 02 2020 003
  • Workshop 11 02 2020 005
  • Workshop 11 02 2020 006
  • Workshop 11 02 2020 007
  • Workshop 11 02 2020 008
  • workshop 002
  • workshop 003
Last edited by rail

Add Reply

Post

OGR Publishing, Inc., 1310 Eastside Centre Ct, Suite 6, Mountain Home, AR 72653
800-980-OGRR (6477)
www.ogaugerr.com

×
×
×
×
Link copied to your clipboard.
×
×