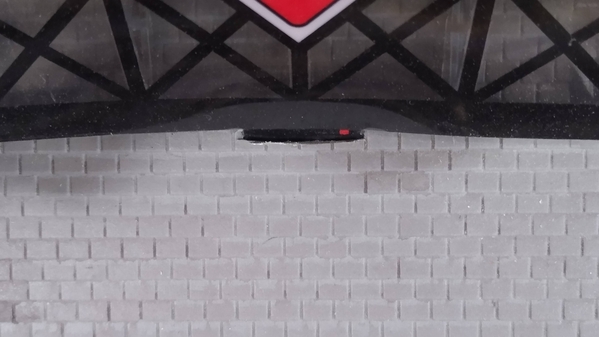
I recently purchased some Miller Engineering signs and am inquiring how those who have installed them on top of MTH buildings made a slot for the wiring.  I have never had to cut through the roof of one of the buildings so I am looking for ideas.

Thank you,

Darren Caruso

Original Post

Replies sorted oldest to newest

I mark both ends of the slot and drill a small hole in each end.  There's a skinny blade for a zona saw that you can then drop in the hole and connect them together.

You could also just drill a series of 1/16" holes along the length of the slot and then file it out. Once the sign goes on, you wont notice what you've done to the roof, but its important that you get it straight enough that the sign material slides through without flexing or bending. Those EL elements are a bit fragile at the connection tab.

Last edited by Boilermaker1

Thanks for all of the replies!  I did try the exacto knife route, but my hands are not steady enough to make straight lines on smooth plastic.  I opted for the Dremel tool, but I used a cut off disc/wheel that I had previously used to cut my track, this produced a nice slot for the connection point on the sign.  Now I will warn you that it burns/melts the plastic and it smells, but if you can get past that, it does produce a good result.

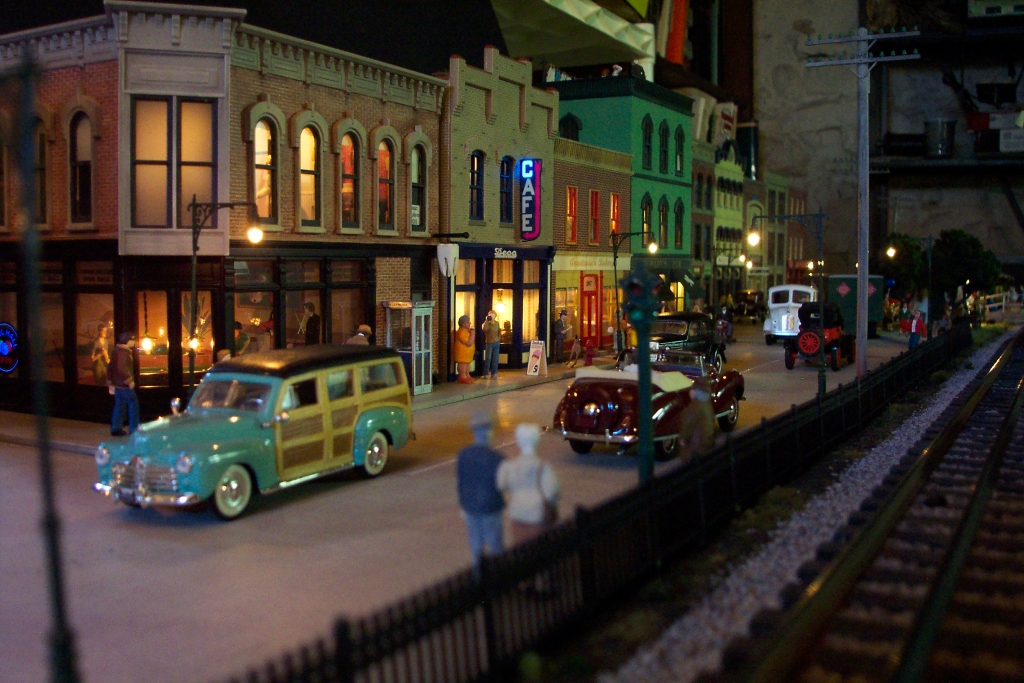
I will post some pictures of the layout and I will include one of the sign.

Darren

I have a couple of Miller signs I haven’t installed on top of my buildings/shadow boxes yet due to just this issue, so this is very timely. I have a question for those who have done surgery on your buildings... Each of my signs has the thin tab at the bottom which needs to be inserted into a fairly thick “plug”. I do not see the thick plug in any of the pictures. Can you tell me how you made the connection through the thin slit??? Thanks.

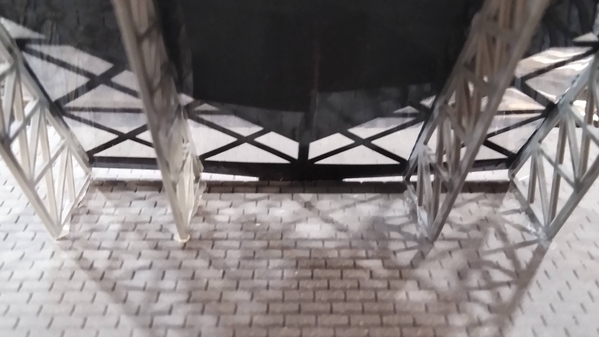
Great-looking installations in this thread. I don't have any MTH buildings, mine are all Dept. 56 and Lemax. So I was very reluctant to drill any holes into Victoria Station. Instead, I used a half-inch thick square of plexiglass,  glued it to the deck of the layout, then glued the support towers to the top of the plexiglass and used it as the support. The wiring runs down between the back of the building and the front of the plexiglass, with holes drilled into the deck of the layout, where the wires are connected underneath. So, installed in the back of the structure, no drilling was required and it's held up for years and years. I love Miller Engineering signs.

IMG_5212IMG_5213

Attachments

Images (2)
  • IMG_5212
  • IMG_5213
Last edited by Yellowstone Special

Thanks Chris, Had thought about that. Just wondering how long the Batteries would last going that route?

Joe

The signs don't take up a lot of energy but you could always buy the adapter of you don't want to go the battery route. That's what I did.   You could paint the base white "I would suggest glossy" or something close to the station color to blend it in better.

Last edited by Chris Lonero

Add Reply

Post

OGR Publishing, Inc., 1310 Eastside Centre Ct, Suite 6, Mountain Home, AR 72653
800-980-OGRR (6477)
www.ogaugerr.com

×
×
×
×
Link copied to your clipboard.
×
×