For this project, I'm working with my MTH Shay #12. I did a decoder install on this guy a while back, which I detailed here. To really complete it for my layout, though, it needs kadees as well. Here's a pic of the victim lucky recipient, after the decoder install but obviously before the kadee install:
I like to have a specific prototype in mind to use as a reference when doing the design for these things. The inspiration for this one comes from the Georgetown Loop Railroad in Colorado, specifically their 3 truck Shay #9. Since I've ridden behind this guy several times, it's a no-brainer.
I took over 100 detail pictures last time I was out there, so I have plenty of material for developing the model. Here are just a few:
Apart from being a steamer rather than a diesel, there is another significant difference this time around. I really wanted to capture the weathered, bent, organic look of the old iron and wood parts. That meant while modeling, I needed to be able to freely bend and twist the wrought iron bars and fittings, warp and crack the wood ties and boards, install bolts in sloppily positioned patterns, and so on. Creo Parametric, which I've used for the other pilots I've posted about here, just isn't really geared toward this sort of modeling. Instead, I chose to do the work for this model in Blender.
Blender is primarily intended for rendering and animation, but it's mesh based modeling was perfect for what I wanted here. I can just push and bend iron bars, click and drag a gladhand and its hose wherever, all kinds of fun stuff. It exports STL, among other formats, so the parts are readily 3d printed. It's also open source and free to download. Like many powerful tools, the learning curve is a bit daunting, but there are lots of good resources available online.
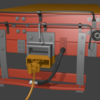
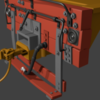
Anyway, here are a few pics of the current model. The orange parts are the existing chassis and, of course, the kadee. The other parts would be the 3d printed parts. I haven't gotten to the point of deciding if it would all be one part, or if I would have separate parts for the handrails, etc. It's just the concept model so far.
View from the underside showing the chassis and coupler mounting provisions.
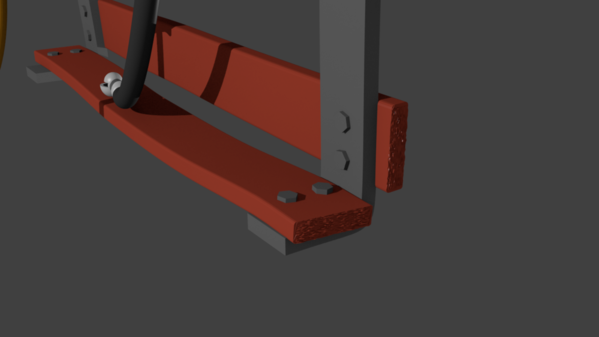
Close up of my current attempt at putting an end grain pattern on some of the planks.
A solid technique for really good longitudinal wood grain still eludes me. There are plenty of ways to put a visual texture on it, but that does nothing for a 3d print - the texture has to be modeled in the mesh, and in a way that keeps the mesh size within reason. Same with, say, having one of the beams split along its length, or a whole chunk of it cracked off like in the pics above. So there are some challenges still remaining before I really achieve what I intend to do.
Like I said, a bit of a learning curve... ![]()


