I'm thinking of trying battery power in my LC+ Camelback. I'd just put the battery in the tender as it only has the speaker. I can just run a 2-wire tether to the locomotive to power it. I'll probably stick a switch in to switch between track power and battery power.
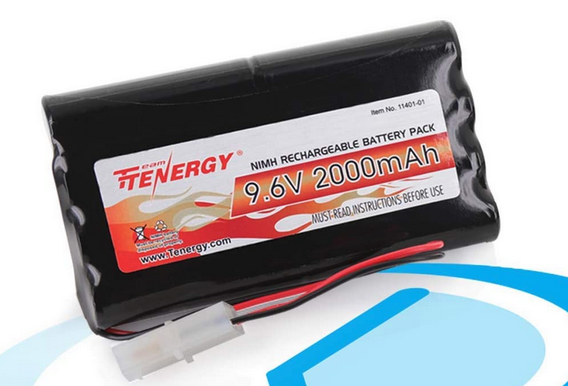
Looking for a suitable battery pack to fit in the tender. I'd probably consider NiMh for the first experiment. I'd like to find a vendor that also has the charging capability. Another idea is I might try charging with track power and just have it keep running if it runs out of track power. ![]()
===============================================================
The final chapter has been written, so I am updating the first post with the end result.
===============================================================
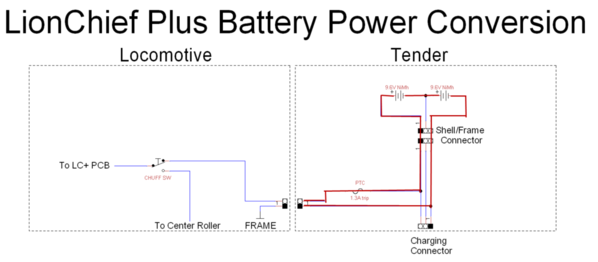
I crammed two of the 9.6V NiMh battery packs into the tender. I didn't have room for the charging jack I had installed, so I moved it to the underside of the tender. The locomotive and tender are connected using a 2-pin 2.54mm Molex connector set, and I used the same style connectors in the 3-pin format for the tender internal wiring. The seemingly "extra" connector set was do I can separate the tender shell from the frame, I abhor installations where shells are hard-wired to the frame! So, I present the "finished" product. The odd hole in the frame is where my charging jack used to be, but there wasn't space for it with the two batteries.
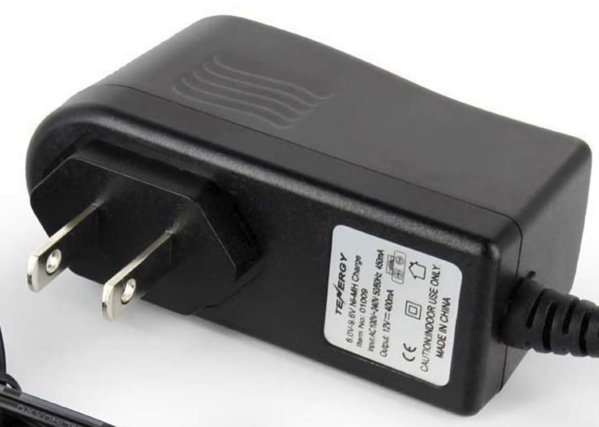
Since there are two battery packs and only one charger, I just split the charging and will charge them one at a time when needed. I wasn't 100% sure about charging the two in series, and I don't have a charger that would do it anyway.
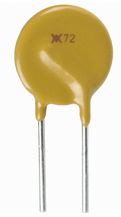
To protect against shorts and/or over-current, I also added a 1.3A PTC in series with the battery outputs.
Tender configuration with batteries installed

Relocated charging Jack

Charger with dual head charging harness