Greetings from the shores of Puget Sound

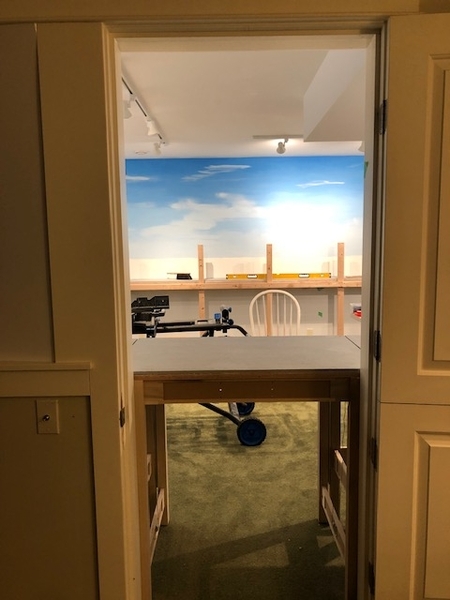
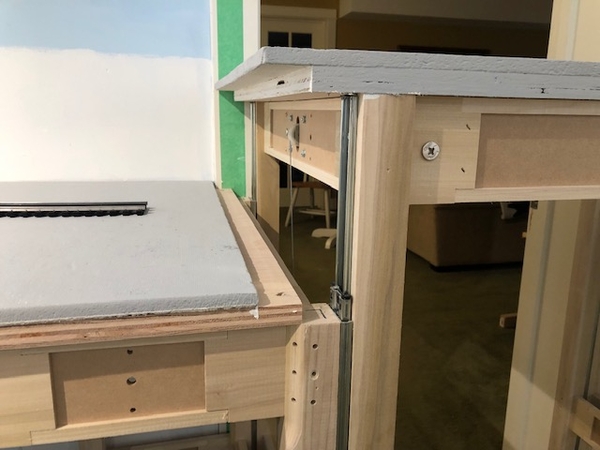
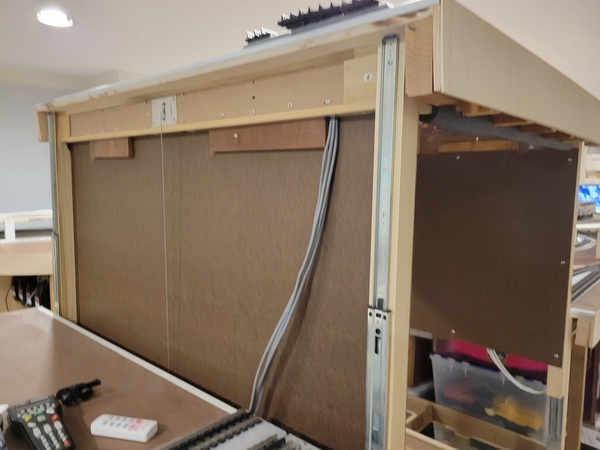
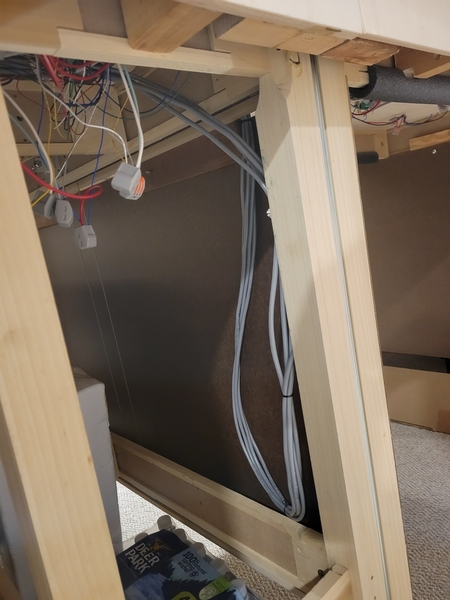
When you pull open the door to my train layout room, you immediately encounter my Mianne Liftgate

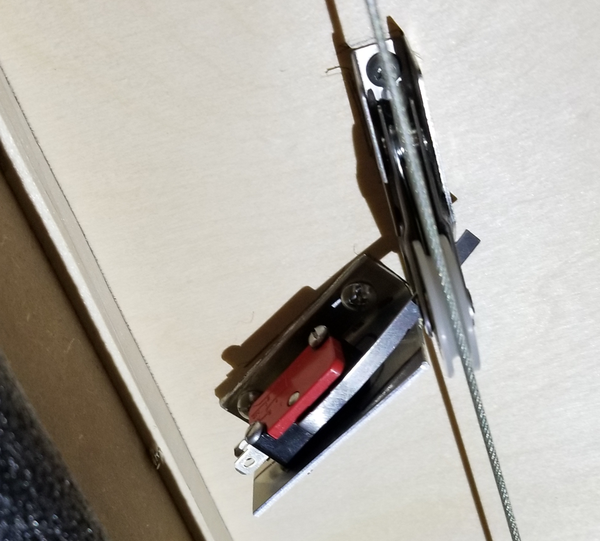
Installed and working well with the exception of the lower limit switch being a little finicky in adjustment. I believe a spring-loaded idler pulley will solve that issue. Gunrunner John wrote up a very simple and good solution a few years back.

Today I would love some suggestion on two issues regarding the liftgate

1. I will need to power 5 different sections of track so 1 common neutral and 5 hot for a total of 6 contacts. I am searching for solutions. some type of contacts when bridge is seated in lowered position or a hard connection cord that travels with the up and down of the lift (routing would be the issue here)

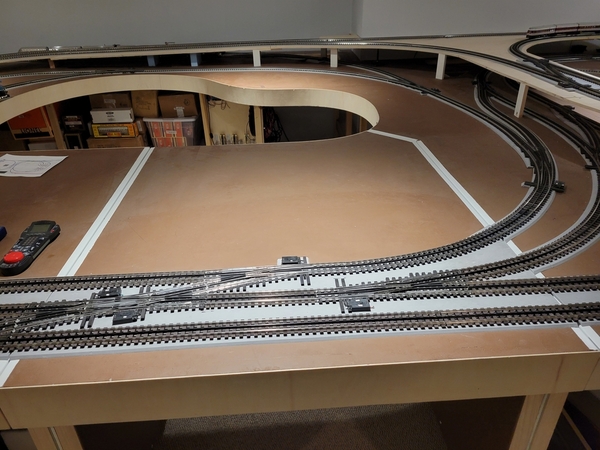
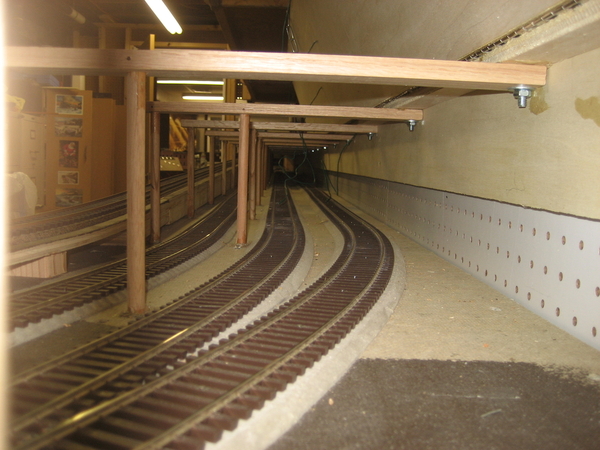
2. What is not built yet is a second (upper level) that will carry 4 mainline tracks on 3/4 ply and 1/2 Homasote 10" above the current Homasote deck painted gray.  Does anyone have some good suggestions or photos of a second level construction framing detail (rigid without getting way to heavy or interring with alignment or view).

Thank you in advance for any comments or help, I finally got my train room back and have started the benchwork again.

kevin

kevinthumbnail_IMG_1427thumbnail_IMG_1429thumbnail_IMG_1430

Attachments

Images (3)
  • thumbnail_IMG_1427
  • thumbnail_IMG_1429
  • thumbnail_IMG_1430
Original Post

Replies sorted oldest to newest

Personally, I think contacts are harder than a simple loop of wire, and I've done both.  Also, if you have switches or other accessories on the lift bridge, you'll end up with a lot of contacts.

My bridge has three power feeds and four switch machines on it.  To do these with contacts, I'd have a lot of contacts!

It also has the lower limit switch spring loaded pulley under the center with it's own cable.  Obviously, I couldn't just use contacts for the limit switch as it has to have it continuously connected.

I have a bunch of cable loops on both sides, they just hang down on the side of the bridge when it goes down.  FWIW, this is not unlike what elevators do in may buildings, just on a smaller scale my my small "elevator".

This is a piece of cake to do and will do the job just fine.

Top of the bridge

Mianne Lift-Bridge Down

Bridge raised, left side

20220816_121101

Bridge raised, right side

Mianne Lift-Bridge Up

Bridge lowered, cable loop hanging alongside

20220816_121123

Ignore the lever nuts hanging there, haven't gotten around to dressing them up.

Attachments

Images (4)
  • 20220816_121101
  • 20220816_121123
  • Mianne Lift-Bridge Down
  • Mianne Lift-Bridge Up

Vernon, Great idea and excellent representation, I will look into this possibility. I found a source on Amazon.

John and Tom, I always appreciate the work you two have done on GRGs layout, Good, idea to put up the Masonite on the interior of the lift, really cleans it up and keeps wires and visitors separate.

John what location on the cable did you install the idler pulley to take up slack

Tom, any thoughts on how you would frame a 3/4 ply deck approx. 10" above the shown gray Homasote deck, with good rigidity? and visibility of trains on lower deck while in lowered position

Thank you, guys, great help from some of the best. I think I will stay away from contacts and go for hardwire.     

kevin
@Fast Mail posted:
John what location on the cable did you install the idler pulley to take up slack

You can see the whole deal right here.

Mianne Lift Bridge Lower Limit Switch Enhancement


MIanne Lift Bridge Limit Switch Upgrade N2


You might also want to consider fixing the controls so you can operate them from either side instead of the big clumsy yellow control.

Mianne Lift Gate Control Expansion


I have these switches on either side of the liftgate.

Kevin,

Remember you asked me.  There maybe considerable push back to my approach but that's life.

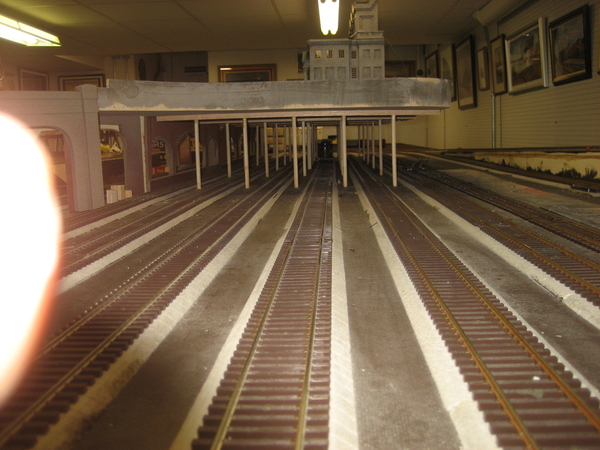
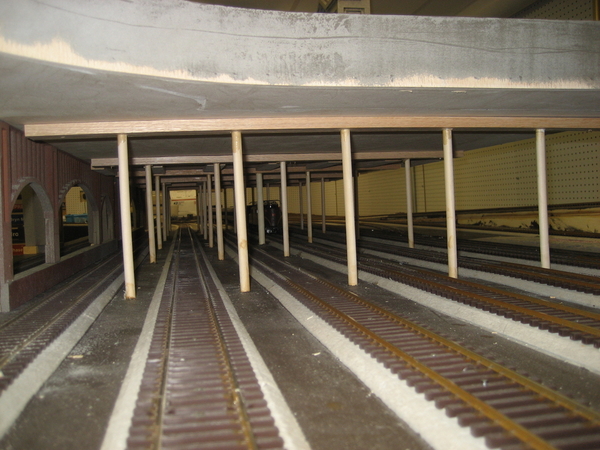
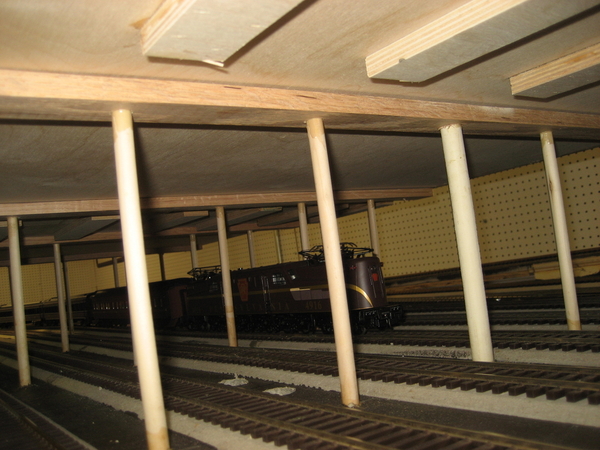
I love to use 1/2" Oak dowels for second levels.  Whether or not there are secondary attachment points.  They work best in a parallel string maybe 6 on each side.  Use a jig for a perfectly plumb hole.

The upper level needs to extend further (be longer)  than the lower so as to preempt any interference.

Drilling  row of six through holes on each edge, 12 total,  with the top deck clamped to the lower deck.

Use false bridge work to locate the top deck as close as you can to it's final location.   Pre soak the four (eight) corner holes with Titebond III.  Drive the  four corner 1/2" Oak dowels through the top deck down into the bottom deck hole until they are just proud of the lower deck bottom.  Coat each end of each dowel just before it is driven home to its final position.

Use the glue as though it was free.  Do not cheap out on glue application.

Double check everything on each end to ensure that they  are EXACTLY where they need to be.  All other second level subroadbed surface should be slave what ever the upper deck flat surface is for the immediate continuation on each end.  Level is not as important as is "flat".

Once the second deck is glued in place over night then do the same thing with all the other dowels.  Four at a time, always try to work with fresh glue applications.  Make sure all dowels are proud in their holes.

When the last glue has dried over night then sand all proud dowel tips flush.  Fasten a 1/4" thick hardwood cap over all the bottom dowel ends with a brad held Titebond III sandwich.

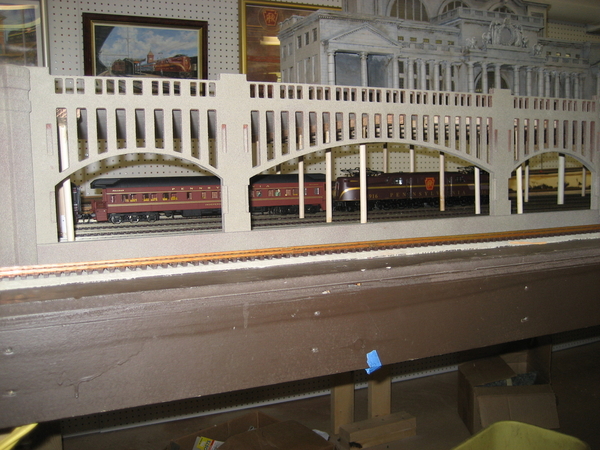
The following is a free standing train station.  It is as rigid as a marble hearth sill.

Only use Oak for the stringers and dowels.

Station overall 001Station overall 002

This method will provide excellent viewing.

Station overall 003Station overall 004Station overall 007Station overall 008

This was only a 1/2" plywood deck so I added an Oak cross brace.

Station overall 009

Did you notice the one white "dowel" in the view above and below?   Well, it is not  a dowel it is a piece of 1/2" plastic water pipe.  I used it to run power up to the lighting in the station.

Station overall 010

This is how I use the 1/2" Oak dowels on an access lid.  :

toy boxes 005toy boxes 007

Just for the perfectionist I like to shoot a brad into the outside edge to redundantly secure the dowel.

Granted, there are no angles involved but this system is hard as a rock!

Attachments

Images (10)
  • Station overall 001
  • Station overall 002
  • Station overall 003
  • Station overall 004
  • Station overall 007
  • Station overall 008
  • Station overall 009
  • Station overall 010
  • toy boxes 005
  • toy boxes 007
Last edited by Tom Tee

As far as using elevator style harness loops I find that works fine with standard stranded wire.

My main control panel has six power pack circuits and 44 toggles with wires running from a 110 degree swing lift up panel to a 20" slide out terminal board.

All the looms are tie wrapped and flow down through the terminal strip board.  Further descending down into a large 180 degree loop then ascending back up into the MTH terminal boards.  Easy to service, no wire bind, no strain of terminals on either end.

IMG_8685IMG_8868 - CopyIMG_8871

Note the holes through which the looms run.

Attachments

Images (3)
  • IMG_8685
  • IMG_8868 - Copy
  • IMG_8871
Last edited by Tom Tee

Tom,

It goes without saying you are extremely generous with your time and knowledge. Although we have never met, and I hope we do someday; you have gone above and beyond in your dedication to educating me. A clear step by step technical yet articulate presentation.

It will be a few months before I tackle the second level of the liftgate but be assured your explanation will be my structural guide. In the meantime, your explanation and technique will greatly help me as I need to deal with a lot of 2nd level platforms that will not easily be secured to the wall and will be free standing. These platforms will carry a 4 track mainline 10 inches above the base table.

I believe your description is a very valuable primer on free standing platforms.

I may ask your help again. Although I love problem solving, I like it to work right the first time, even more.

I also want to thank GRG for the help on dealing with the Mianne lift and a slight issue regarding adjustment of the lower limit.

kevin
Kevin,

I would suggest to reread, study and absorb John's detailed lift gate rework.  He hit the ground running on this project and left nothing to chance. 

His efforts on that lift gate make all the difference in the world for dependable and convenient operation, resulting in performance nothing like one gets with the out of the box product.
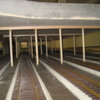
One critical consideration,  all adjacent Mianne bench work MUST be adjusted to be perfectly flat across the lift out.

Add Reply

Post
The Track Planning and Layout Design Forum is sponsored by

AN OGR FORUM CHARTER SPONSOR

OGR Publishing, Inc., 1310 Eastside Centre Ct, Suite 6, Mountain Home, AR 72653
800-980-OGRR (6477)
www.ogaugerr.com

×
×
×
×
Link copied to your clipboard.
×
×