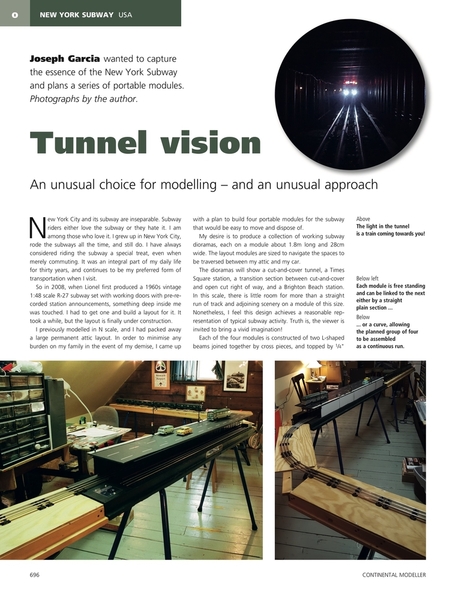
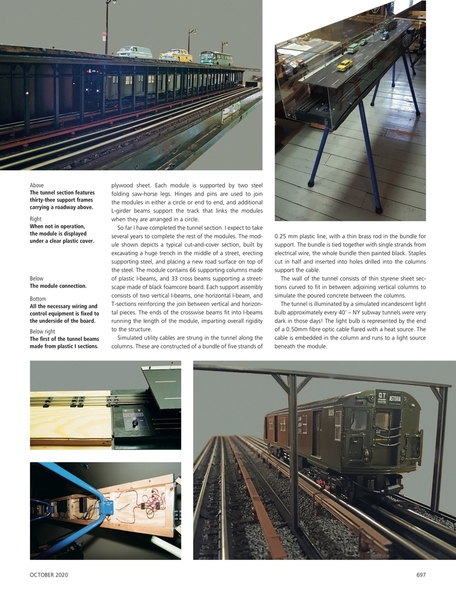
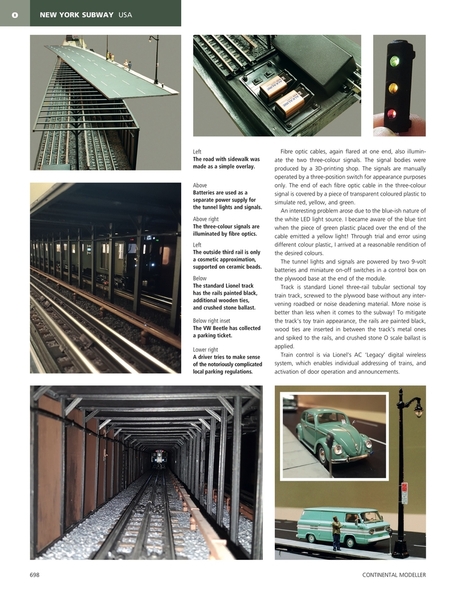
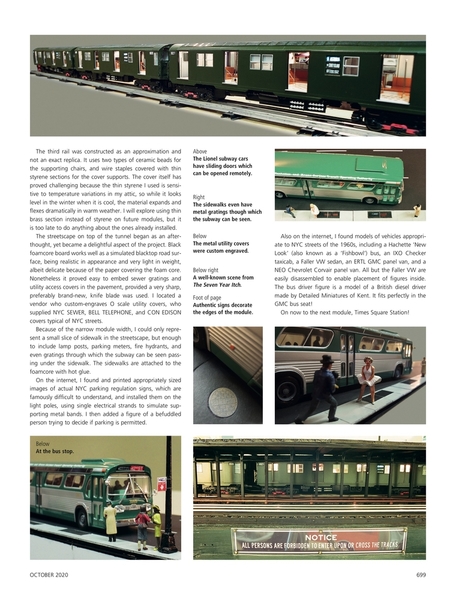
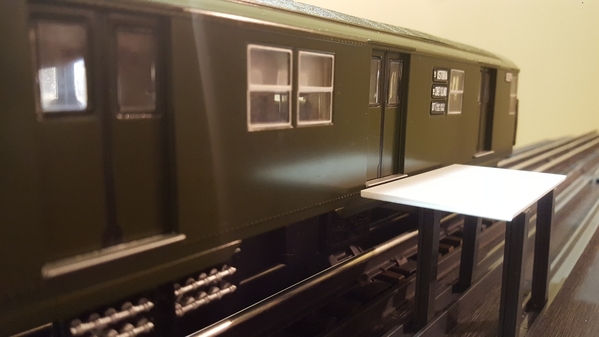
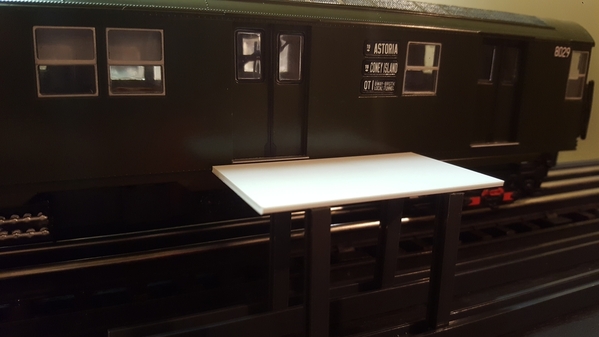
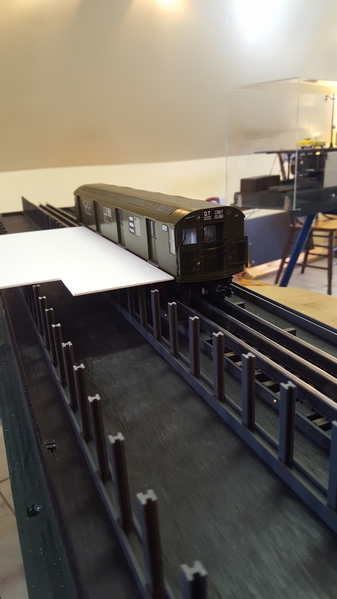
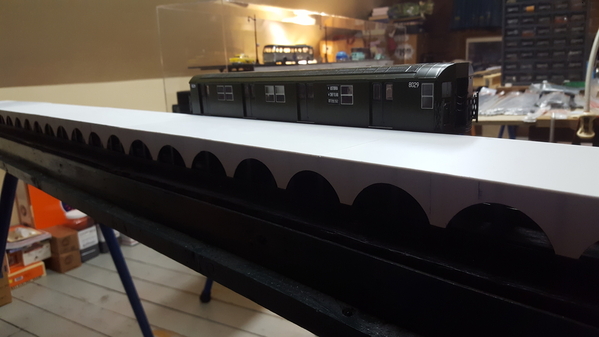
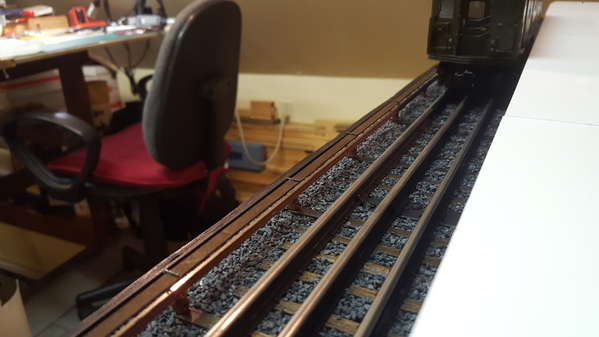
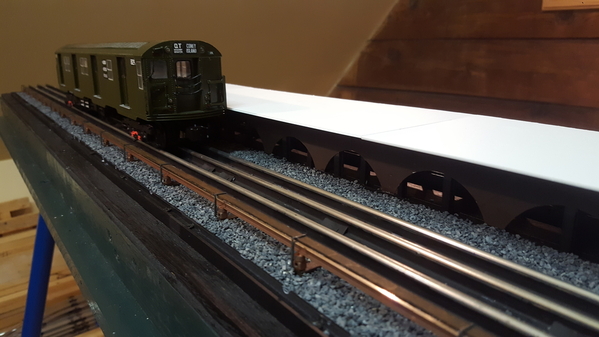
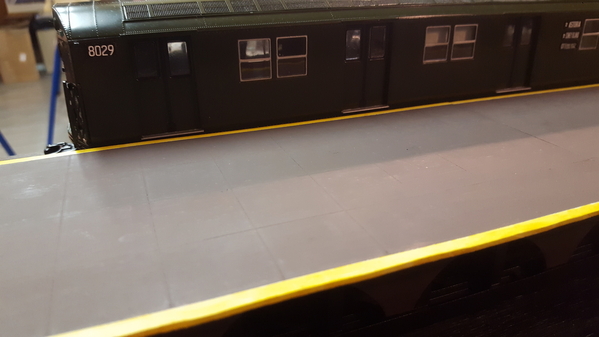
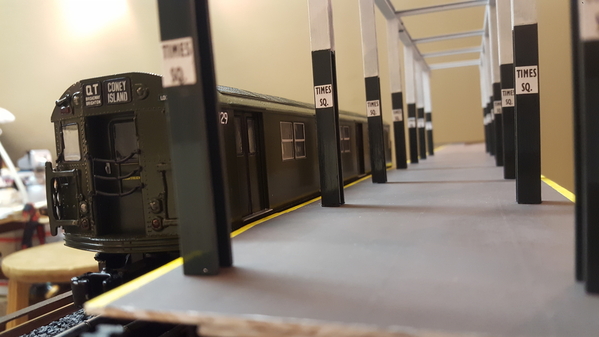
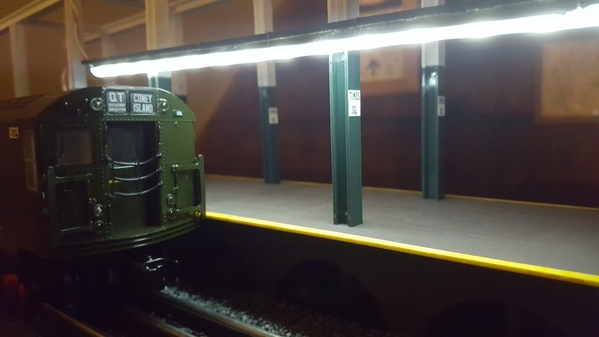
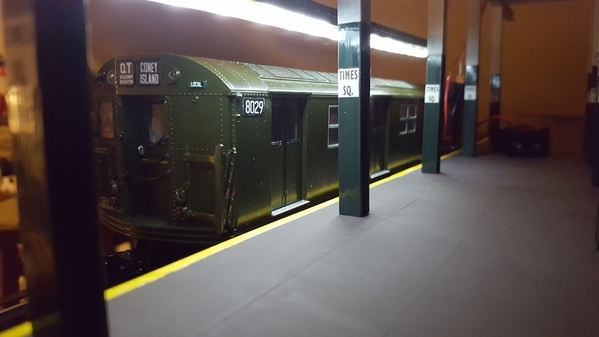
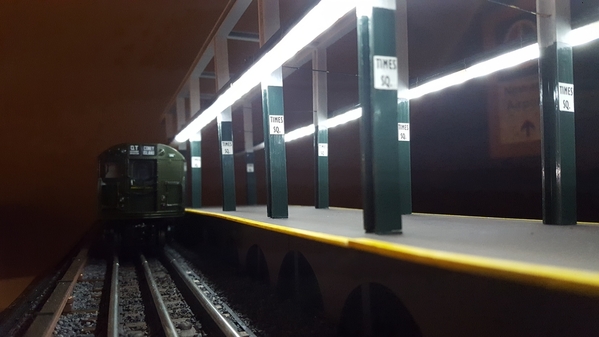
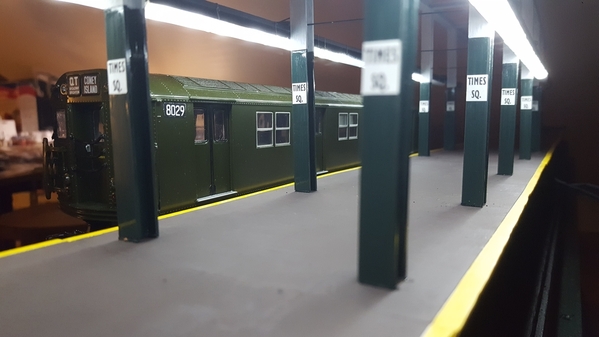
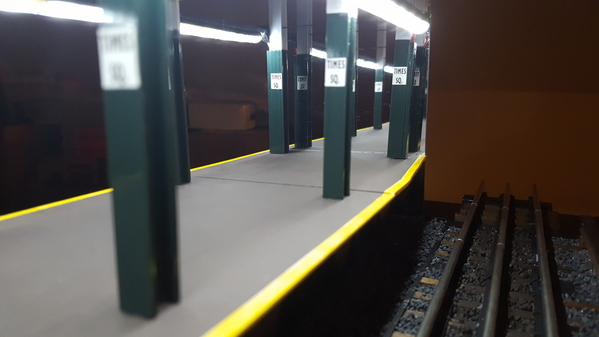
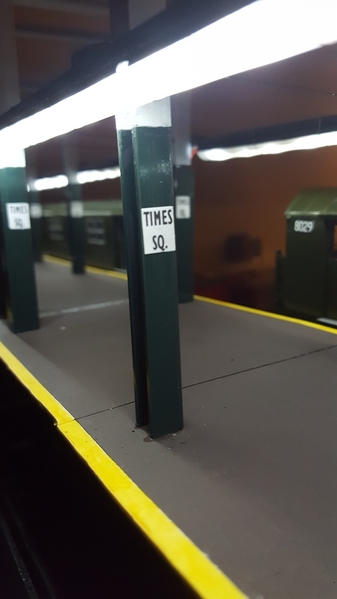
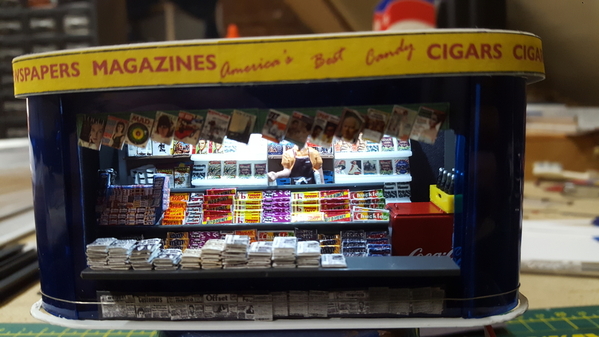
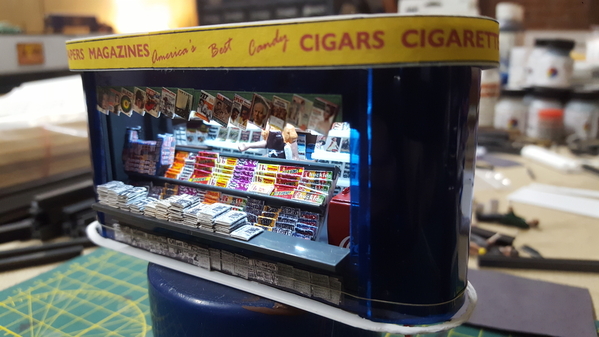
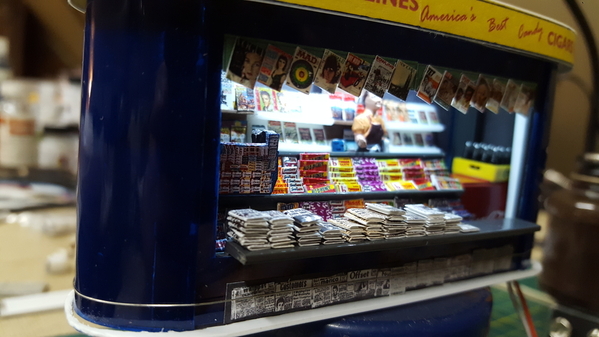
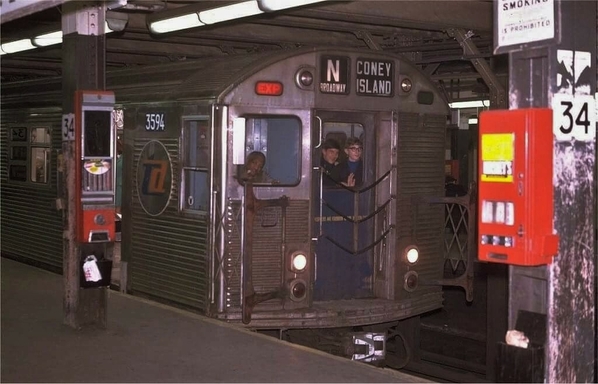
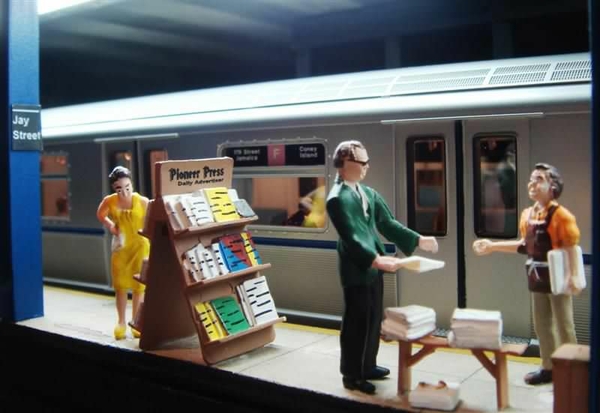
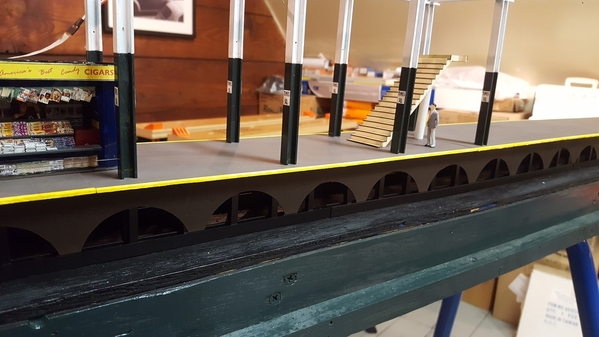
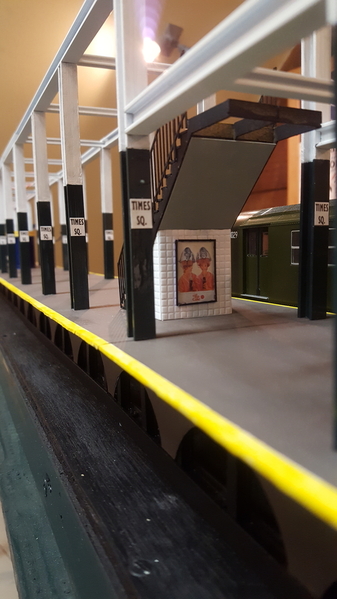
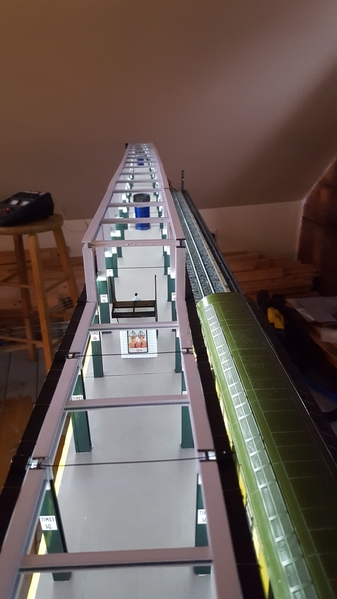
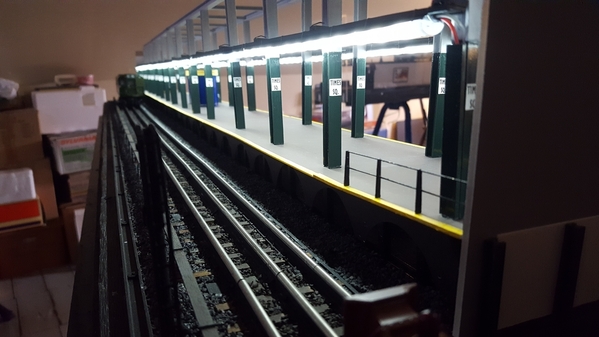
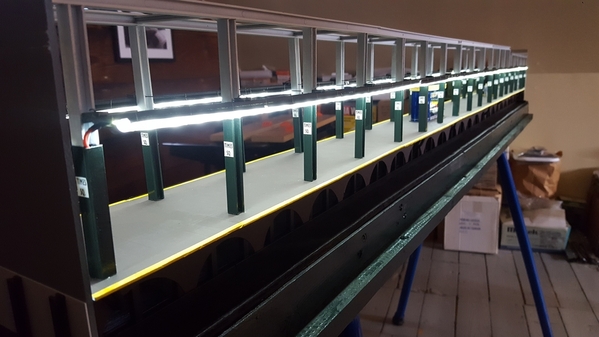
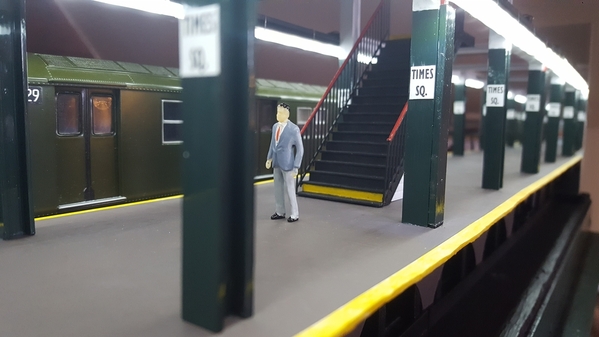
All the years I've been in this hobby, I've always thought how nice it would be to share my efforts in a modelling publication, but I never had anything worth sharing. It finally happened. The first module of my subway layout, in the October 2020 issue of Continental Modeller magazine. Hope you like it. The rest of this thread will cover the construction of the second module, Times Square Station.
Replies sorted oldest to newest
Nice article and Excellent work, west side! Thanks for sharing and I’m looking forward to seeing more posts on your module progress.
Great article The removeable roadway is a great idea
An amazing piece to say the least, modular system is museum quality.
Attachments
Just received my hard copy of CM the other day and read your article Joe, great work! Having grown up in NYC area and being a former commuter, you got it right!
Miketg
@West Side Joe posted:All the years I've been in this hobby, I've always thought how nice it would be to share my efforts in a modelling publication, but I never had anything worth sharing. It finally happened. My subway layout in the October 2020 issue of Continental Modeller magazine. Hope you like it.
Lov your work Joe subway cars rock 👍
Attachments
Great work!
Peter
Attachments
Attachments
Good Stuff !
Attachments
Attachments
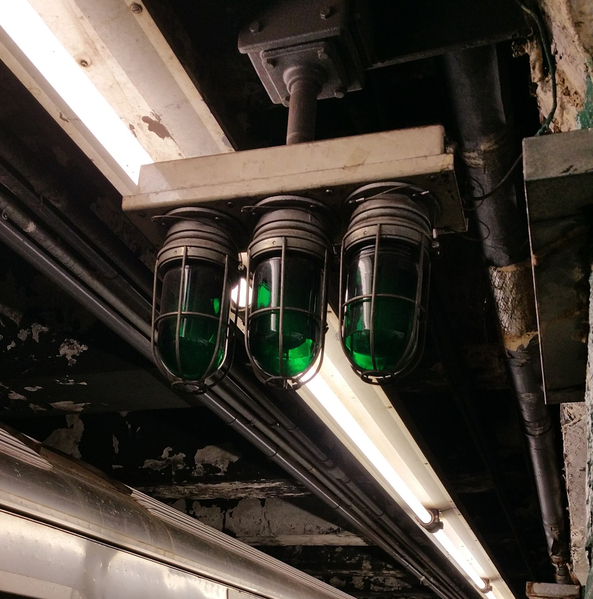
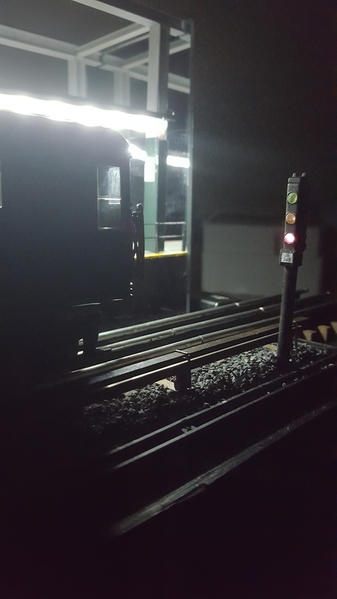
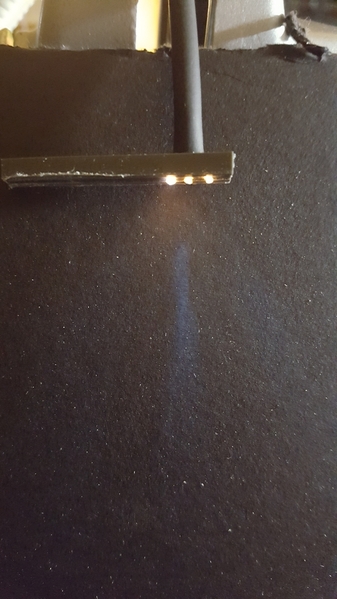
Stations where subway trains are held by dispatchers to meet other trains or let them pass, have departure signals consisting of three orange bulbs, placed along the platform so the conductors can see them from their positions. When the dispatcher wants the train to leave, the lights are turned on, and the conductor proceeds to close the doors. This is my rendition of a departure signal for my 42nd St. station module.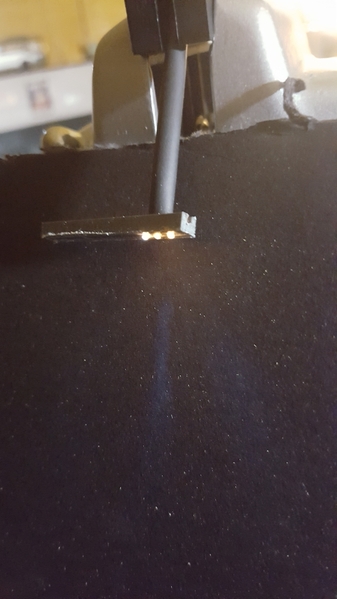
Attachments
For 42nd street, which is where your model is re-creating--you would have 'holding lights' which operate the opposite of the way described--turned on to hold a train in the station, and are turned off when the train is allowed to proceed.
At terminals, yes, I believe such lights are turned on (usually accompanied by a gong) to signal crews of clearance to depart. For both installations, I've never seen them recessed into any sort of enclosure--most of each bulb is visible (the individual bulbs may be shielded by plastic domes, such that standard sized LED's would make for a good replica either way.
---PCJ
Really nice work West Side Joe - I feel like I've been there!
PCJ, thanks for the clarification. It's been a while since I've ridden the subway due to this pesky virus, so I couldn't remember which way the lights worked. Re: the bulbs themselves, when I do the final installation I will maneuver the flared ends of the fiber optic lines so that they protrude similar to the actual bulbs. I went with fiber optic because I have extra fiber and illuminators, and the fiber is a bit oversized but I'm happy with it.
I love it!
What are you using for lights?
All the mini LED sets I see are too long (35 ft, etc) . The short sets are battery operated and too weak for my taste.
I got them from Murton Scale Miniatures on Ebay. Here is a link to their Ebay store. http://www.ebaystores.co.uk/Murton-Scale-Miniatures
Thanks, Joe!
I made a couple of trips via subway last week and thought of this post, so I took a couple of pictures:
Holding lights (149th St/3rd Ave, 2/5 line)
Starter lights (205 st terminal, D line)
Hope these are helpful,
---PCJ
Attachments
Thanks. I'm adding those photos to my set of references for this project. ☺
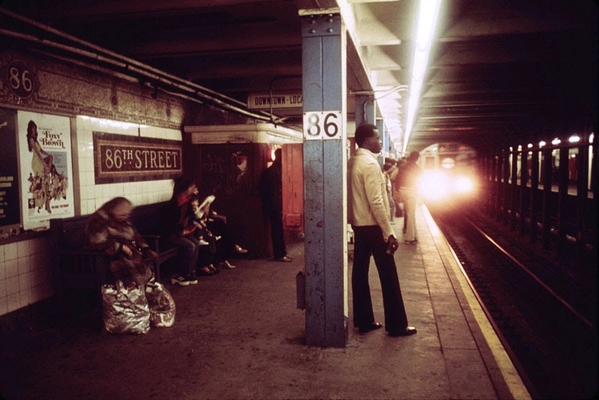
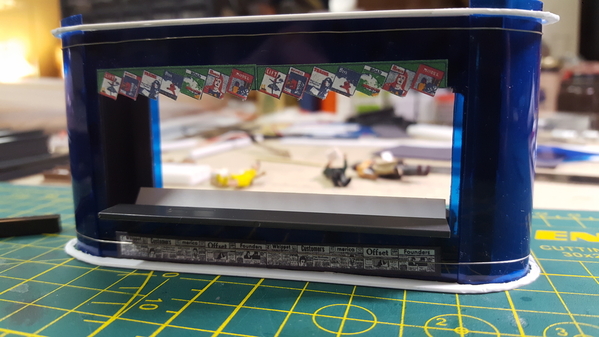
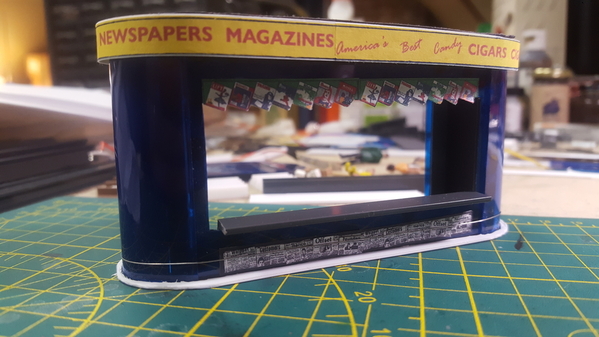
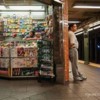
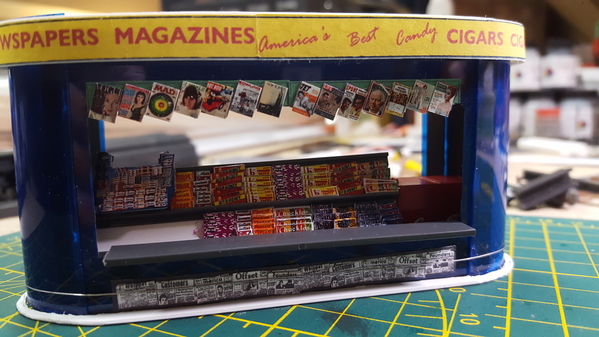
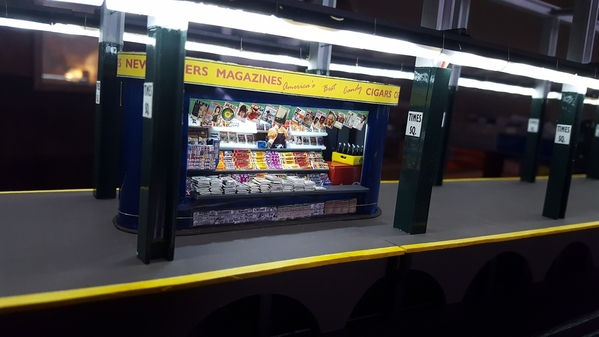
Seeing as this group rose to the occasion when I was looking for the colors of the subway hamburger stand awning for my Times Square subway module, here is another request: I am looking for photos of the platform newsstands in the subway in the 1960's. These were on the island platforms, not the ones recessed into the station walls. I recall they were rather futuristic looking, with curved ends, and painted a medium blue. If I can't find a pic, I will work from memory, but a photo would be great.
Thanks. These are contemporary examples. My module is set in the 60's, before the days of graffiti-proof brushed stainless steel surfaces. These pics are useful to establish overall dimensions. But I have searched high and low for 1960's - vintage pics of the particular newsstands I recall, without finding one.
You are welcome. Like you I am building my layout, finally, subway and an elevated on top of it. The era I am modeling are the late 50’s to 1970 before the graffiti era.
I have been searching for pictures during those years and have had some mild success. I came across pictures on Pinterest, Forgotten New York and other sites.
Attachments
BTW, there is a mirror at the end of the platform.
Lol! “Isn't obsession wonderful? 🤗” Yes, but what a wonderful distraction from the mundane and disturbing reality around us! Thank gosh we have our little projects to obsess over during these crazy COVID times. Absolutely great work, west side.
Although this format of 6 foot long by 10 inch wide modules has a lot of limitations regarding space available for trains and scenery, one very nice benefit, especially for an old guy with back problems, is how easy it is to gain access to the underside by just tipping the module up onto its end. 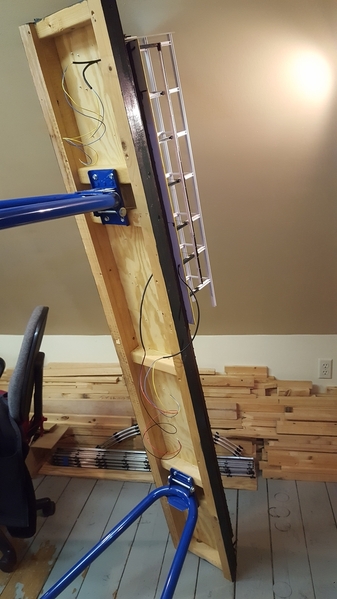
Attachments
Attachments
Attachments
Looking good !!! I am still looking for pictures. We are in the same era.
Joe, love your work! Top shelf. That newsstand is looking good!
I had a thought. You are adding such authentic details, including the outside third rail. How hard would it be to add a third rail pick up to the cars, bypass the center rollers and eliminate the center rail? Of course I realize this would mean redoing the track work, so I guess that ship has sailed. But I wonder if anyone has tried this with the MTH subway cars.
I'm sure there are threads on here on doing exactly that, but you'd have to search. Also, nycmodeltransit.org has a page about modeling third rail:
Joe
I came across some more pictures.
Will
There are modelers who have converted the MTH Subway cars to two rail. Click on the link in my signature below. Also, check out https://groups.io/g/NYC-Transit-Modelers-Group.
and on Facebook O Scale New York.
Attachments
Thank you! ☺
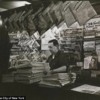
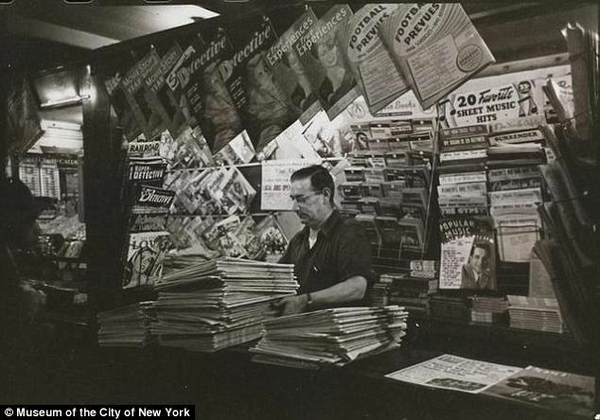
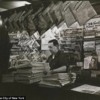
Steve, I especially like the Museum of the City of NY black and white picture. If you zoom in, you can see a display of sheet music for popular tunes (surely an endangered species already as fewer and fewer people were learning to play musical instruments by then), and to the upper left, nearly hidden by copies of Detective and True Experiences, there is a copy of Railroad Magazine. A real time capsule, this pic. Thanks.
Attachments
BTW The newer style starting and holding lights look very similar to the ones you modeled You will see them in any new station or rebuilt station
Joe
You are welcome. What drew my eye to it was the stack of newspapers. Time, Daily News, Post.
Ill have to zoom in to catch the magazines !
Someone else has found that the newsstand photo was taken by Stanley Kubrick (yes, THAT Stanley) in 1946 when he worked as a staff photographer for Look Magazine.
Attachments
JOE JUST CURIOUS WHO MADE THAT SUBWAY CAR. SPENT MANY A DAY GROWING UP IN THE CITY RIDING THE SYSTEM MAINLY THE MYRTLE AVE EL GATE CARS 1950'S. REALLY LOOKS GREAT. KEEP UP THE GREAT WORK. LIONEL 13
The subway car was made by Lionel. It is part of their 4-car R-27 set.
Attachments
IMPRESSIVE WORK! :-)
Just curious, why if you put in outside third rail, that you still had center rail. Why not use 2 rail track with the outside 3rd?
Prrjim, the third rail is cosmetic only, not functional. I'm not handy or ambitious enough to convert the Lionel R-27 set to outside third rail operation. ☺
Attachments
Fantastic Joe.
Unbelievable attention to detail!
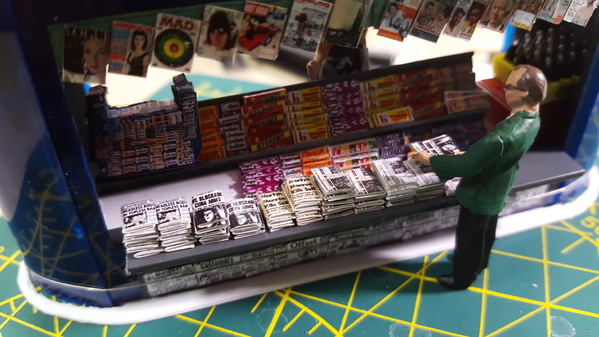
The Mad magazine brings me back to the 1960s.
@Glen S posted:Unbelievable attention to detail!
The Mad magazine brings me back to the 1960s.
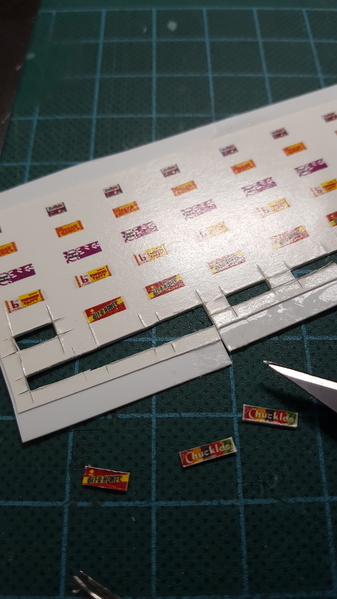
All the magazines and newspapers are images of actual 1962 issue covers and front pages.
Attachments
Fabulous!
As a current Train Operator in the NY system I commend your attention to detail, very nice. I too love to dabble in subway modeling (as it’s what I stare at all day, lol). Only thing I would add is a “catwalk” along the benchwall in the tunnel. Any questions do not hesitate to ask.
@Maverick0394 posted:Only thing I would add is a “catwalk” along the benchwall in the tunnel.
Totally agree. When I began planning the tunnel module, I used the original IRT as a model, which did not have a catwalk. I did not realize that since the subway I am running is a BMT model, the tunnels it ran through would have had the catwalk, unlike the IRT. You are the first person to mention that, and the omission of the catwalk has been bothering me for quite a while. Maybe after I finish the other modules, I'll go back and install the catwalk. I left more than enough room in the tunnel to add one. Thank you for your perceptive comment.
Joe, do you post on a FB page called "Only the Finest in O-scale Railroading"? Because there is an identical newsstand there.
Yes, I do. You're the first person that has made the connection. I like posting in both places. Different reactions, different perspectives. ☺
I found your page on Facebook and sent a join request.![]()
@West Side Joe posted:Yes, I do. You're the first person that has made the connection. I like posting in both places. Different reactions, different perspectives. ☺
Good. i just wanted to make sure no one else was posting your beautiful modeling as their own. It was funny watching the same idea evolve in two places before I realized it was the same model.
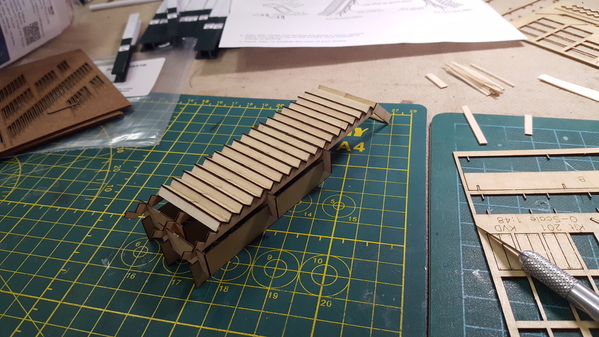
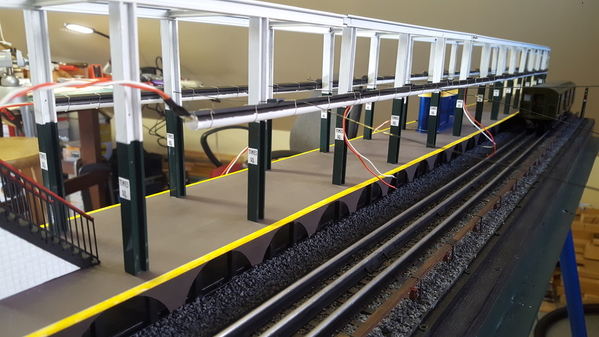
Looking for some suggestions regarding how to proceed now that that the newsstand is finished. Major components remaining are (1) the station wall along the tracks with supporting steel connecting to the main support structure, (2) the rest of the station steel support structure (the pic shows the near end - more than half remains to be done at the far end), (3) the mezzanine at the end of the station with lunch counter, and (4) the stairs from the platform to the mezzanine.
The mezzanine needs the station supporting structure and also the station wall to position and support it properly. But building those support structures make it difficult to then work around them to put in the stairs and the lunch counter.
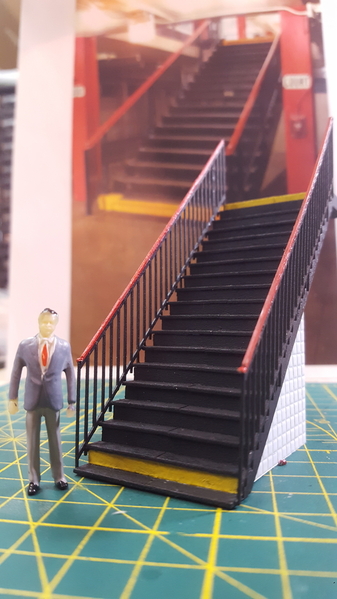
I thought of building the stairs first and positioning them on the platform, then using that as an anchor to "grow" the mezzanine and the supporting structures from and around it.
Ideas and comments welcome. 😊
Attachments
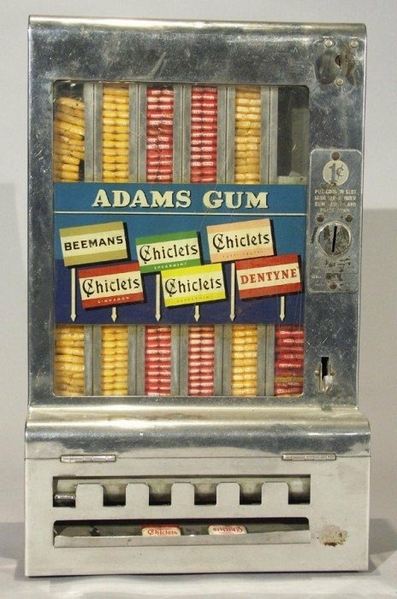
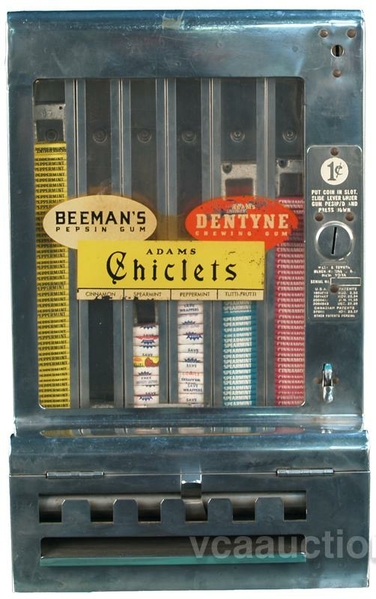
Absolutely! Planning to model one or two of them. I loved the red Chiclets / Dentyne machines with the circular disk you turned to get a tiny box of two candies. I loved the "ker-chunk" noise when I turned the disk.
Kaw Valley Design seems not be up and running now. Too bad. Those are nice.
I found them by doing an Ebay search for o scale stairs. The package has no website, only an email address.
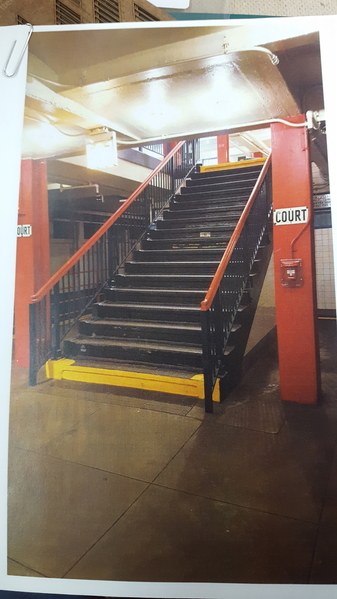
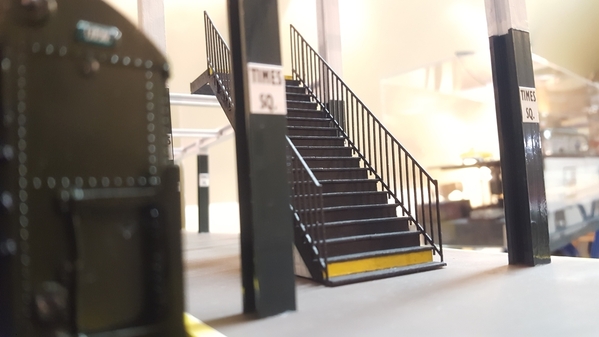
18 steps from platform to mezzanine. Coincidentally, the same as the Court Street station stairs I'm using as a guide.
Attachments
Attachments
Great work, Joe!
I can’t believe the detail on the railings.
Until I blew up the picture, I thought the billboard was an ad for Devo.
Or "Mars Attacks"! 🤣
One detail remains on the stairs: adding the handholds atop the railings. They will be a bright red like the Court Street stairs. Just waiting for the paint to get here!
Attachments
Hi Joe:
Who made the Marilyn Monroe figure?
Although I agree with Will that your modeling is "top shelf", a subway layout is really "bottom shelf", just below the street & surface RRs.
😀
Bill
I bought the MM figure from an Ebay vendor in Belarus named "43figures". They make some interesting Russian-outline figures as well.
Your work is peerless, simply amazing ! Not to be a wise-***, but are you going to include a rat here and there at track level?
@BwanaBob posted:Your work is peerless, simply amazing ! Not to be a wise-***, but are you going to include a rat here and there at track level?
Nah. In this subway, the trains always run on time, there is always a vacant seat, the staff are polite, the tunnels and platforms are clean and free of vermin, and all the passengers are above average. (Thank you, Garrison Keillor). 😊
@West Side Joe posted:I bought the MM figure from an Ebay vendor in Belarus named "43figure". They make some interesting Russian-outline figures as well.
I'm always looking at new sources for figs, but, when I put "43figure" into the eBay search, it came up dry. No longer there, maybe?
Try putting this into the ebay search box:
seller:43figures
Absolutely beautiful work Joe.
Regards,
John
@CBQ_Bill posted:...a subway layout is really "bottom shelf", just below the street & surface RRs.
😀
Bill
Indeed, to me, that is the challenge of modeling a subway: the fact that by definition it is underground, making it hard to add a lot of detail and still keep it visible. But the many subway layouts on this forum show modelers can rise to the challenge in diverse ways. 😀
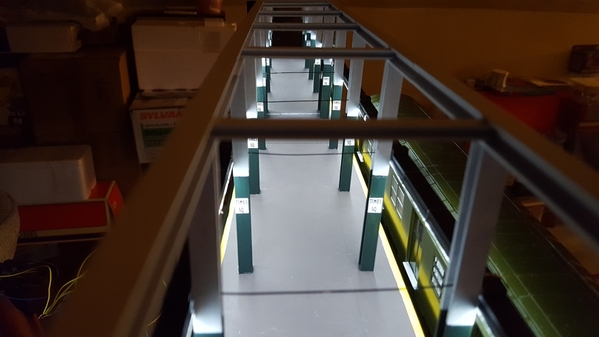
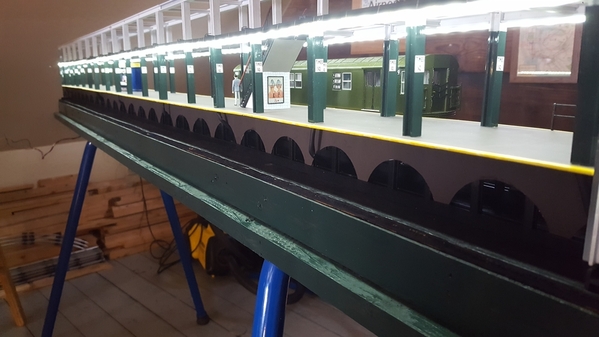
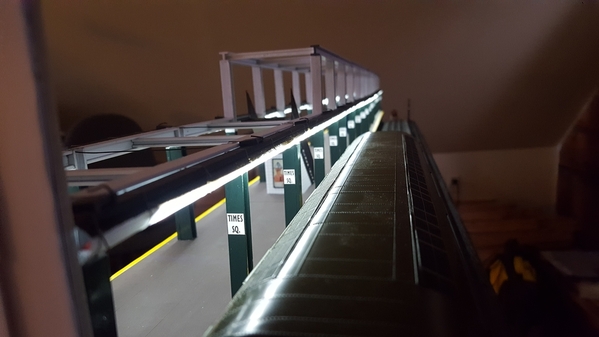
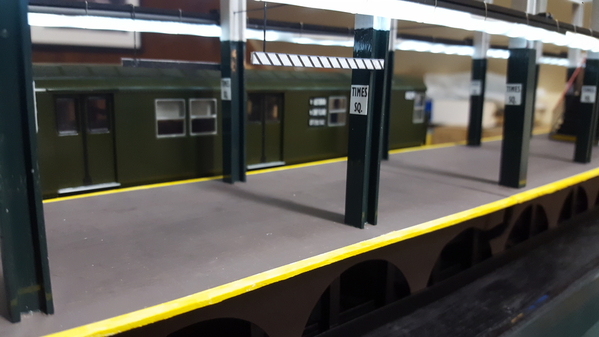
Installation of platform "fluorescent" light fixtures continues. Units consist of a white LED light strip inserted within a white plastic IKEA straw, attached to a Plastruct channel with wire strands, suspended from the columns by brass wires.
Attachments
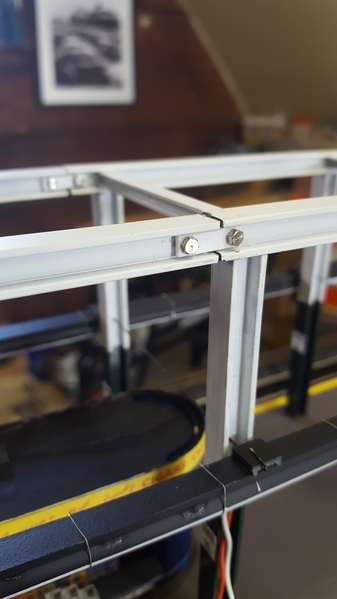
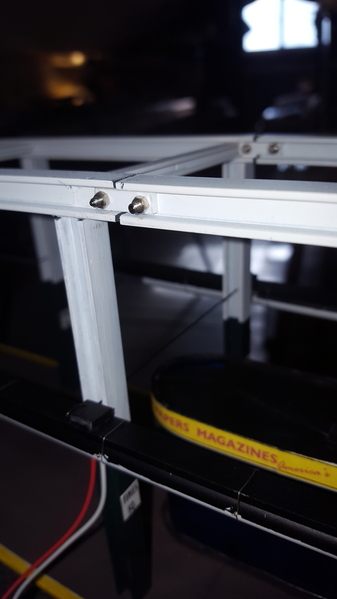
Sometimes CA glue just doesn't cut it when dealing with stubborn plastic pieces. I dug deep and re-used tiny nuts and bolts left over from a Pocher kit I built eons ago.
Attachments
Station platform lighting contract complete. Some punchlist items remain, but it's time to move on to the next phase: installing the station wall along the track.
Attachments
Magnificent!
Peter
Attachments
@West Side Joe posted:
Joe, This is great. Where did you get the plastic for the white and green girders?
All are gray ABS Plastruct items, painted with Rustoleum. I understand you can order directly from Plastruct, but I usually look on Ebay, although I could probably pay less if I ordered direct from Plastruct. There is another thread on the forum talking about the change in ownership and location of Plastruct.
@West Side Joe posted:
W. Side Joe --- EXCELLENT first class looking work. Neat, realistic, very straight columns and fabricated "plastruct" steelwork authentically replicated. And the platform and details and signage -- stairway -- newstand, etc. Outstanding - especially the "lighting" system. Great Work !
Joe F
Thank you! Lots still to do: station wall with "mosaic" "42" strip, benches, vending machines, wayfinding and informational signs, mezzanine lunch counter...and having fun doing it. 😊
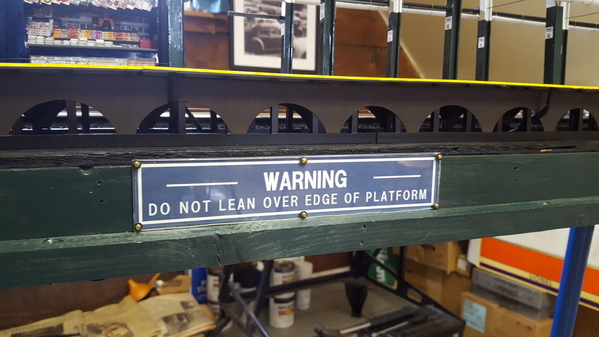
I ALWAYS used to lean over the edge to see if the train is coming. But now with the countdown clocks telling you when the next train is coming, there's no excuse anymore... 😛
Attachments
@Joseph Frank posted:W. Side Joe --- EXCELLENT first class looking work. Neat, realistic, very straight columns and fabricated "plastruct" steelwork authentically replicated. And the platform and details and signage -- stairway -- newstand, etc. Outstanding - especially the "lighting" system. Great Work !
Joe F
Nice to see another subway modeler! ![]()
My tunnel modules just passed the twenty year mark.
I never knew what the Zebra boards were for.
They tell the conductor that he / she is at the center of the station and ensures the front and the back of the train are not in the tunnel.
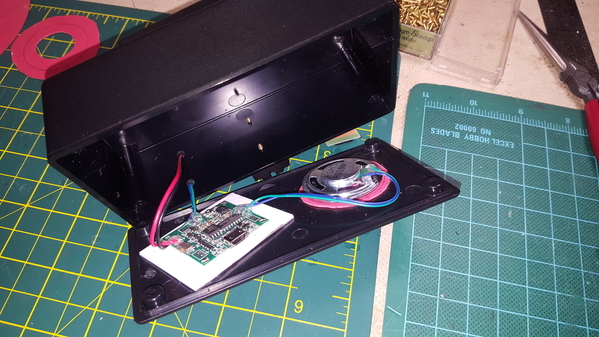
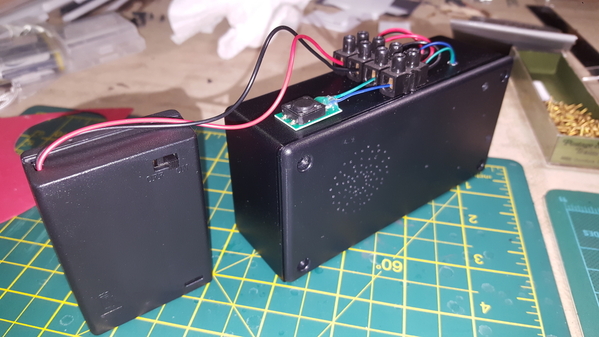
Installing a Wayintop 8mb mp3 sound module in my subway tunnel module with the streetscape on top. Downloaded a 2 minute clip of NYC street sounds from Soundsnap, copied the file onto the Wayintop, and configured it to play the clip continuously until the play button is pressed again. Now creating a box to mount everything under the layout.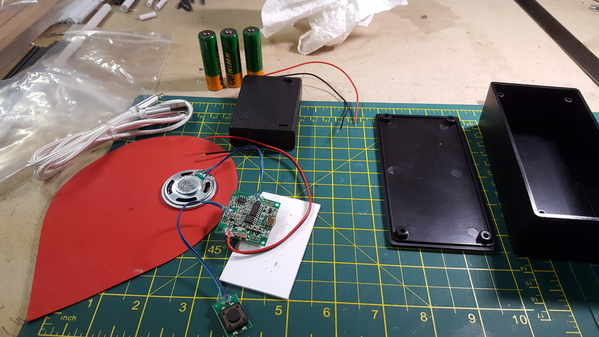
Attachments
Board screwed into place and speaker glued to silicone gasket to cut down on vibration noise. Holes drilled on other side to serve as a speaker "grille". Speaker box will be under layout module, and battery box and play button on top of layout surface. The sound clip is actually 2 minutes long, but 7 seconds is all I could load (5 mb attachment limit). Nonetheless, placing the speaker inside the box improves the loudness and sound quality due to the echoing inside.
Attachments
@SIRT posted:My tunnel modules just passed the twenty year mark.
I have admired your work as I researched my layout.


