
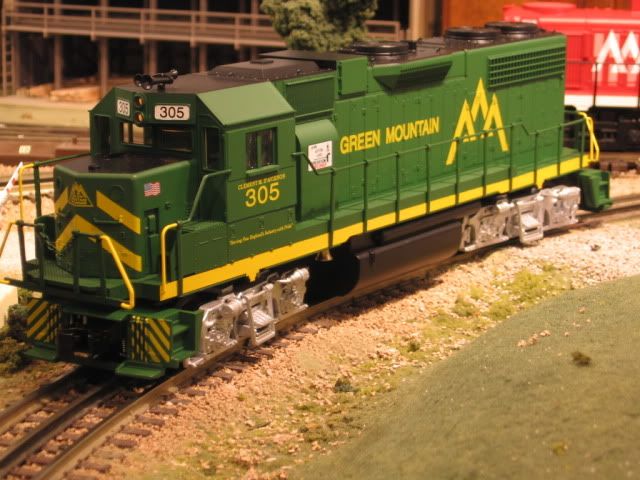
To kind of piggy-back onto the recent thread: I've received my Geep, and while I wait for the new 2 rail wheel sets to arrive, I thought I'd "ditch" the 3 rail components and get a feel for what's involved to making this a 2 rail unit.

The body is off, the weights have been removed, and I guess the circuit board (which I'm guessing is the reversing unit) is next to go. I see that the wires to the wheel pick ups are red, and the 3rd rail wire is black: I eliminate those black wires, keeping the red ones intact, and will run the red wires (L and R) to the contacts on the motor, leaving the wires for the lights "as is".

It seems fairly straight forward: is this correct, or an I over-looking something important?

Mark in Oregon

Original Post

Replies sorted oldest to newest

I think you got it right.    I have a bunch of Weaver single motor engines, and that is all  you do for power.   

If you want lights, you will need to wire those in also.    You can make them directional with a small diode in seriies with each one.    Just experiment which direction the diodes go in   

If you want to help things straight down the road, you could remove the red wires and put them on the contacts on one side instead of the black ones.    But to do that, you have to take the phospher bronze contact piece off the plastic bolster to solder them.    It is not worth the effort in my opinion, but some people like to keep the two sides separate.


Change the wires for a flexible one is the best idea. the original ones are ok but tends to break after some use.

if you have access to a lathe, polish your wheel tread using 600 grits sand paper to void builds up n the future, also polish the inside face where the electric contact is touching. 

my 2 cents

Andre.

OK, how about this: it arrived with a broken coupler mounting post. It was a clean break, so I've re-attached it with some "super glue"-type adhesive. I think I should probably re-inforce it with something a bit stronger, as this post will be bearing the weight and forces of the back coupler (long hood end).

Any suggestions as to a good glue for this; perhaps a two-part epoxy or something...?

Mark in Oregon

OK

Wheel sets arrived today, (that was quick, thank you NWSL), and after about 3 hours time, I am happy to report that the Geep 38 is now a fully functional 2 railed diesel.

Only hiccup was that I followed the instructions and added the "trust washers" to all four worms, but it was too much friction (I guess) on the truck with the gear tower, so I had to take that one apart again and remove said washers. It now runs smoothly and quietly.

Happy Holidays to all who might read this ...


Mark in Oregon

Strummer posted:

OK

Wheel sets arrived today, (that was quick, thank you NWSL), and after about 3 hours time, I am happy to report that the Geep 38 is now a fully functional 2 railed diesel.

Only hiccup was that I followed the instructions and added the "trust washers" to all four worms, but it was too much friction (I guess) on the truck with the gear tower, so I had to take that one apart again and remove said washers. It now runs smoothly and quietly.

Happy Holidays to all who might read this ...


Mark in Oregon

Thrust washer are in case you have too much  axis free play on the worm shaft.  

Now after finished all the upgrade procedure, I recommend to use black polish nail and paint the bottom of the gear case to void grease and oil leaks.

same polish nail I use to lock the gear case screw.


Andre.


Add Reply

Post

OGR Publishing, Inc., 1310 Eastside Centre Ct, Suite 6, Mountain Home, AR 72653
800-980-OGRR (6477)
www.ogaugerr.com

×
×
×
×
Link copied to your clipboard.
×
×