Originally Posted by Norm Charbonneau:
Thanks Alan, it really stinks not having a layout!!
You are so right !


|
|
Thanks Alan, it really stinks not having a layout!!
You are so right !
Nothing wrong with loops, Norm. Many tend to overcomplicate things by putting in too much track just for the sake of having it. It's refreshing to see a fairly simple track plan that will be fleshed out with scenery.
Thanks Jumijo, I am keeping it simple like I did on the last layout. The old Greenbrook layout was influenced by my time with the Glancy modular layout. At the time I had an O31/O54 apartment layout and I always liked it when we would just set up a big oval with O72 curves. Big stuff just looked and ran better on the comparatively wider curves. The long straight shots always looked good too.
I considered an over/under design but I just couldn't resolve the grades. I wanted to keep them under 2%. I think the slight grade separations are just enough to add some scenic interest without making an operational headache.
I am hoping to finish tacking up the backdrop this weekend so I can move onto patching the seams and painting...
Looks like your plan is coming together nicely, Norm! Do keep us posted on the progress, and post a photo or two once you get that backdrop in place. I would be interested in knowing what you are using for a backdrop and how you are mounting it to the walls (mostly because I have to take care of that task myself one of these days, and face a much harder time because the layout is already in place, although nowhere near being finished or even partially finished). My bad! Fortunately, I can still walk/crawl atop the thing.
Heading over to Mercer Junction today to see if I can perhaps help keep the lights on at our mutual friend Dave's place.
Started tacking up the 1/8" masonite for the backdrops. Started in the city corner...brad nailer is a must-have for this. I plan on 'painting in' some drywall tape on the seams to keep them from cracking. See what happens.

I put masonite over the drywall because I couldn't think of a better way to do the transitions. I didn't want to mud the transitions into the drywall so I just went with all masonite for the backdrops. I thought about using 1/4" drywall with supports for the corners but this setup seemed easier. Plus, you don't need to support the transitions as long as you can tack to two studs on either side.
I am also trying to avoid gluing to the drywall, so each piece is cut to land on studs. If/when we decide to move, it can be taken town without too much damage to the drywall (at least I hope!).
I am fooling around with the plan a bit more on this lazy Saturday. These two are the same idea with some added sidings at the right side. I can add some industries all around the layout and space them out a ways. I am trying to keep stuff apart for a better sense of distance.


This one here has a slightly bigger yard at the front of the layout with a kind of integrated crossover to the innermost line at the left. This plan may be a little harder to grade-separate.

If it's unclear, this will be a sort of donut layout with a long aisle in the center, about 3' wide. That makes the back part a shelf, with the center an isthmus. The TT/roundhouse is kept far away from things to keep from crowding up the scenery.
I have been looking over Linn Westcott's 101 Track Plans for months now, so I don't feel so bad about loops. ![]() He liked putting the TT and roundhouse right in the middle of things though, which is cool but I like it out on its own shelf so you can get up close and personal with some scale steam.
He liked putting the TT and roundhouse right in the middle of things though, which is cool but I like it out on its own shelf so you can get up close and personal with some scale steam.
As for progress, all the backdrop is up and it's sanded out. I decided to mud and tape with drywall products. I may start putting the basecoat on today.


Thinking about some dogbone designs.
This one is intriguing because of the engine yard being out on a peninsula. I can't figure out how to get a nice yard along the mains without making it cluttered-up. No ducks other than access to rear spurs.

This one has an embedded engine yard and keeps a lot of floor space open for future peninsula-type expansion. Better straight shots along the front and I like the angles. The double-ended yard is a plus. Narrow duckunder under yard for access to spurs.

Both of these plans are more expandable than the oval style and offers more layout 'shoreline'. I could split the outer main off the upper right section and send them into my workshop for staging and an O81 turnaround.


NORM
LATEST REVISIONS WITH DOG-BONE LOOK GOOD AND SHOULD ADD TO THE FUN OF OPERATION. KEEP US POSTED ON YOUR PROGRESS.
PS- THOROUGHLY ENJOYED YOUR SEGMENTS ON THE HI RAIL CLASSIC VIDEOS AND HAVE GOTTEN INTO WEATHERING ROLLING STOCK AND BUILDINGS, HAVE NOT YET GOT THE NERVE TO ATTEMPT AND ENGINE
STEVE
Hey thanks Steve, glad you liked those videos despite having to hear me drone on. ![]()
I got to playing with the second dogbone plan. This shows how the layout could be expanded in stages. The yard on a peninsula on the second one could also be used for a strip of freestanding switchable industries.


Go get a couple cases of beer. Dave and I will be up. Lets get this started!!
Kurt
Norm
Outstanding, so long as you can take the space go for it and don't look back. Wish I lived closer to help out.
Hey thanks Steve, glad you liked those videos despite having to hear me drone on. ![]()
I got to playing with the second dogbone plan. This shows how the layout could be expanded in stages. The yard on a peninsula on the second one could also be used for a strip of freestanding switchable industries.
Hi Norm,
Either one of theses plans look awesome, Love the idea of the track going through
the workshop area. You also still have plenty of open space to move around and have lots of visitors.
Thanks,
Alex
I'm into those!
Ready for a road trip.
Dave
Thx dudes...I am having some fun thinking about setting this up as a dogbone. I keep thinking about where I'd like the RH/TT so I moved it out to the peninsula for full access. This setup gives me ducks along the straight edges and more layout access. The yard on the upper right could be arranged to serve a group of industries or a big coal mine. I am trying to keep away from the poles as much as possible as I don't want them blocking access or showing up in photos.


Looking good Norm,
I wouldnt shy away from putting layout around poles.Looks to me more advantages with the room you have,especially since theres 3 feet next to them to get by. IMHO- its wasted space in the first place and can easily be hidden with some scenery foam or buildings. Unless you plan on pointing the camera high in that one area.(in that case they'd still be in the background) I believe they are even more in the way outside the layout than in it.More of a chance to walk into them while following trains around.
Norm
If it were me I would make the loop near the utility room a foot shorter so I could walk around the loop for better access at the rear. As we get older easier access becomes more important
Al Galli
Thinking about some dogbone designs.
This one is intriguing because of the engine yard being out on a peninsula. I can't figure out how to get a nice yard along the mains without making it cluttered-up. No ducks other than access to rear spurs.
This one has an embedded engine yard and keeps a lot of floor space open for future peninsula-type expansion. Better straight shots along the front and I like the angles. The double-ended yard is a plus. Narrow duckunder under yard for access to spurs.
Both of these plans are more expandable than the oval style and offers more layout 'shoreline'. I could split the outer main off the upper right section and send them into my workshop for staging and an O81 turnaround.
Norm,
Really like the dog-bone variants. My own layout is a folded dogbone. I have a double cross-over in the middle to permit reversing directions. From what I read above, you're keeping the grades small (no cross-overs or major elevations), right?
Anyway, as Flounder would say:

"This is great!" ![]()
I look forward to the next progress report.
Best,
George
Patrick, I am trying to avoid wrapping the layout around the poles. There isn't much room between the lower one and the workshop wall. I really don't want any radical scenery features either. I am going for a nice mellow panoramic view. It would be nice to walk in to middle of the layout and have all the views of it unobstructed even though I still have one by the engine yard area. (My old layout had pole 5" from the center front, and that kinda stunk!)
George, I was sort of reluctant to deal with the dogbone style but after tweaking stuff around I think I can deal. I was hoping to have some nice straight sections along the front edge of the layout and I was thinking a dogbone/around the walls wouldn't work for that.
This plan will also allow me to build in phases so I don't sick of doing one thing for too long.
Hey thanks Steve, glad you liked those videos despite having to hear me drone on. ![]()
I got to playing with the second dogbone plan. This shows how the layout could be expanded in stages. The yard on a peninsula on the second one could also be used for a strip of freestanding switchable industries.
Thanks Chris. Since I worked on extending the backdrop another 5' along the upper right side, it looks like I will be pursuing some form of the dogbone plan. The inherent advantage is the almost doubling of running length and some interesting movements as the trains reverse themselves. The biggest challenge is how to do it clean. I am trying to keep the curves as wide as possible and I am trying to stay away from the support columns.
I have cleaned up the version with the RH/TT embedded a little bit. I tweaked the angle of the TT approach and played around with the sidings (scissored xover). I am not sure if I care for the sidings set up like that.

I also thought about putting the RH/TT out on a peninsula again, this time with the entrance coming in from the opposite way. I am liking this plan because I think it will allow me to do an industrial city scene at the lower left end and a smaller town scene at the upper right. The TT approach isn't as nice as I'd like in regards to access from the inner loop. Aisle space tightens up a bit also. If I do a slight S-curve into the TT, I can skew the whole thing to the right a bit. I need to think about xover placement a bit and also how to set up blocks for signalling. This setup would present itself well as you walk into the layout space from the short hallway.

Either version would be a 'phase one' effort, with the workshop staging added in a few years down the road (rails).


Norm,
I really like the peninsula in version 2.
Dave
I don't know Norm, I was trying not to post, but..............
THE SUSPENSE IS KILLING ME!!!
If you need somewhere to test ideas, I'll open up my house??![]()
Norm....I agree with Dave above, version two is the nicest plan that allows your expansion in future years as well as highlighting the locomotive facility...WITH the side benefit of the option of expansion of the loco facility and roundhouse area if you decide to do so. Nice photo opportunities too of the facility with the layout as the backdrop.
Alan
Version 2 definitely has a "wow factor" when you enter the room. Another reason I like it better than version 1 is that the loco service area is adjacent to the yard (not so in version 1). You might want to consider extending the inbound and outbound tracks to the turntable all the way back to the yard as opposed to splitting them closer to the table as you have now. A long inbound track provides space for water, coal, sand, ash pit and maybe even a wash rack. A long outbound or "ready" track would allow you to display a few locomotives ready for their next assignment.
Norm,
I like the second option shown. I also like Bob's comments on the long inbound and out bound tracks, I found I could use a bit more space on mine.
You may also find working with something like the 4 way switch from ross allows you a bit more space in the yard.
I like the idea of the TT/RH out on the peninsula too. Not only is it much easier to build and work on, but many more photo opportunities with 360 access.
Thanks for the opinions guys. I think I will go with the TT peninsula setup. Bob, I couldn't figure out how to bring the second track all the way to the yard without making a mess, so I shortened the 'throat' a bit. I was planning on having an ash pit/hoist along with water and coal (will probably build a new tower at some point).
Rich, at some point I will have to order your laser cut windows to dress up that old Korber RH. Whenever I visit Mercer, I admire Dave's job he did on his.
LOS, I agree about the peninsula being easier to work on and the photo potential is intriguing. I'm a bit worried about access to that yard where it connects though. There will be some form of duckunder access inside each end of the loops.
Anyway, I fooled around a bit more with the latest iteration, cleaning up some of the sidings and spurs. The section along the upper right may host a couple of the old Greenbrook factories so the sidings were tweaked a little.

Then I thought about putting in a couple of reverse loop cutoffs on the inner line. That might be kinda fun to move trains around each other and hit the industry spurs.


The reverse loops are a great addition. We have a reverse loop incorporated into all 3 mainlines on both levels, so it makes running trains a lot more interesting. Makes you really pay attention when running multiple trains at the same time, especially where those trains are at in relation to the crossovers and direction of travel. I've had to use the "Emergency Stop" button a couple times because of an "oops".
Some very impressive and well thought out designs. I really like the thought you are putting into this, not only the consideration being given to operation, but also the thoughts on how it will impact scenery as well as fit the room itself. The space is excellent and a fine layout will compliment the man-cave nicely. I'm looking forward to watching your progress and have no doubt it will be another masterpiece.
...I really like the thought you are putting into this, not only the consideration being given to operation, but also the thoughts on how it will impact scenery as well as fit the room itself.
I fully agree with Chris! A deliberate and comprehensive approach to layout planning is a delight to see.
Thanks guys, I think we're getting closer. This will probably be the final plan with some minor tweaks. I got some bad news that Atlas 108" curves are still not available until November.
I want to start the benchwork soon but may hold off until I get some ventilation installed. After thinking about the options, the best one seems to be modifying my existing glass block windows. I want to be able to move dust out of the space so I am getting a power vent installed at one of the main (layout) space and a regular hopper vent at the other to draw air across the whole space.
Keep it going Norm! Nothing is more exciting than planning that new layout. Keep us posted! And if you need any cheap labor, let me know. Pizza and Sodas work wonders!
Benchwork started last weekend as I continue to fool around with the trackplan a bit. I decided to roll with Atlas O99 curves to stay within the 10'2" wall at the lower left. This gives me a clean line along the front of this part of the layout. Trying to use O108 curves in my plans wasn't getting me much and I was mostly OK with how things looked on O99 curves on my last layout. I put up 30" by 96" modules set at 36" high along the walls and now I am setting in place the 42" high sections. The track mean level will be 42" although I may raise the back set of curves in the upper left a couple inches for interest (grades shall be 2% or less, the reverse loop cutoffs give me a low grade line just in case). The tracks may traverse some fills and/or retaining walls along the walls.


As I mentioned, I keep playing with the trackplan as things progress. At this point most of the effort is aimed at keeping things simple. I removed the long passing siding that ran around the lower left as it didn't add much. I can still hold a train on the extended reverse loop cutoff if I want. The three curves on my old layout looked awful when loaded up with trains, much too crowded. I also slimmed down the mini yard and kept one passing siding in place. I am stressing on the RH/TT yard as I am not fully convinced it will look good or even be useful in its proposed location. I may embed it in the upper right and use the peninsula space for a nice set of industries. I will see how the benchwork shapes up as it goes together.

The RH/TT lead is in a better spot by the extension of a short bit of straight section before the lower line turns back on itself. It still bugs me though as it is not as clean looking as I like. This may turn out to be a better entrance into a nice set of detailed industrial buildings on a shortened peninsula. That x-over location is causing me a bit of grief too. It gives the inner line access to the RH lead but the spot it's in doesn't lend itself to a clean set of signals being in the middle of that passing siding. I am worried this thing is getting into being a mess.

Norm,
Looking Great!
Nice a clean. This is going to be a great train room and layout!
Gee, Norm, when you get "started" on benchwork, you sure don't mess around!
Armchair modelers and procrastinators take note! ![]()
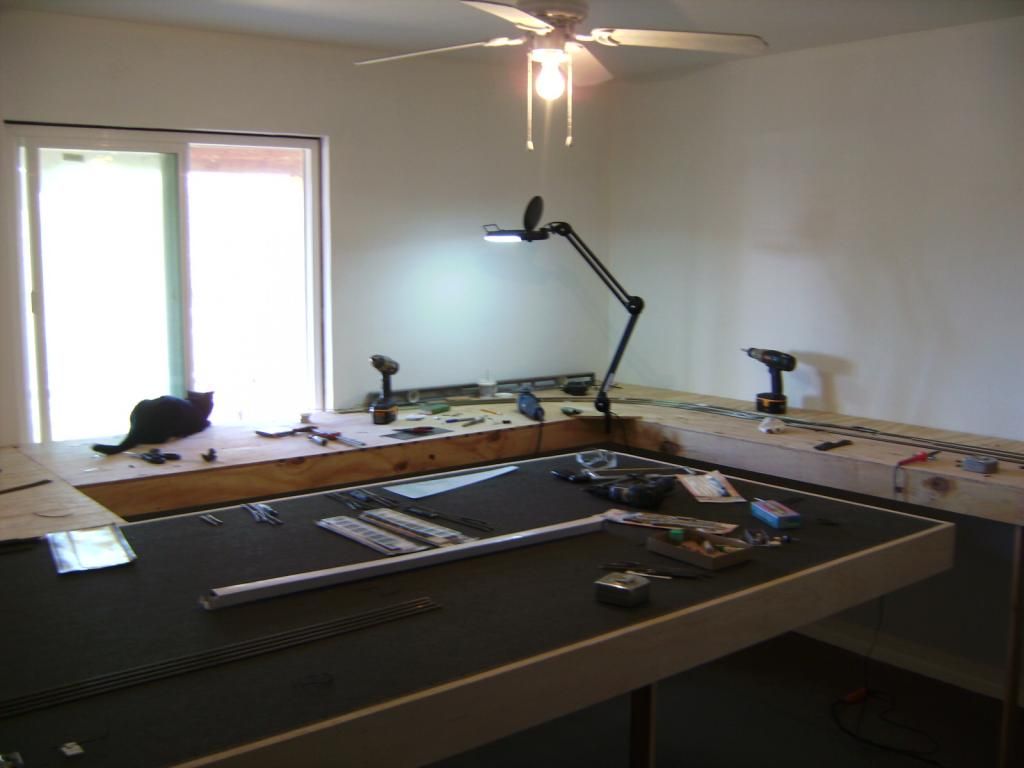
Hey, bring my cordless drills back!
![]()
That is a nice space you have there, Norm. Congratulations on the nice looking benchwork, looking forward to seeing your progress.
Hi Norm,
Looking fantastic so far. I use to be a finish carpenter, and I like when I see such neat, clean, and square woodworking . !!!!!!!
Thanks,
Alex
The bench work looks very good, definitely a great start to a great layout.
Looking sharp Norm. Bet it feels good to get started.

Access to this requires an OGR Forum Supporting Membership
