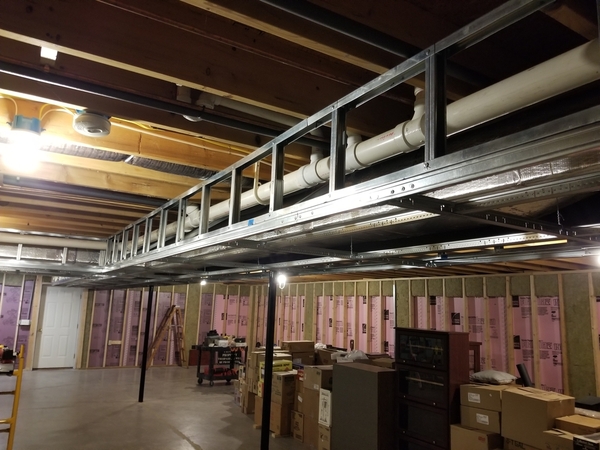
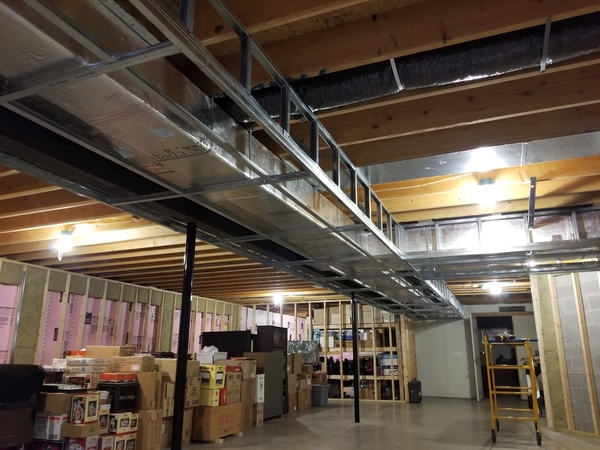
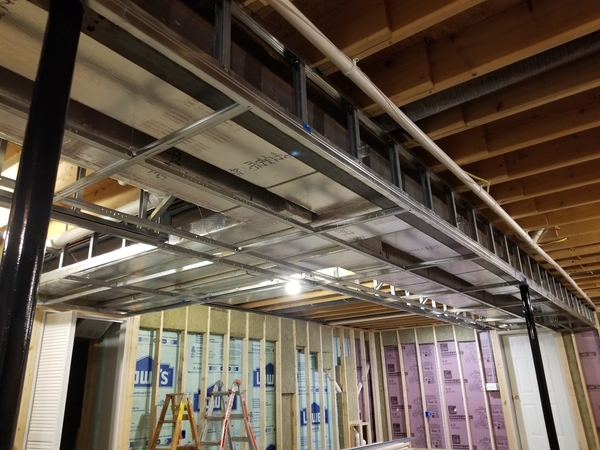
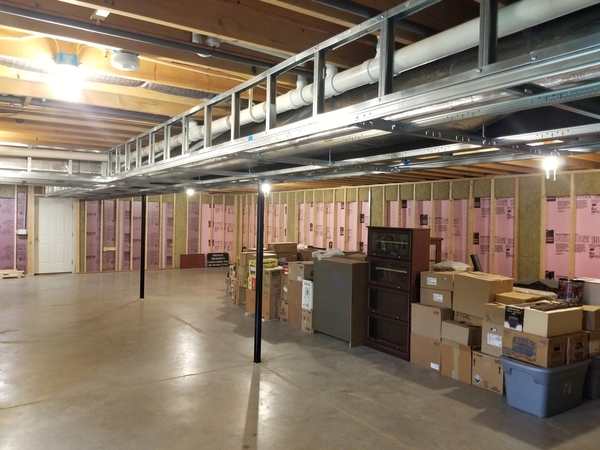
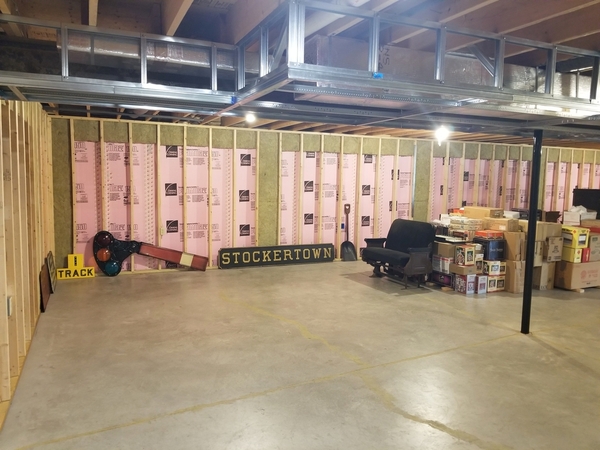
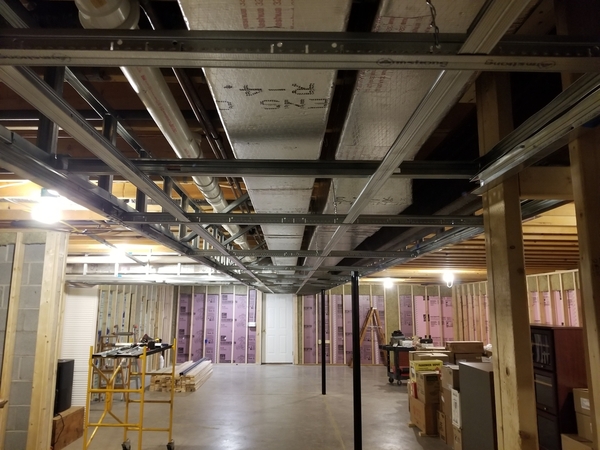
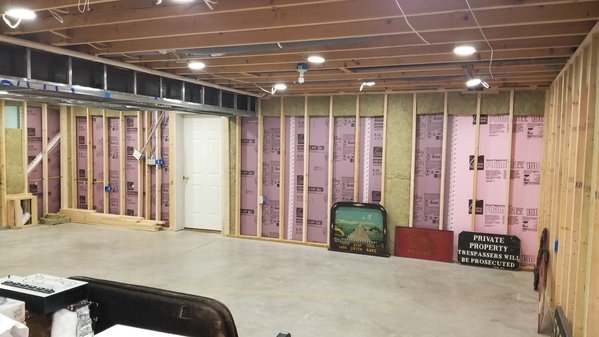
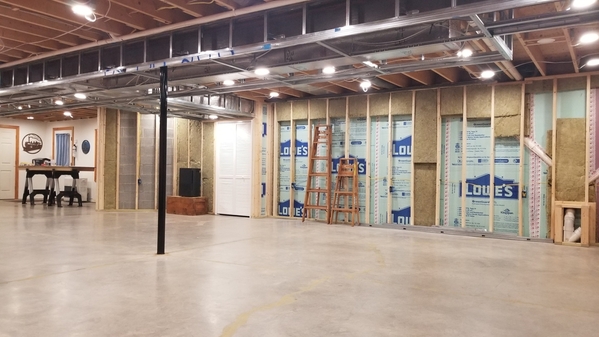
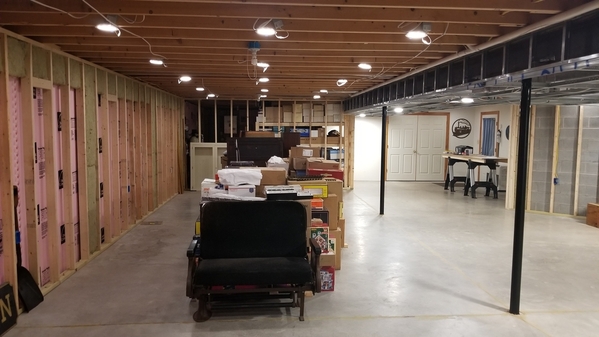
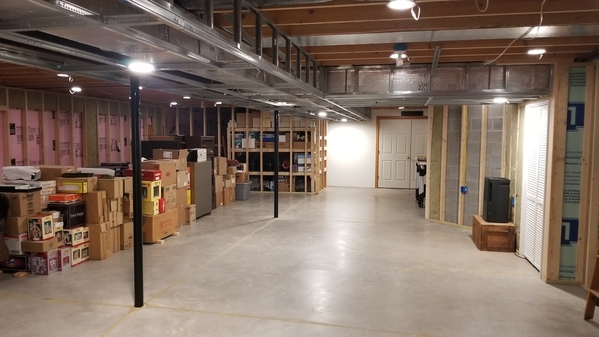
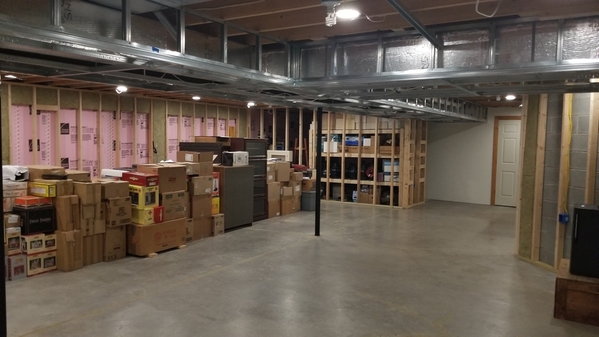
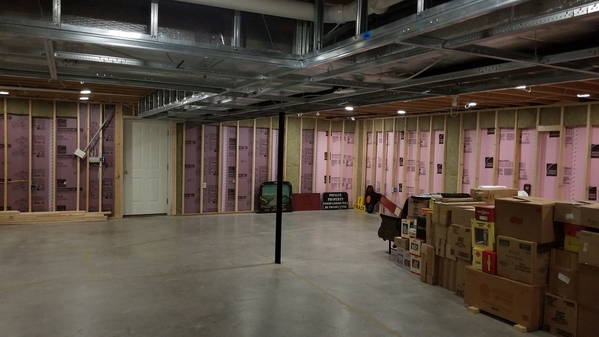
8/16/20 – When it came time to frame out the soffit area, the area around the ductwork, I originally planned on sheet rocking it, but since my framing skills were limited, I decided to have the ceiling contractor frame around it with ceiling drops. This is where the suspended ceiling is continued down and around the ductwork. A contractor friend said I would not be happy with this as it doesn’t look all that great. He suggested using 1-5/8” steel stud framing and covering it with drywall. He offered to help so that was what we did. I’m glad I went with this method.
"It's coming along..."
Joe, that looks large enough to be a warehouse.
Joe, tremendous work so far. Looking forward to your updates. I really loved your old layout and train room!
Bob
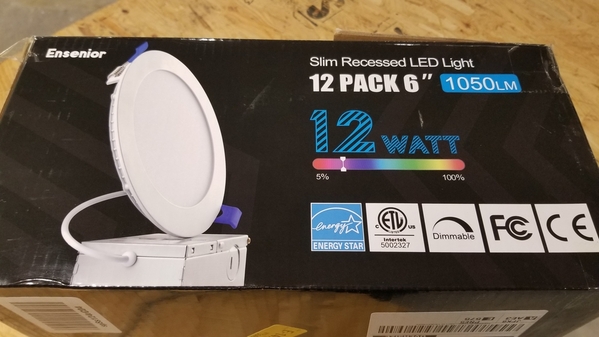
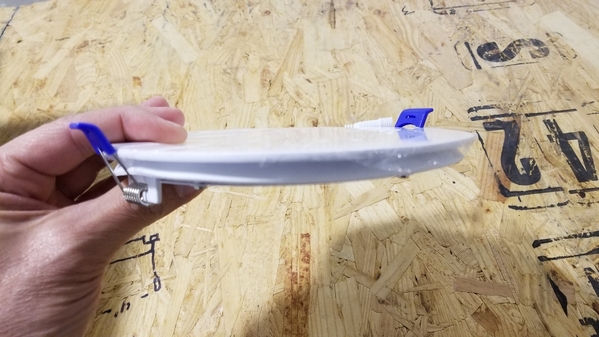
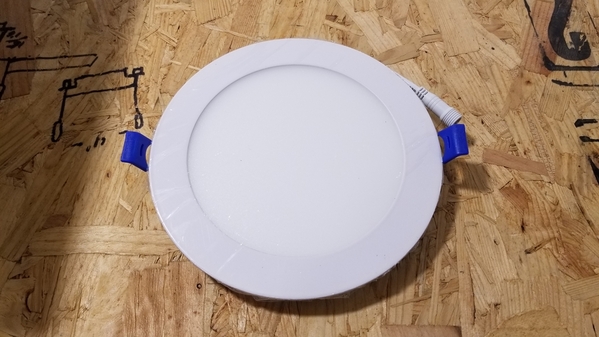
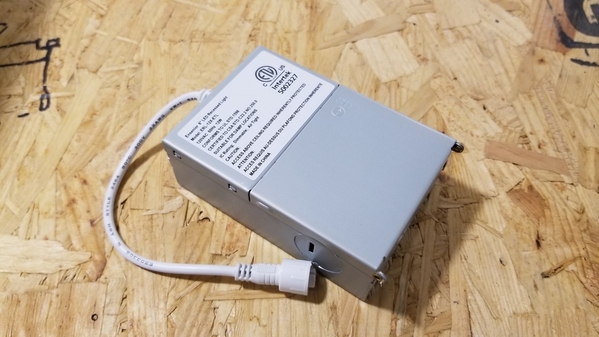
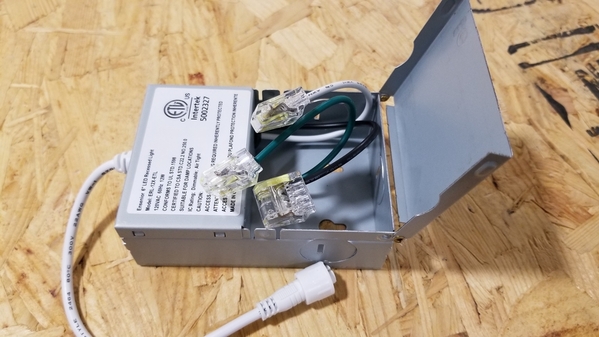
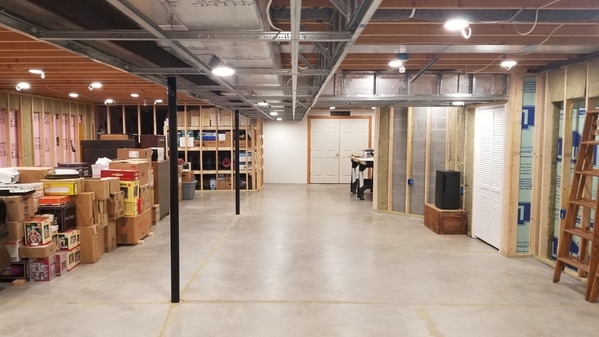
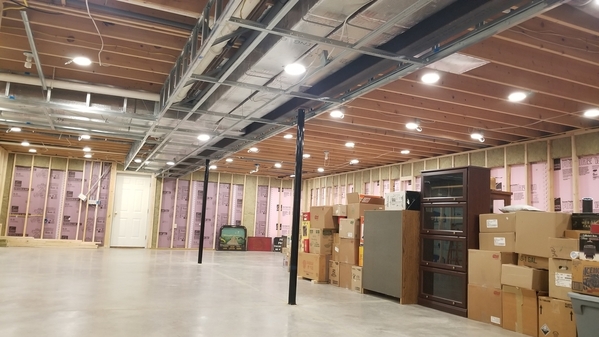
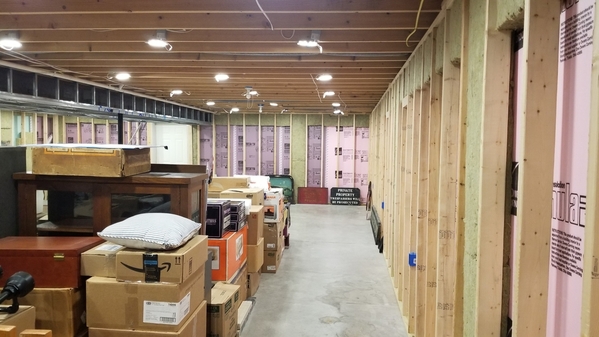
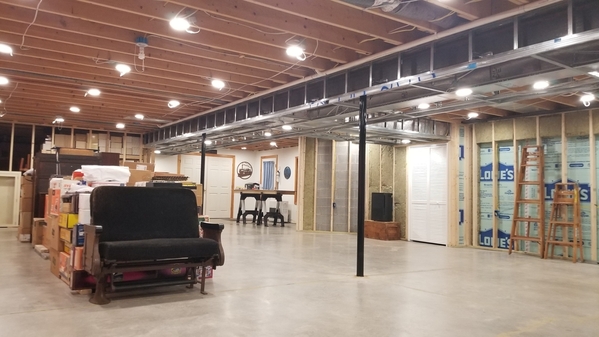
11/8/20 – Let there be light!!! This is where things started getting exciting. Lighting and electrical. You’ll notice all the pictures above are dark. That’s because the only lighting in the basement came from seven incandescent light bulbs. Time to change that. After many hours of research, another friend, who is an electrician and helped with the electrical work, suggested using these recessed LED light fixtures. They are not your typical LED can type fixtures. The body of these lights is only .47” thick. They each come with their own junction box and snap into the ceiling with spring clips. The lights are available in a variety of color temperatures. Some are even switchable between colors. I chose the 6” models which are 12W each in the 4000K color temperature.
When I told my electrician friend that we were going to install 46 of these lights in the basement, he thought I was crazy. And I have to admit, there were times when I would think about that number of lights and wonder if I was not thinking straight. But I explained to him that I didn’t want the room to look like a living room, but rather a museum. Additionally, we were putting most of the lights on dimmers, which would allow me to control the amount of light for different conditions. The one thing to keep in mind with these lights, is that they need to be installed not only at certain distances from each other, but also certain distances from walls. 2’ to 3’ is recommended to avoid large shadows on the wall. I decided to install the lights before the ceiling installation by temporarily supporting them from the floor joists with wire. This provided much needed work light during the rest of the construction. No more drop lights required. I highly recommend these lights.
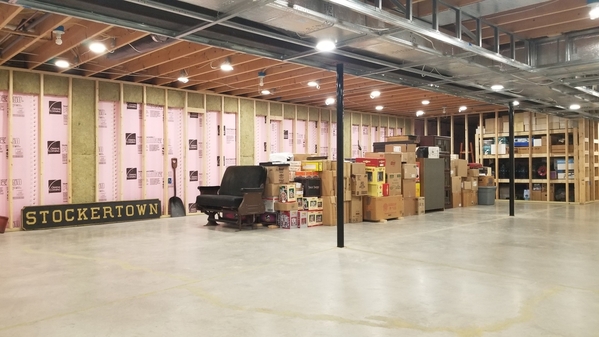
Like I said, dimmers were installed to control most of the lights. There are a total of four dimmers controlling different areas. The lights under the soffit were not installed on a dimmer. They are either on or off. This works out well because if I want to just go across the basement to my workshop, I just turn on the soffit lights and it illuminates a walkway without lighting the whole basement. Here are some photos of different areas dimmed, and these are not turned all the way down either. If I remember correctly, they are dimmable down to 5%. Additional outlets were also installed in the room giving me a total of 14 outlets.
Attachments
"It's coming along..."
Wow Joe. That's awesome. I second those lights as I install them into the front half of my basement. When I do my train room I'm going to put them in there too. They work well and the LEDs use a quarter of the power of regular lights and supposedly they'll last 1200 hours. Your layout room is looking beautiful so far. preparation is the key and I know when you set up all your railroadania items you trained room will look as beautiful as your last one. Keep the updates coming I'm enjoying this.
I think you made a typo on the 1200 hours of life on the lights. The ones I got are rated at 50,000 hours. ![]()
Lol. Ok. I gotta check my box. 50,000 will outlast us. I bought spares in case a few years down the line I have a problem with one or two and then I can't get the same exact ones again maybe brightness is a little off or size will be a little off you know how it goes so just to be safe I bought 5 extra
Wow thats a nice space for a layout. I am jealous. Great work joe.
That's not a train room, that's an empire! ![]()
Nicely done, Joe! Lighting is one of those under-appreciated things that can have a major impact. I like the train room as well. ![]()
George
Hi Joe,
Everything is looking awesome , that is one huge train room. Looking forward to seeing your progress. Keep the progress pictures coming. ENJOY !
Alex
Outstanding Joe. Keep the pictures coming so we can see your progress.
Joe, Great work! I agree with GRJ: That's an empire! People are already drooling...
Regarding extra LEDs: A great idea! I expect mine to last close to 50000 hours. I'll be pushing up daisies by then... But having said that, I have a couple that periodically flicker. I need to change them out and take advantage of the warranty.
Chris
LVHR
That looks great Joe. Very well planned out and can't wait to see what else comes.
I did buy some extra light fixtures as well just in case. Thanks for the comments guys.
Opinions, random thoughts, ...
a) nice lights, will keep them in mind, and yes you will need more, they are recessed for Pete's sake.
b) I am allergic to black mold. I have found that although metal wire shelves may cost more than building wood shelves with plywood, they cannot pick up moisture and they let air circulate around and thru them. Great for holding train boxes. Downside is you cannot put anything small on them. Just put a plywood or a piece of plexiglas on a few.
c) Clever co-worker said not to let the drywall touch the basement floor, leave a gap so it can't wick up the water, and have the baseboard cover the gap. If you have <8' ceiling you have to trim it anyways. I assume he put them on a strip of wood before screwing to the wall then took the wood out. Never got the chance to try this.
d) Same clever guy said tear down the drywall on the basement ceiling, it will make the room seem bigger. Then use a Wagner spray gun and paint everything white. I only did the tear down part in the work room and yes seemed less claustrophobic. I like it unpainted, wife disagrees. I could see how yours is not well suited for that.
Wow Joe!! That basement is huge! I'll look forward to seeing what you do with it!!
The future's so bright you're gonna need shades! ![]()
The room is really looking great Joe. Having spent the first half of my working life an an electrician, I am really jealous of these new LED lights. I probably installed thousands of Hi Hats over the years. Always running into obstacles in the ceilings or piping that ran right where I wanted to put a can. These things are barely thicker than the sheetrock. No putting a 6" deep can under the ductwork in the old days.
Having spares is a good idea too. The technology is constantly changing with LED lighting and what you bought today may be gone tomorrow. Not like going to Home Depot to pick up a 90W flood lamp any more.
We use all LED's at the College I work for now. Typically if they are going to die it will happen early in life (within the first 100 hrs or so).
Any thoughts on what the layout is going to look like? Your old one was a beauty.
Bob


