Updated 1/14/2021:

Courtesy of Don (Cerritos), I learned of an approach to wiring the "data wire" of a DZ-2001 Data Wire Driver that will aid in the debugging of malfunctioning DZ-2500 switch machines.  The DZ-2500C has a much better performance track record than its predecessor, but a single malfunctioning device can affect all devices on that string.  The answer is to limit the number of switches.  I used terminal blocks with jumpers and SPST switches to construct a panel.  This will be installed near my DZ-2001s.  I have 3 Switch Buses.  Here's my progress so far.

Terminal blocks (w/ Jumpers) for (left to right) the Western, Central, and Eastern switch buses.
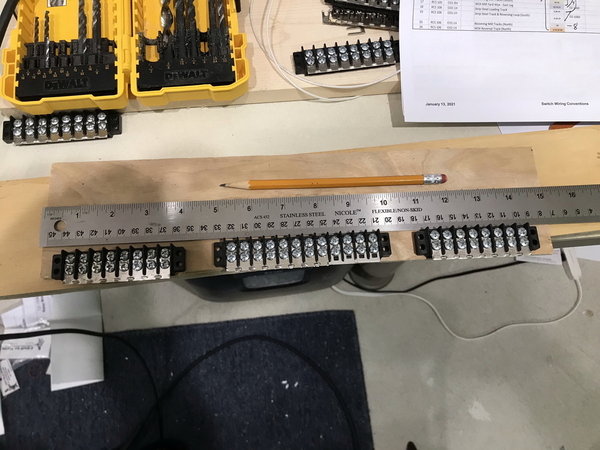
IMG_0490

Below is a spreadsheet showing how switches in Switch Bus 2 will be assigned to flip switches.
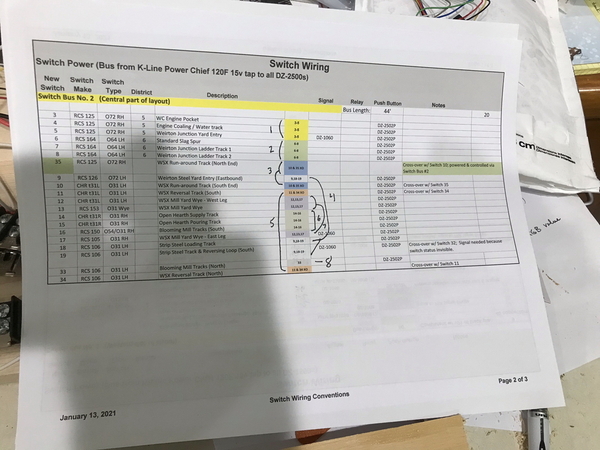
IMG_0491

Below is the panel with holes.

IMG_0493

Here's a test configuration with a light and switch using 12VAC.
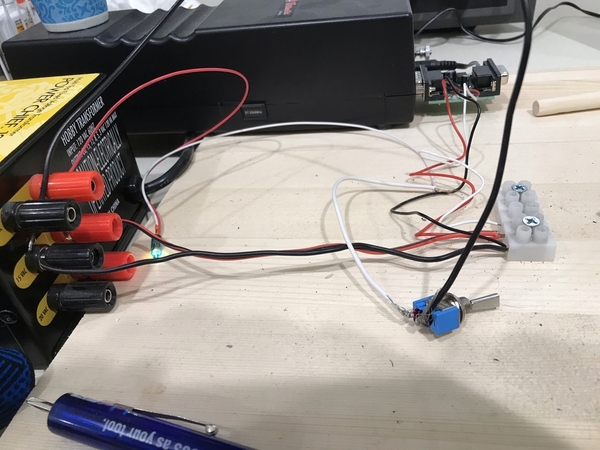
IMG_0495

Close-up of the SPST switch and its mounting hole.
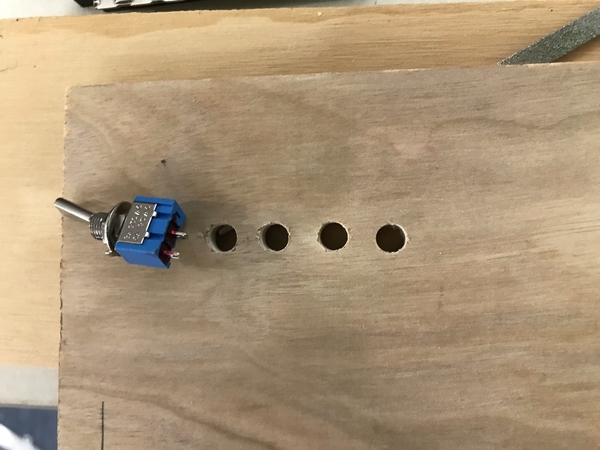
IMG_0497

Starting to mount switches.

IMG_0498

We have a short wire with a spade on one end for the terminal block.  The other is twisted around the SPST lug and shrink-wrapped.

IMG_0499

I hope to get this panel and the terminal strips installed and tested either later today or tomorrow.

More when I know it. 

George

Attachments

Images (8)
  • IMG_0490
  • IMG_0491
  • IMG_0492
  • IMG_0493
  • IMG_0495
  • IMG_0497
  • IMG_0498
  • IMG_0499

Really progressing along George. Everything looks great with test on bridge, wiring and such. That's one of the things that scares me, wiring. Not sure how'd I'd progress along with how I'd get along, but I'm still on paper as it were with my design. I'll have to fiddle about with it more either tonight or tomorrow depending on how long dinner takes, lol. Keep up the great work George.

Really progressing along George. Everything looks great with test on bridge, wiring and such. That's one of the things that scares me, wiring. Not sure how'd I'd progress along with how I'd get along, but I'm still on paper as it were with my design. I'll have to fiddle about with it more either tonight or tomorrow depending on how long dinner takes, lol. Keep up the great work George.

It's not that hard, but there are a few tricks to wiring:

  1. Have a plan, including color-coding of wire.  Make sure the plan covers all your wiring.
  2. Have a friend(s) with experience.  Run the plan by them, including your choice of materials.
  3. Be methodical and stick to the plan.  You only want to do this once.
  4. If you encounter a problem, get extra eyes to take a look.  That really helps.

You can do this!

George

Yeah, that's the thing. 126"x98" is the area I want to build to, have very small wiggle room with that. I finally have a design as far as track is concerned, but nothing more at this time. I have sidings for passing trains and small areas which won't hold much, maybe an engine at best small or semi large. That's pretty much it. I want to fiddle with getting some sort of scenery ideas at least something and then I'll start asking for input. See what comes, that's for sure.

Updated 1/23/2021:

When I last updated you, I was working on a panel of SPST switches to debug some 42 individual DZ-2500s by isolating the signal provided from a DZ-2001 Data Wire Driver.  After spending a considerable amount of time making the panel and starting to wire it up, I realized I wasn't happy with it.  The lugs on the back of the SPST switches were so close that the wires could be forced together, making the connection physically despite the switch.  And it just didn't look good or right to me.  So I tore it out and rethought the problem.

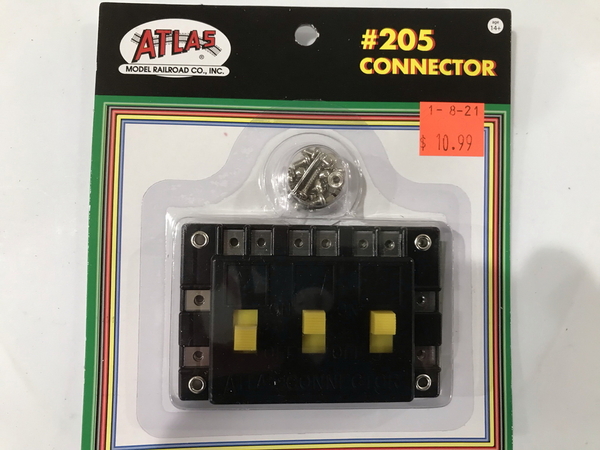
The answer was the Atlas 205 Connector, a panel of 3 slide switches that could be easily expanded, looked good, and made the panel much neater.

IMG_0502

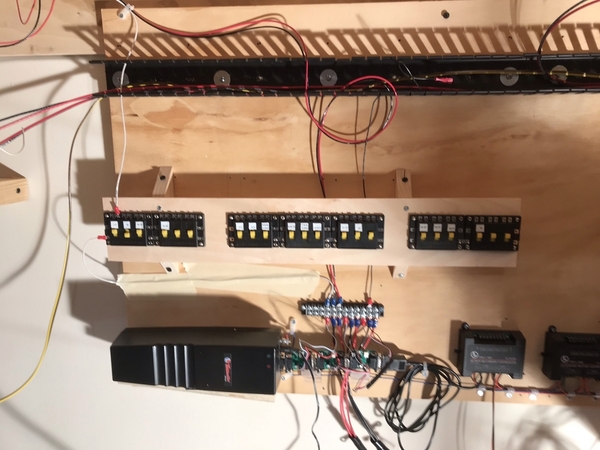
I removed the old panel, hooked these up, added labels and re-installed it.  It looks like this now:

IMG_0512

I just tested it.  Works perfectly!  With the connector ON, the switches respond to commands from the CAB-1.  With the connector in the OFF position, they don't - electrically isolated.

Problem solved!  I can now get on to wiring the switches in the Staging Area.

More when I know it. 

George

Attachments

Images (2)
  • IMG_0502
  • IMG_0512
@BillYo414 posted:

Is there a benefit to the electrical isolation? Just that you can switch it at a panel instead of via command control?

The benefit is for debugging purposes.  If 1 DZ-2500 has problems (fails, gets its brain scrambled, etc.), all the others on that DZ-2001 switch bus stop working.  If you've got 30 switches on that switch bus, you've got to find the malfunctioning culprit.  Lionel suggests their break-out box, but at 1 / DZ-2500 and an MSRP of $25.00, that gets out of control really fast.

George

@Mark Boyce posted:

George, the panel looks nice.  The wire management will certainly help you from having a rat's nest.  I think I am glad I am not building nearly as complicated a layout as you.  This stuff reminds me why I am glad I retired after 43 years in electronics. 

Thanks Mark.  It really isn't my intention to have a complicated layout.  In this case, the panel is necessary.  On Panhandle 1, I had a bad DZ-2500A and I had to test (individually remove wires from) 14 switch machines to find it.  Not fun. 

I am using DZ-2500C's for this layout and don't expect many (if any) problems, but with 3 DZ-2001 Data Wire Drivers and 42 switches, this debugging feature is not something you can add later.

George

Last edited by G3750

Why did you need three DZ-2001 wire drivers?  I was led to believe that one would drive a ton of switches.  I'm bringing all my switch signals back to a punchdown block, so I have the option of doing something similar for debugging.

I'm just curious, how did Lionel make the case that the CSM2 Breakout Board solved this problem?

At one point, I was told that a DZ-2001 data wire was limited to 75'.  Given the shape of my layout and the large number of switches, I decided that spreading them among DZ-2001's made it easier to debug problems.

I have no idea how the CSM2 Breakout Board helps.

George

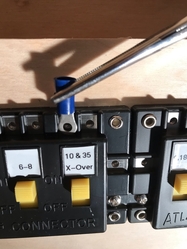
One footnote:  Gardner-Bender ring terminals for 18-22 AWG, #4-6 stud widths are what I used.  Now, the wire is actually 14 AWG.  It fits the ring terminal (barely) but it is (supposedly) too large.  If you use the properly sized ring terminals, even those for #4-6 studs, they are too wide to fit the slide-switch slots.  The result is a bad connection, and they will not work (the signal will not be passed)!

George

Hi George.  The layout is coming along really nice. I really enjoy reading your posts. I've got a lot to learn electrically, esp about districts and blocks, and circuit protection.  I have a ton of wiring questions, but not ready yet.  Spent 3 wks down south, but didn't get any work done in the train room. Some other basement work has to get done first. Covid has set us back.  I'm hoping to finish sanding drywall, get drop ceiling and track lights and floor done by end of summer and start building the train board late fall.

Might drop by the hobby shop and loiter for a while one day.  Keep  up the good work.

Inquiring minds want to know, what's with the #16 wire for serial data?  That's massive overkill, #24 or even smaller would do fine, we're talking about milliamps here.

Well, since you asked - I believe in massive overkill.  What's it to you, John? 

Yes, we are talking about milli-amps here.  And I want to make sure that I can transmit it 50-75-100 feet without issue.  I was originally going to use 20 AWG but in a recent e-mail conversation with Dennis Zander he recommended 18 AWG.  I happened to have 16 AWG on hand, so that's what I used.  Like I said, I believe in overkill.  No comebacks.

George

Updated 1/27/2021:

From the 2 steps forward, 1 step back department:  Last night I discovered a problem with the suitcase (aka insulation displacement connectors or IDCs) connectors I bought for 18-22 AWG wire.  These are being used to provide power and DZ-2001 switch bus signals to 42 switches and a large number of signals and crossing gates / signals.  They were not working very well.  The crimping blade that connects the 2 wires (the run and the tap) wasn't going into place properly - it would bend, warp, not penetrate the insulation correctly.  Unless the pliers was exactly 90 degrees to the connector, the crimp wouldn't happen correctly.  And the plastic housing would bend or crack.  This wasn't all due to my poor technique (although it probably contributed).

A close examination of these suitcase connectors revealed that they were not genuine Scotlok 905s (which is what I thought I was buying).  They were knock-offs.

Today, I ordered the real McCoy from an electrical supply house.  We should see them in a few days.  With all these switches and signals / crossing gates to wire, this is something I have to get right.  I am also going to look at using different pliers and see if I can improve my technique.

More when I know it. 

George

I wouldn't have any student loans left if I had a dollar for every time I fall victim to this kind of stuff at work. I order parts for a machine and wind up buying it from the OEM because the version I got from a third party is just crap. It's a rough life but somebody's gotta live it haha

Could you set a pair of vise grips to just the right lock and use the cam action in your favor?

@BillYo414 posted:

I wouldn't have any student loans left if I had a dollar for every time I fall victim to this kind of stuff at work. I order parts for a machine and wind up buying it from the OEM because the version I got from a third party is just crap. It's a rough life but somebody's gotta live it haha

Could you set a pair of vise grips to just the right lock and use the cam action in your favor?

Not sure what you mean regarding the vise grips.

George

@G3750 posted:

Aha!  A picture is worth 1,000 words!  Thanks Mark.  I've got those.  Worth a try.

I would dearly like to find a crimping device or pliers that included a mechanical advantage of some sort.

George

George, I know.  I always had trouble using them.  They are all Dad had to grab something tight. I have a couple pair also.  Mechanical advantage is a problem with them.  There has to be a better choice today, but I don’t know what it is.

Updated 2/04/2021:

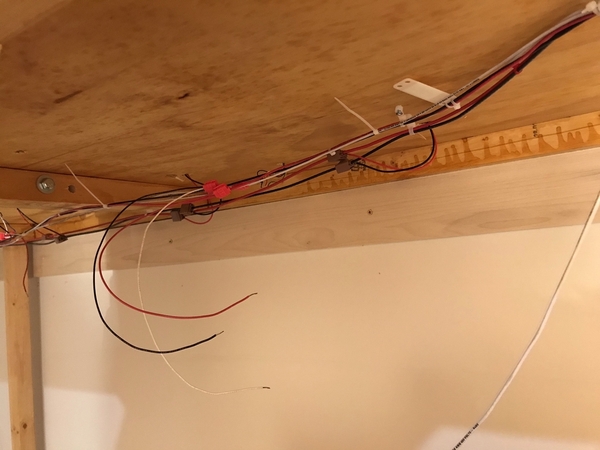
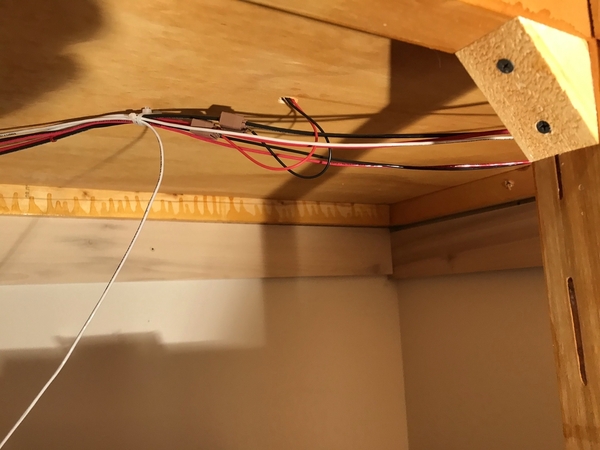
The Scotchlok 558 IDC (insulation displacement connectors) aka suitcase connectors I ordered arrived yesterday.  With teaching done for the week, I was able to spend a little time under the layout wiring the Eastern Switch Bus for the Staging Area.

I used the suitcase connectors to attach the feeders to the Switch Bus.  Tomorrow, I will attach them and the other wires to the DZ-2500 switch machines.  Afterwards, we'll test them using TMCC.  And then I will start thinking about a panel for the pushbuttons for all the switches in the Staging Area.

IMG_0528

IMG_0529

IMG_0530

They aren't very neat right now, but that will change shortly.

More when I know it. 

George

Attachments

Images (3)
  • IMG_0528
  • IMG_0529
  • IMG_0530
Updated 2/5/2021:
So I've managed to do the following:
  • Staging Area switch machines:  24-27 and 28-32 are now powered
  • Staging Area switch machines:  28-32 are responding under TMCC
  • Scotchlok 558 IDC "suitcase" connectors have arrived
  • Additional screw, bolt, nut and washers have arrived
  • Ran two of the Decapods and 1 K4 on part of the layout
  • Attempted a lash-up of the two Decapods, but couldn't get it work right.  I'll try again tomorrow.
  • Parked a K4s in the Staging Area
  • Parked a Decapod in the Staging Area
All of these are baby steps, but we're making some progress.
More when I know it.
George
@G3750 posted:
Updated 2/5/2021:
So I've managed to do the following:
  • Parked a K4s in the Staging Area
  • Parked a Decapod in the Staging Area

George, we don't "park" a locomotive.  You do that with your automobile.  We "spot" a locomotive, or if you are putting a whole train on a staging track you "tie it down."  The ex-railroad employees on some of my operating crews keep me up on the proper terminology. 

@Bob posted:

George, we don't "park" a locomotive.  You do that with your automobile.  We "spot" a locomotive, or if you are putting a whole train on a staging track you "tie it down."  The ex-railroad employees on some of my operating crews keep me up on the proper terminology. 

Thank you.  I'll try not sin again.  And for God's sake, don't tell Hot Water.  He'll scald himself. 

George

Add Reply

Post

OGR Publishing, Inc., 1310 Eastside Centre Ct, Suite 6, Mountain Home, AR 72653
800-980-OGRR (6477)
www.ogaugerr.com

×
×
×
×
Link copied to your clipboard.
×
×