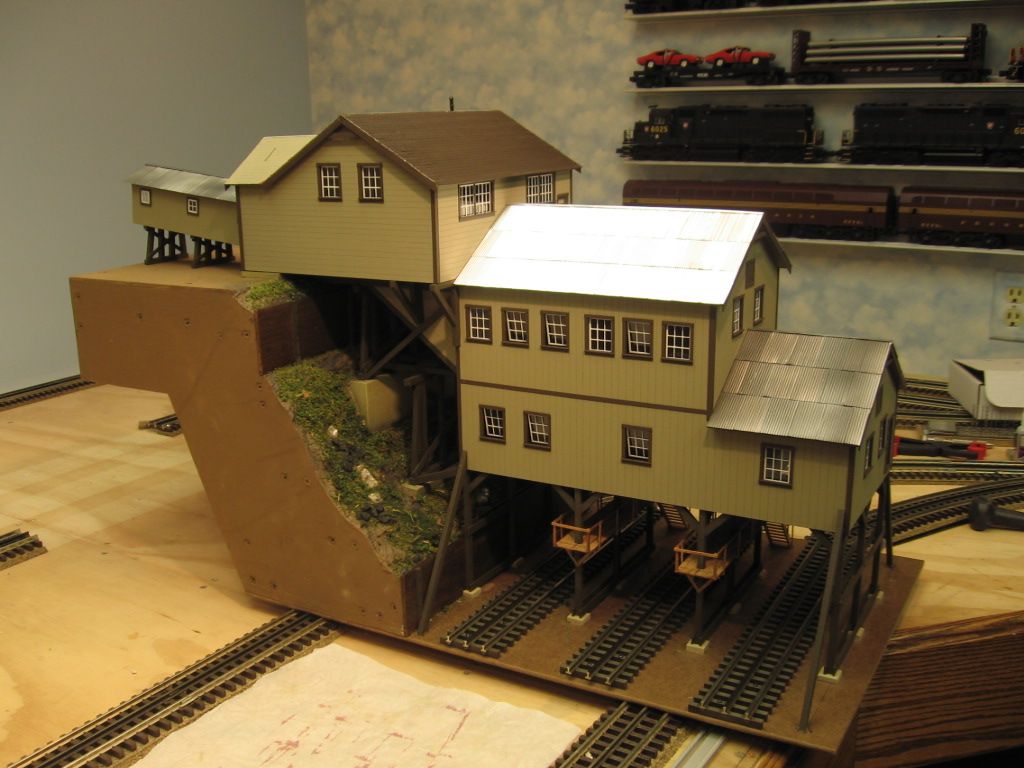
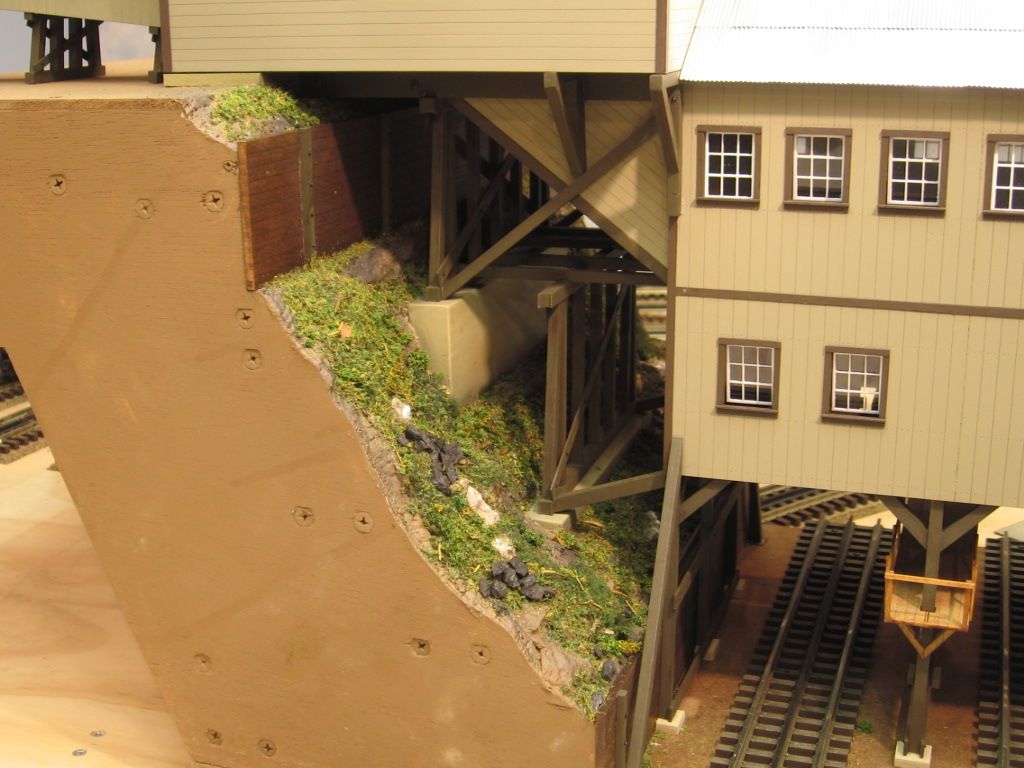
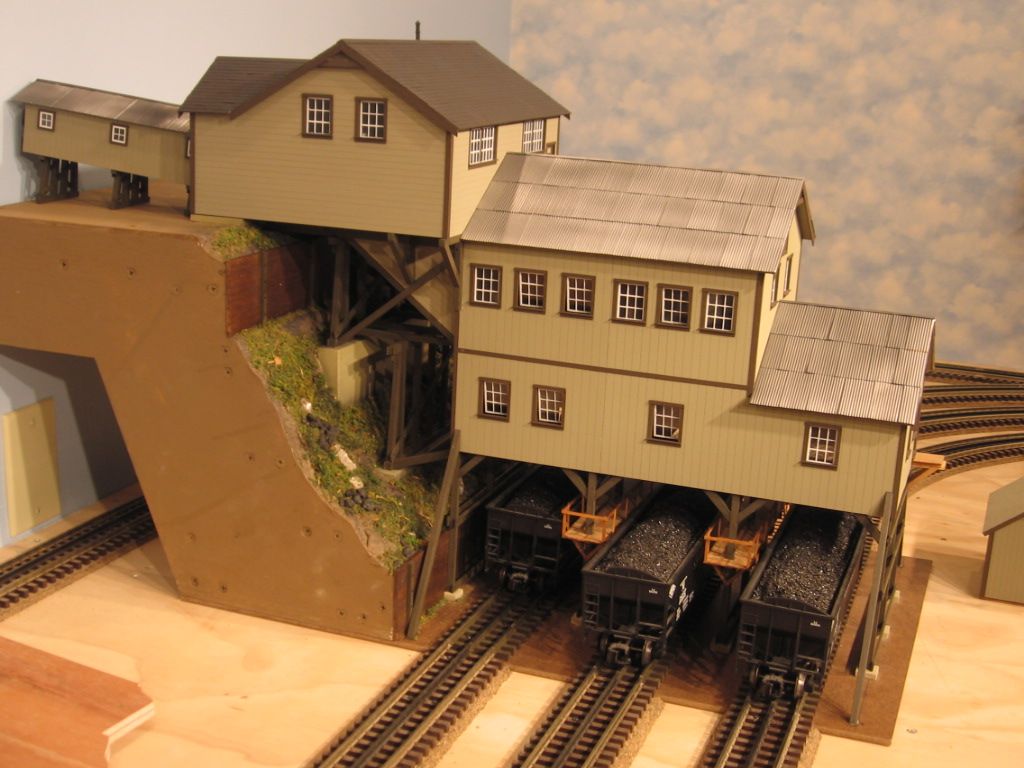
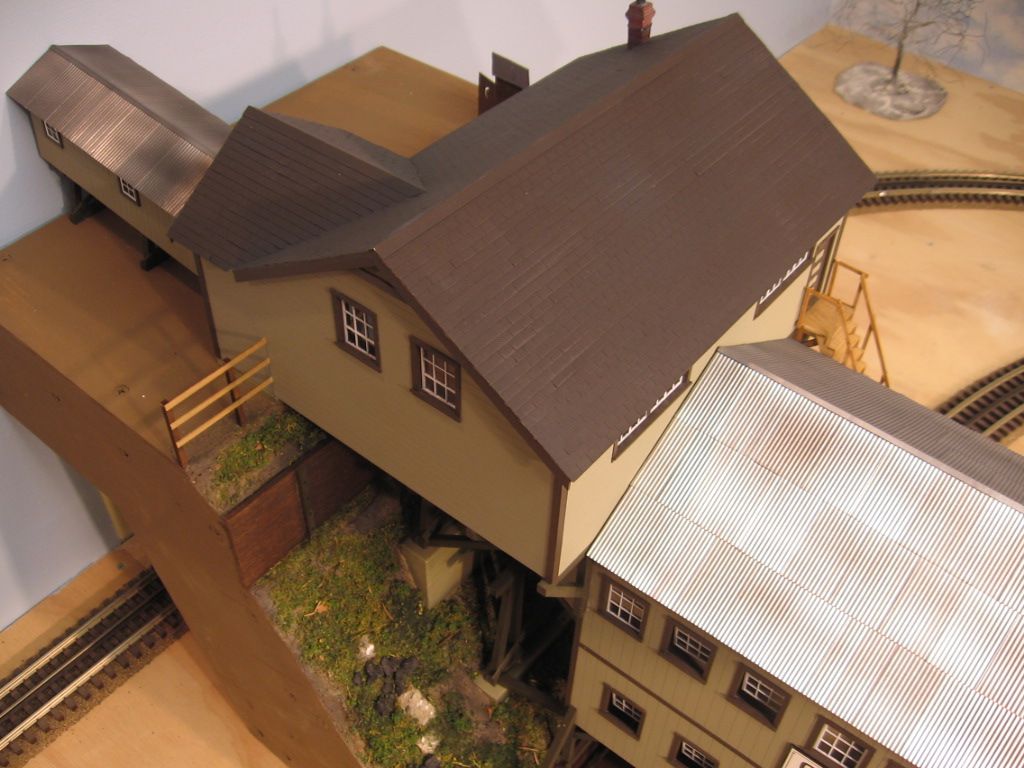
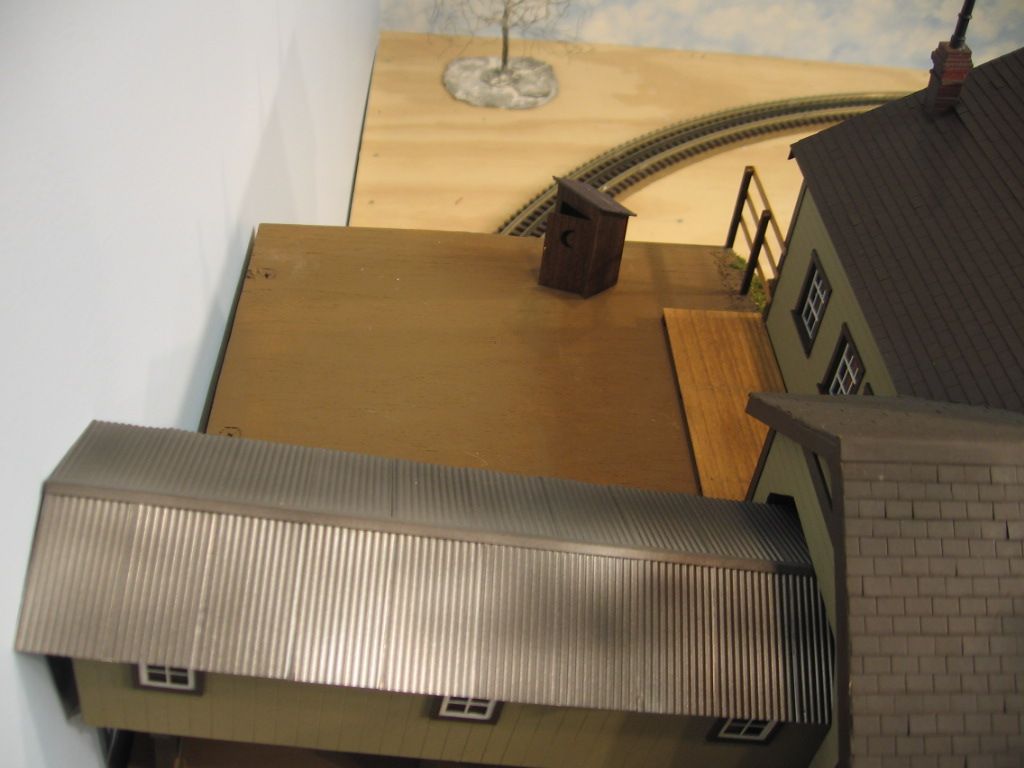
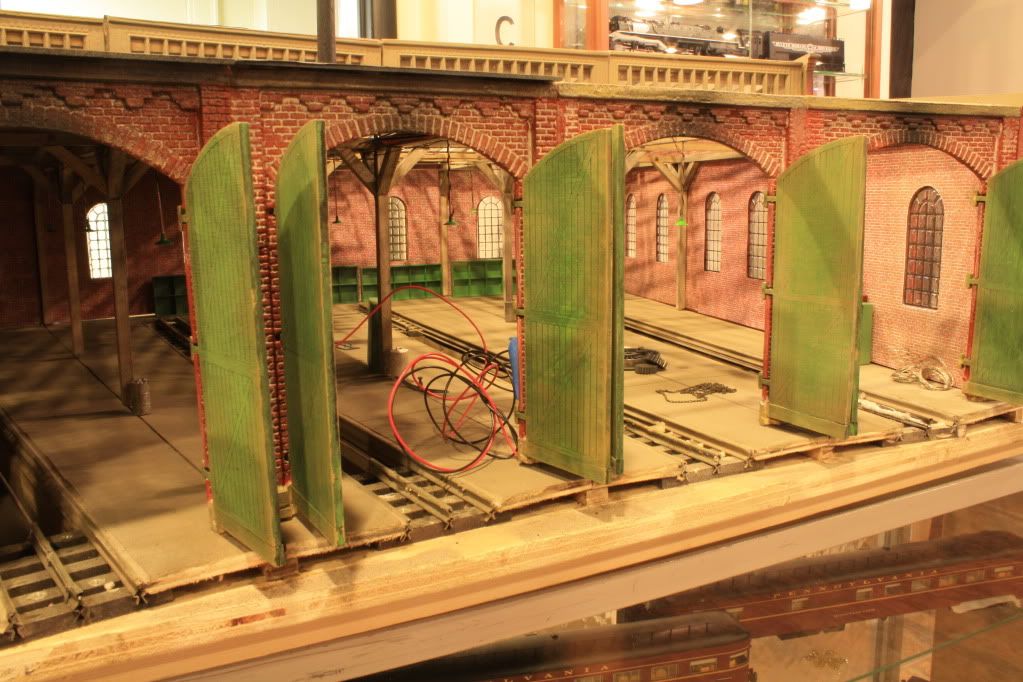
More work to do, the project has come a long way in 6 weeks.
Have a great weekend everyone.
Mike


|
|
Replies sorted oldest to newest


quote:Cesar, you are right. What a big improvement. What did you use to paint them?


quote:Originally posted by Matthew Jones:
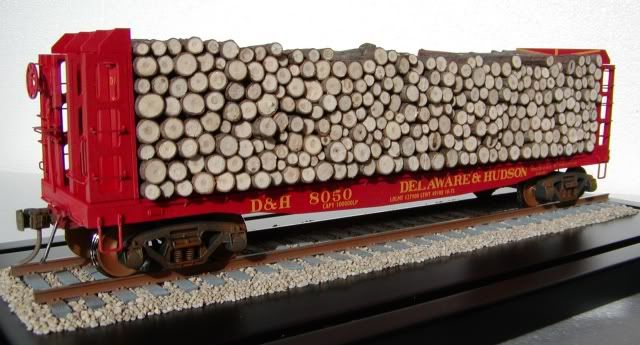
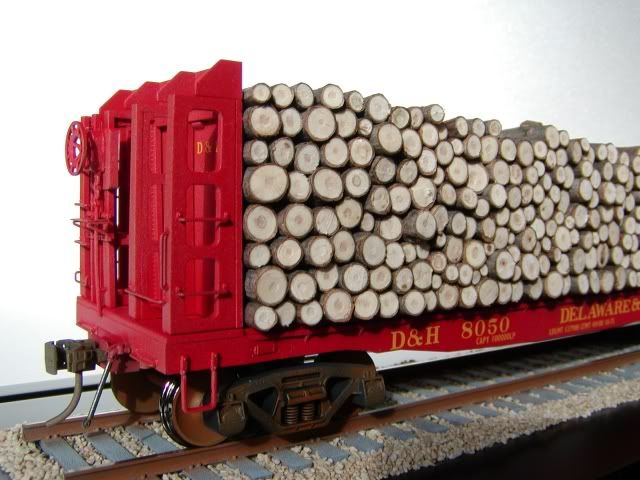
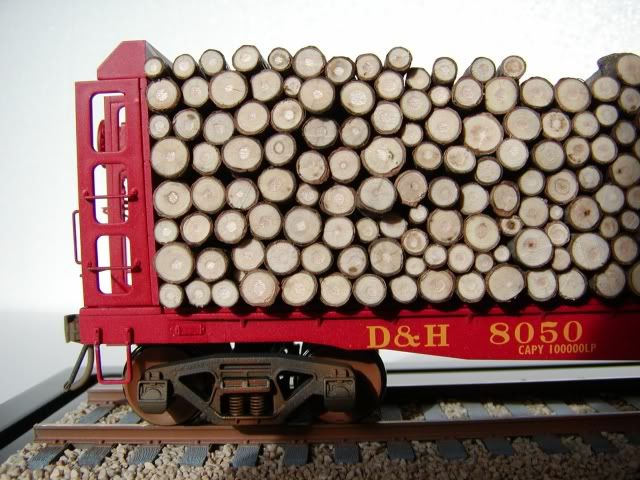
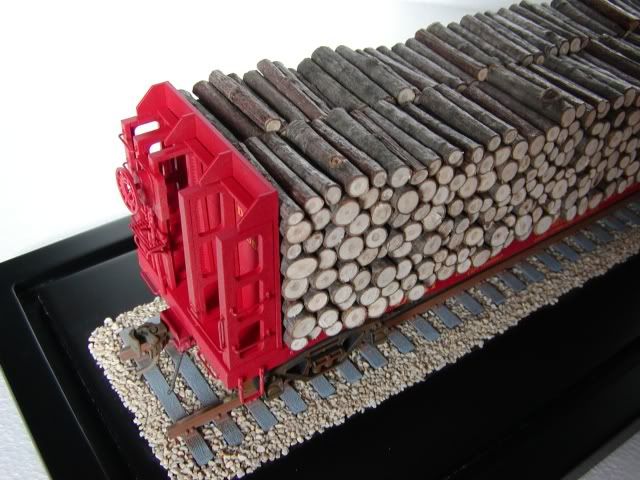
I posted some better quality photos of the Atlas Pulpwood Car.
quote:Originally posted by Lima:quote:Originally posted by Matthew Jones:
I posted some better quality photos of the Atlas Pulpwood Car.
Great work Matthew,
What type of wildlife did you cut? Was looking at ours last week and we decided the molded logs had to go so right now no revenue.
quote:Originally posted by DAStrains:
What did you cut the branches with?
quote:Originally posted by Ingeniero No1:
Simply great work by everyone!
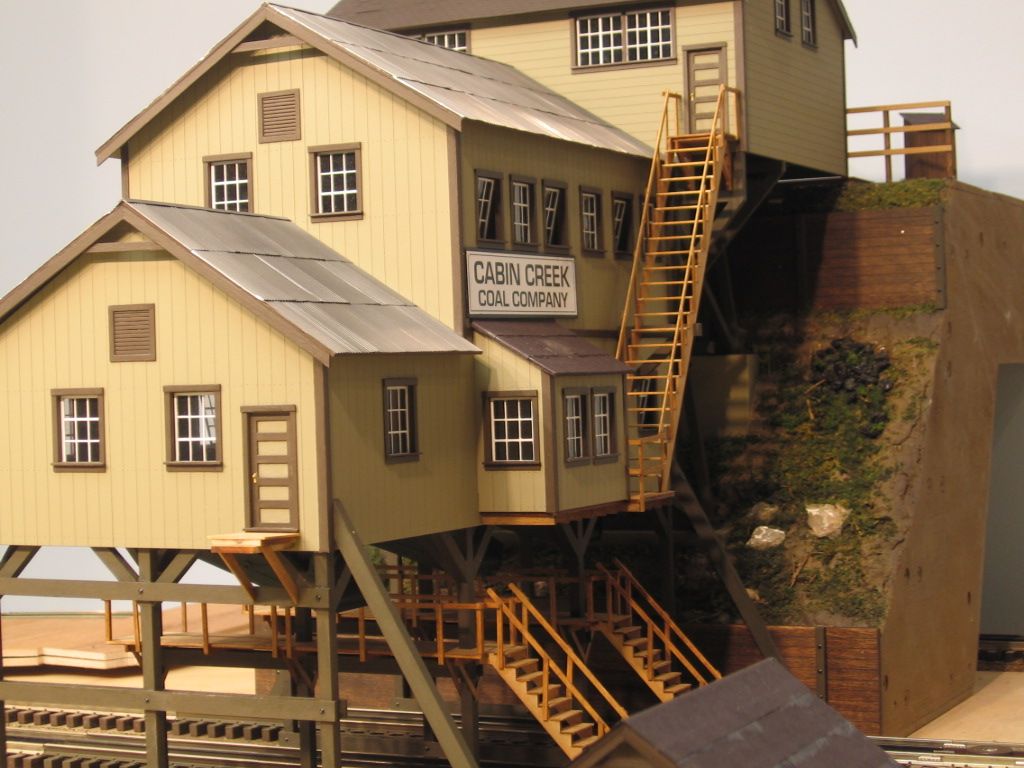
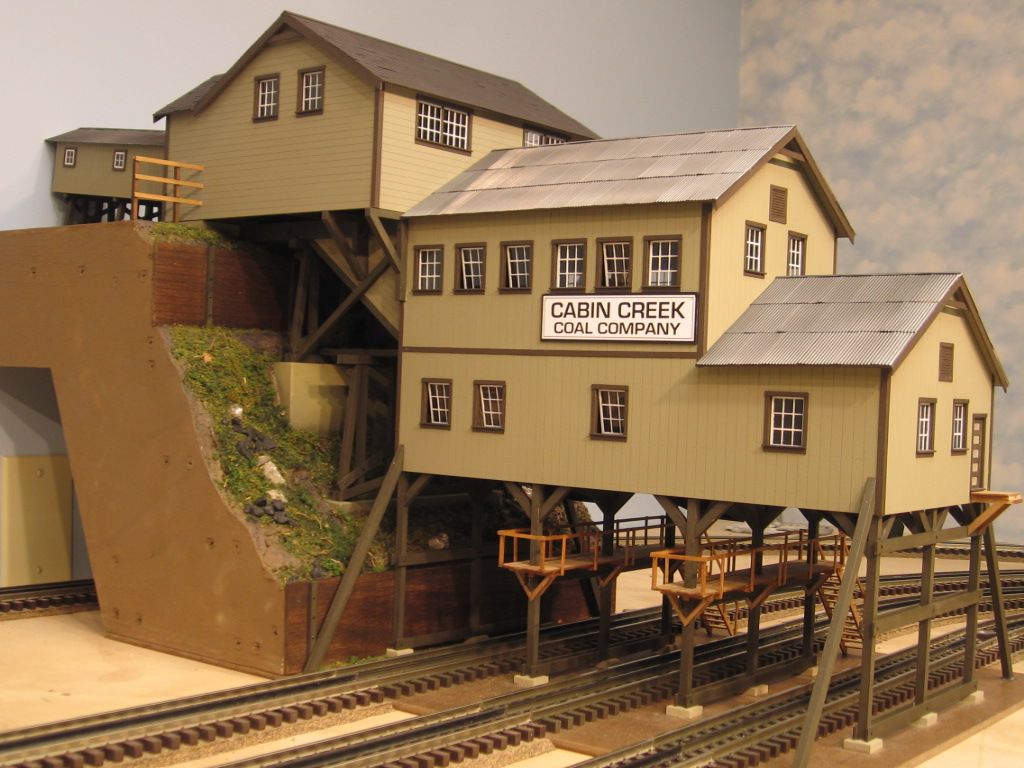
Mike (CT) -
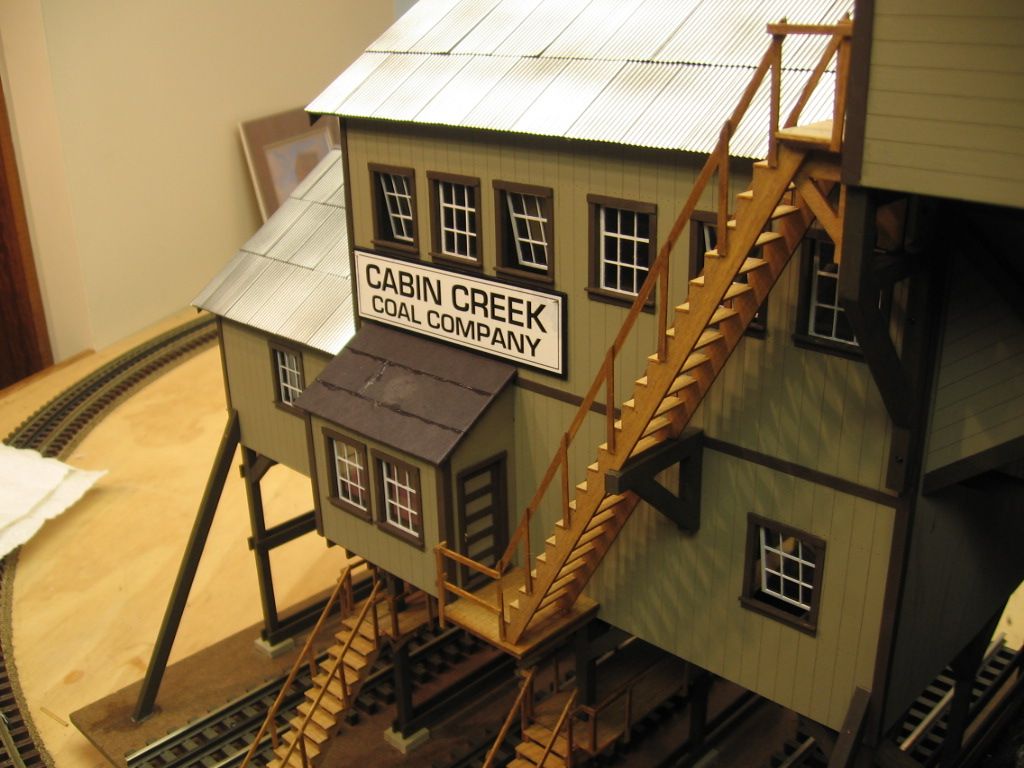
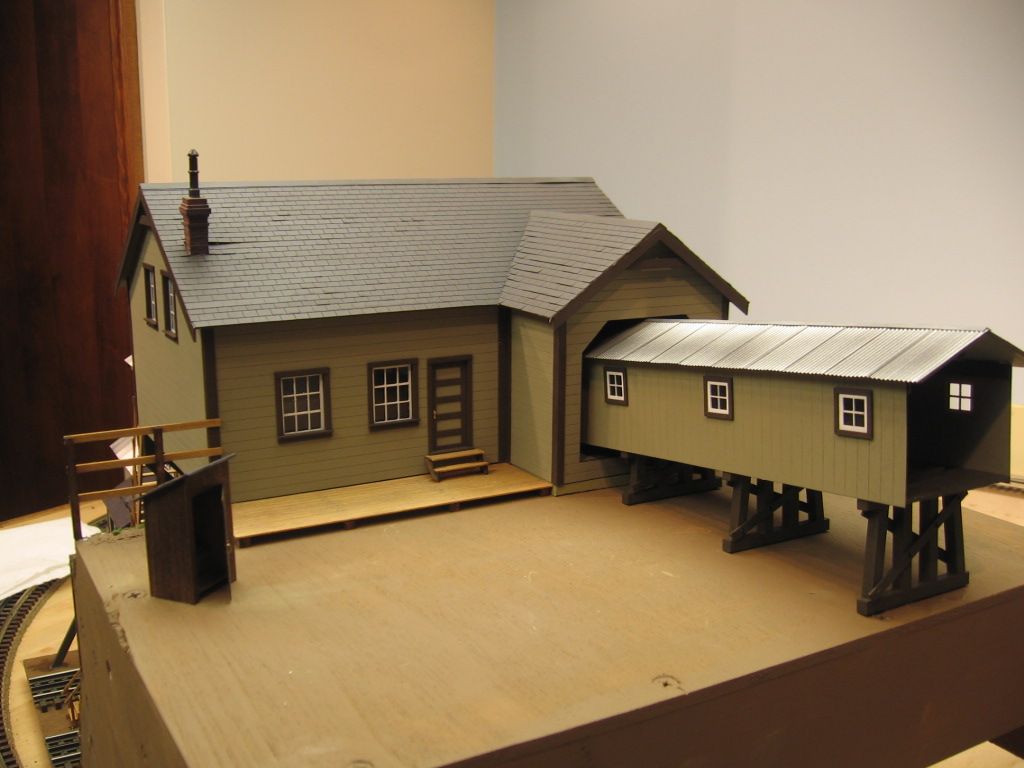
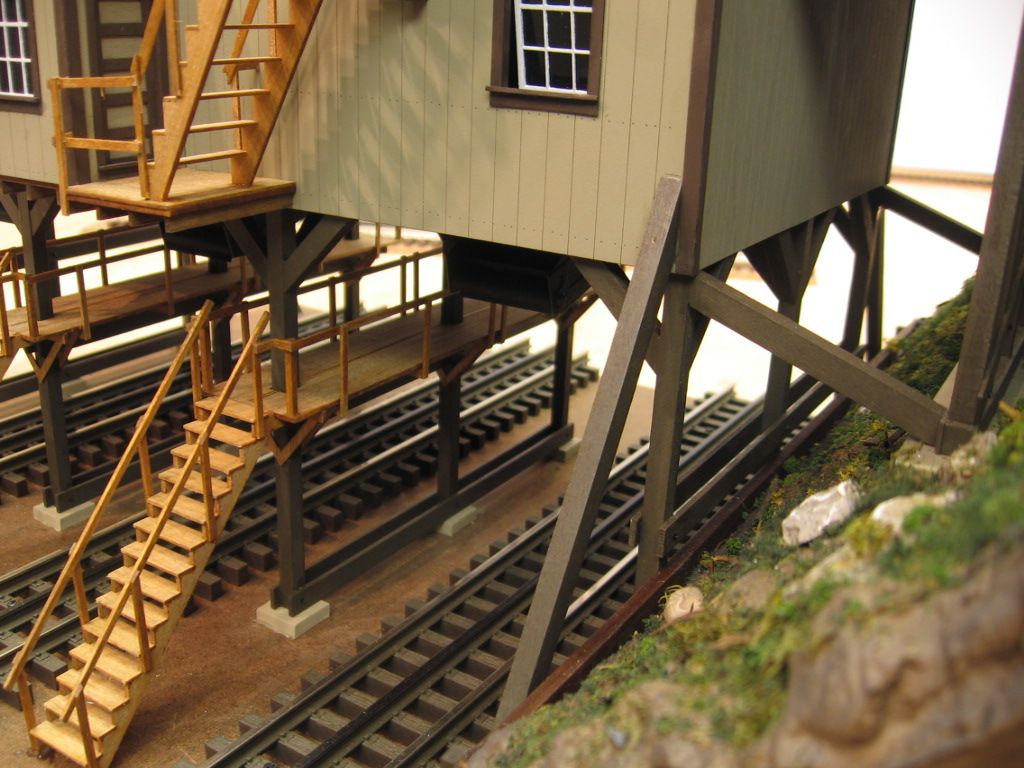
I can't remember whether you posted this detail before: Is this Coal Tipple a kit? Those wooden stairs are gorgeous!
Thx!
Alex
quote:Originally posted by Matthew Jones:quote:Originally posted by DAStrains:
What did you cut the branches with?
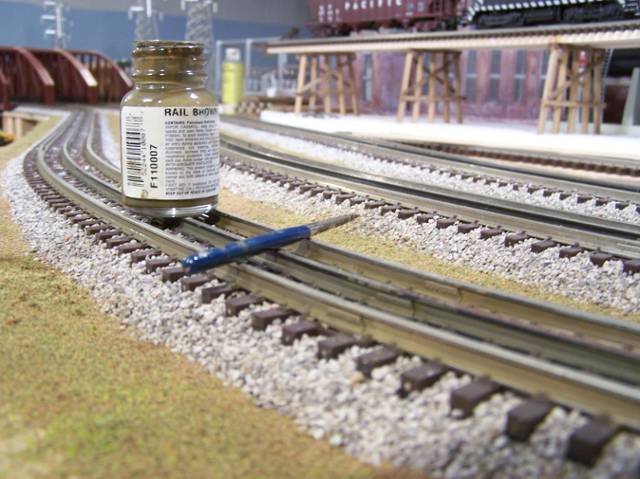
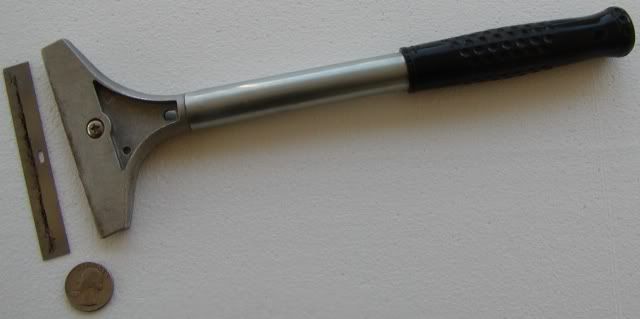
Good question. Took some trial and error to find a quick method that would not crush the limbs. I tried a hand saw but that took to long and left the surface too rough. Also tried a Dremel with a cut-off blade but it ran to fast and usually burnt the wood. Razor blades were not study enough to cut through. Finally ended up using a paint and wall scraper (as pictured below) - it has a replaceable razor-sharp and thick blade. I was able to chop several hundred logs in a couple of hours with this.
Thanks for the tips, Richard. Thanks everyone for the comments!
Cesar


Mike,
I LOVE that tipple !!!!!
Scrapiron
Nice work guys, was out of town for a while and missed my Sunday coffee and SSS.
Mike ,
very nice job on the tipple and in a timely manner. Cant wait to see it on the layout. I was especially interested in it for i am also looking to build one of these.Alot of good pictures and workmanship.
Dave,
Super job and creative idea.
Steve,
As usual the weathering is awesome, sometime when you get a chance would like to see a pic of 3-4 of those fine cars sitting in the yard together, would make an very cool pic.
Ted, looking good.Nice to have some help.
Fatboy,
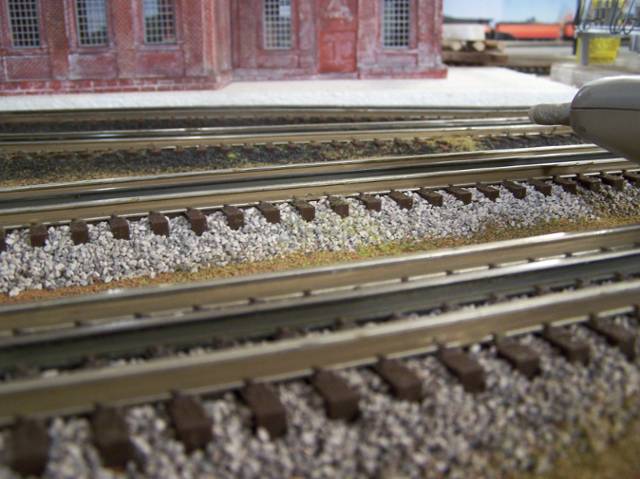
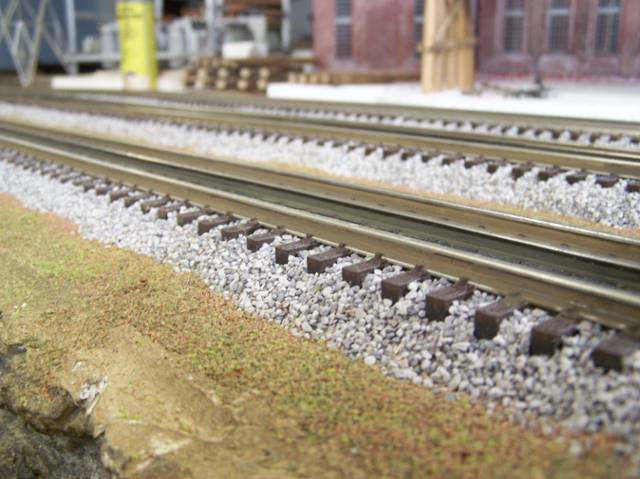
Came out real good and ballasting looks good as well.
The "log" car looks good and so does the dock light on the cobbler.
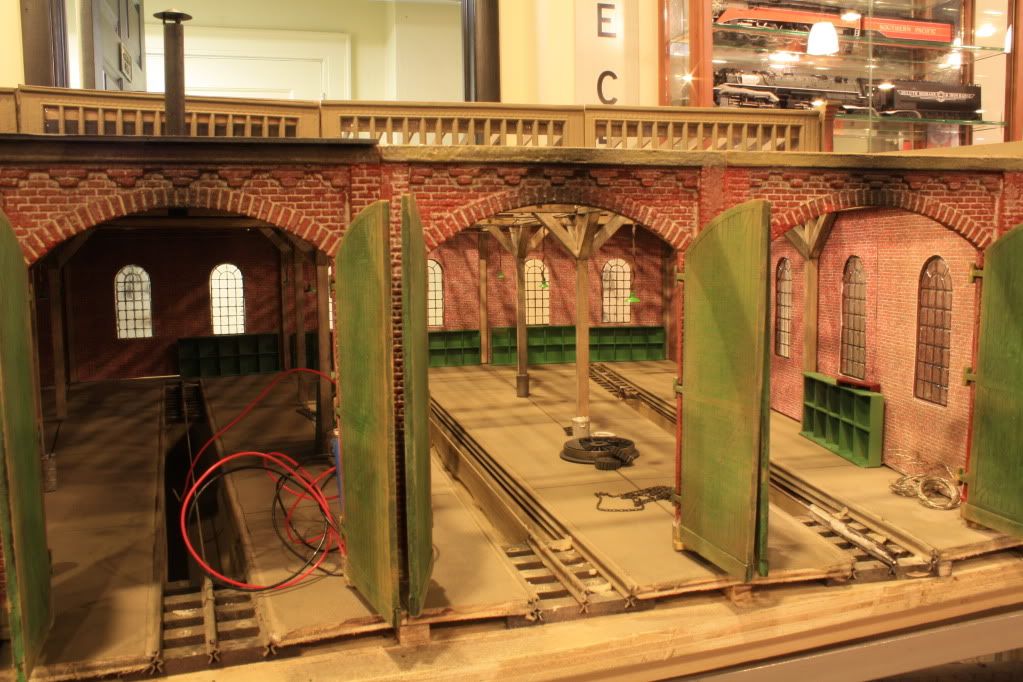
Eliot,
Neat lttle building. Is the stone on the foundation plaster cast? Hows that guy gonna get home? LOL
Access to this requires an OGR Forum Supporting Membership
