
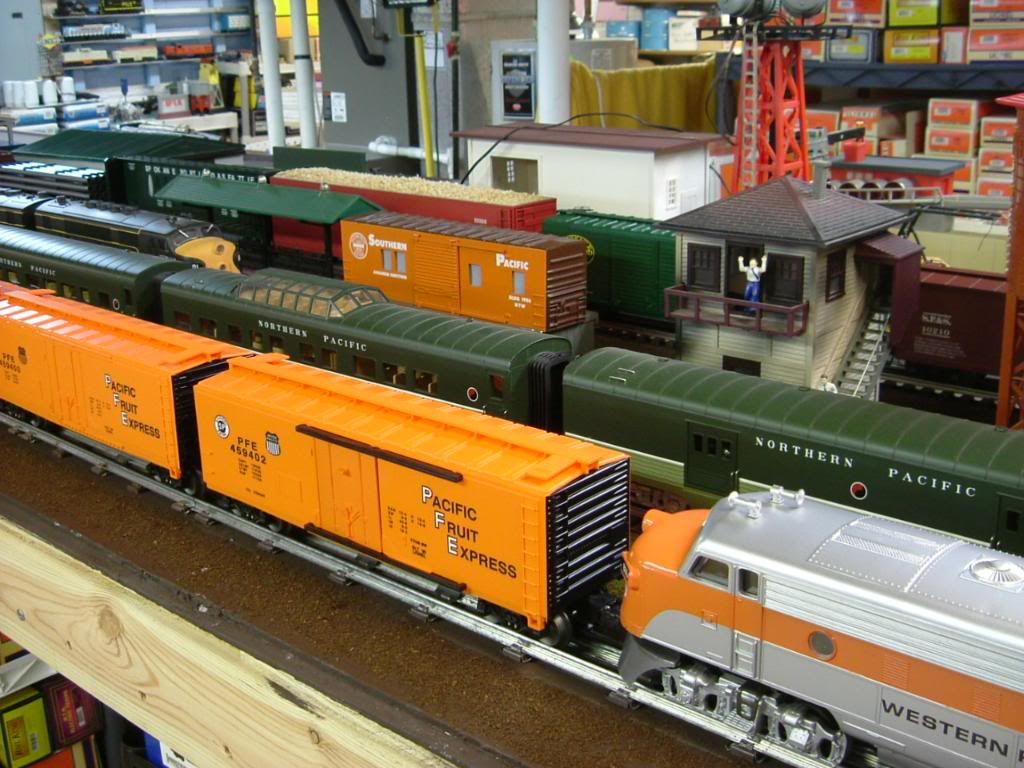
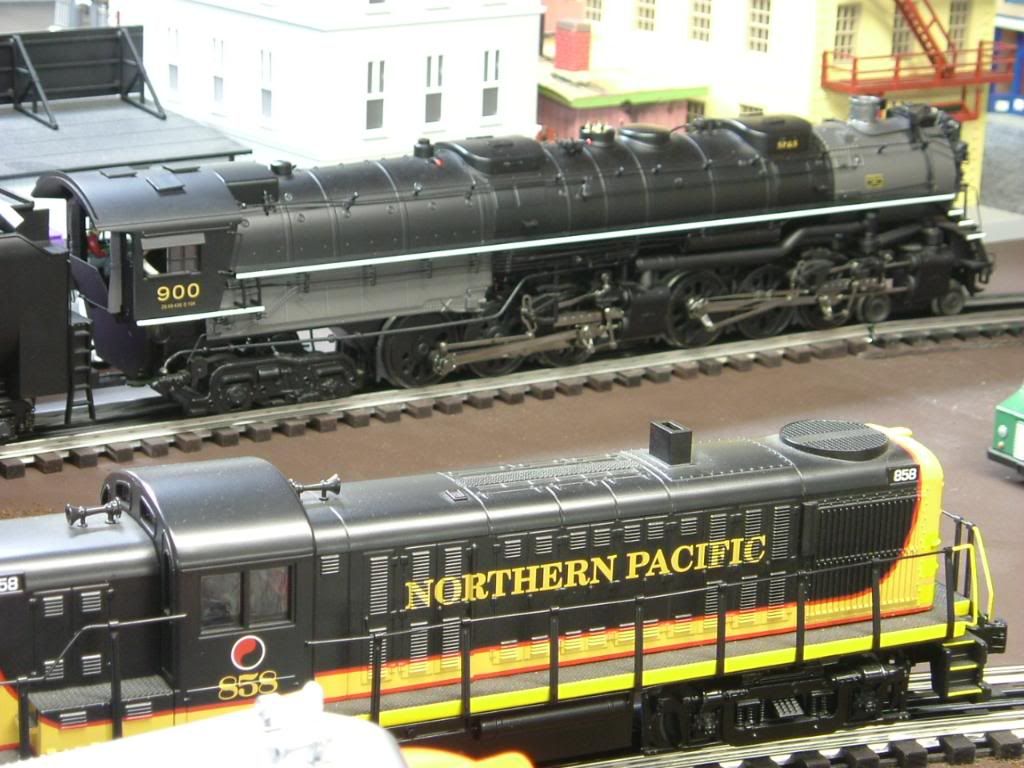
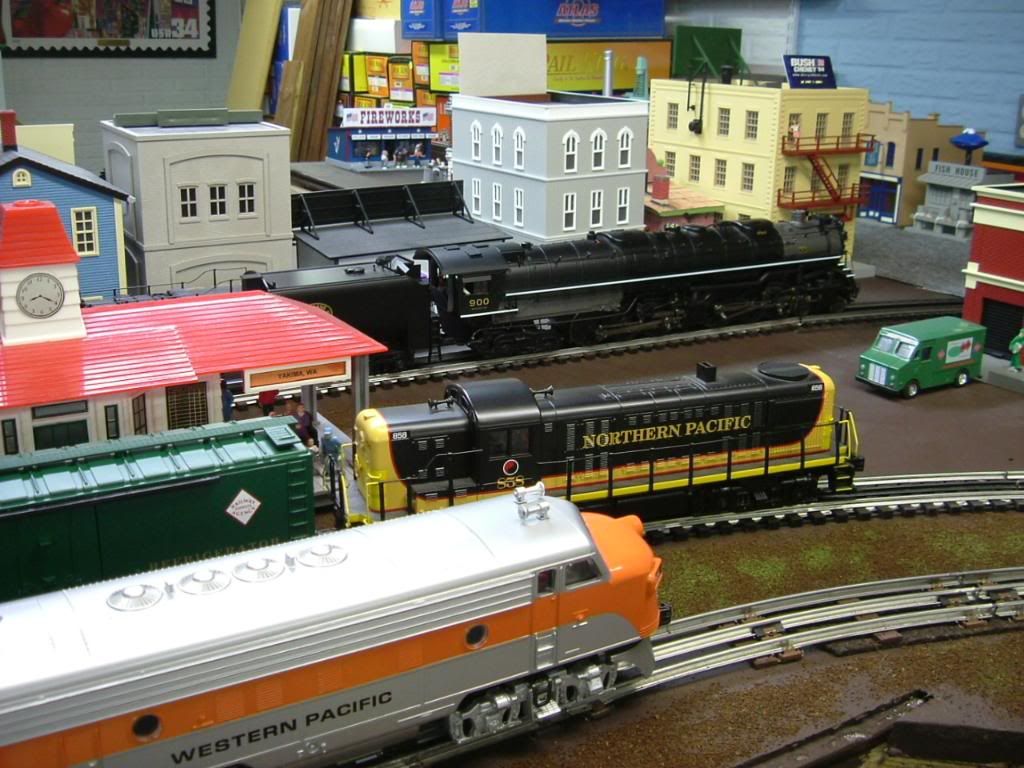
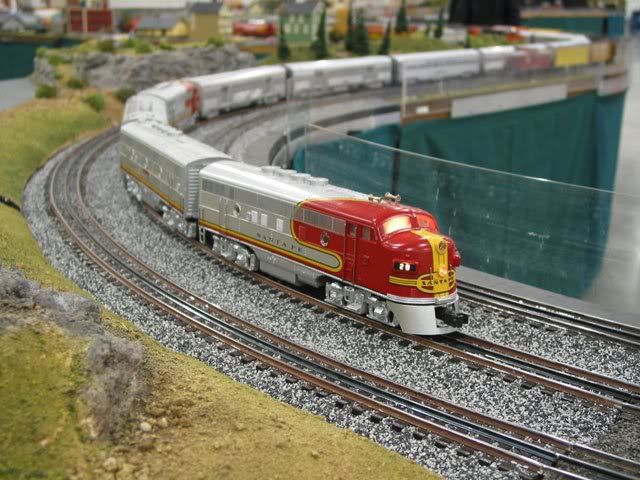
Good morning and welcome to Weekend Photo Fun! I just got back to home from York with in the last 30 minutes. Being that it is a 5 hour drive you may figure out that I missed the Thursday and Ruby Tuesday's event. So I am going to open up this weeks photo fun with some pictures from the National Toy Train Museum I took on Wednesday.


s081

s082

s091

s093

I will add some pictures later this weekend from York-for the first time cameras were allowed in the dealer halls..so there should be some good pictures coming.

Let's see your pictures.

Scott Smith

Attachments

Images (4)
  • s081
  • s082
  • s091
  • s093
Original Post

Replies sorted oldest to newest

My layout is in the Attic. It is split 1/3 - 2/3 between an unfinished storage area and my finished train room.


Several weeks ago, I had a couple of our modular club members over laying track in the unfinished side of the attic. We sort of got ahead of ourselves. Missed several insulating pins, feeds for the block signaling, a couple of power feeds, unpainted Rossbed, and about 40' of straight track laid w/o aid of my 8' aluminum straight edge guide.


Well, 1 1/2 Days later the redux is complete. I took it all apart from the curves-out and got it all put back together. 


PICT5651

PICT5649

PICT5650


How many of you have laid track only to have to pull it up again, just to make it "right" the second time??? Moving forward now. I am within 3 sections of having the track in the finished train room on both sides.


Gilly


On the other hand, the bridges over the stairwell are square, level, and the track is laid and running true. Didn't want to risk testing with one of my N&W cars, so....... Thankfully the track on the bridges runs smooth as glass.


PICT5657

Attachments

Images (4)
  • PICT5651
  • PICT5649
  • PICT5650
  • PICT5657
Last edited by Gilly@N&W

Good work Gilly--congratulations. I found that 1',3',5' straight edges and my 8'-6" saw guide to be essential for straight layout lines and track installation.

My little attic layout's kneewall backdrop height to rafter pitch is only 13''. Yours appears 16-18"+ which accommodates certain of the marketed backdrops scenes. 

I was walking about the Maryville Yard the other day and found Dolf taking a moment to wipe the grime off the lens of his locomotive's headlight before taking B&O T-4 #5654 out on the road.  When it comes to caring for his locomotive, no detail is to small for Dolf!  Hope you have a great weekend!   Bo


B&O T-4 #5654 Preparing to Go Out on the Road 006

Attachments

Images (1)
  • B&O T-4 #5654 Preparing to Go Out on the Road 006
Originally Posted by Dewey Trogdon:

Good work Gilly--congratulations. I found that 1',3',5' straight edges and my 8'-6" saw guide to be essential for straight layout lines and track installation.

My little attic layout's kneewall backdrop height to rafter pitch is only 13''. Yours appears 16-18"+ which accommodates certain of the marketed backdrops scenes. 

Thank you for your kind words.


The knee wall tightens-up in the finished train room. There I have been able to use pre-printed scenes. The unfinished side is going to get several "night vignettes" based upon O.W. Link pictures. You're spot on with the 18" estimate on the unfinished side, good eyes!


I'm excited to get to work on the yard area. I've got several pictures of your yard to use as a guide.... I'll be painting the Rossbed for the switches this afternoon.


Gilly

Post

OGR Publishing, Inc., 1310 Eastside Centre Ct, Suite 6, Mountain Home, AR 72653
800-980-OGRR (6477)
www.ogaugerr.com

×
×
×
×
Link copied to your clipboard.
×
×