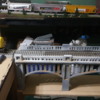
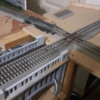
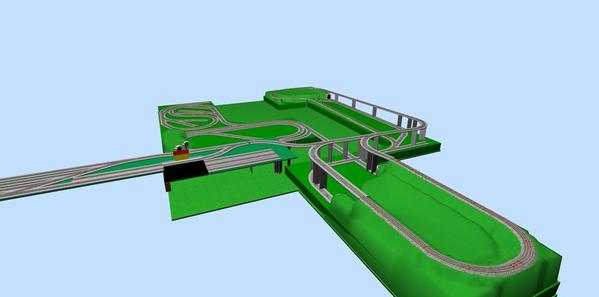
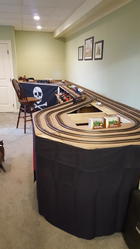
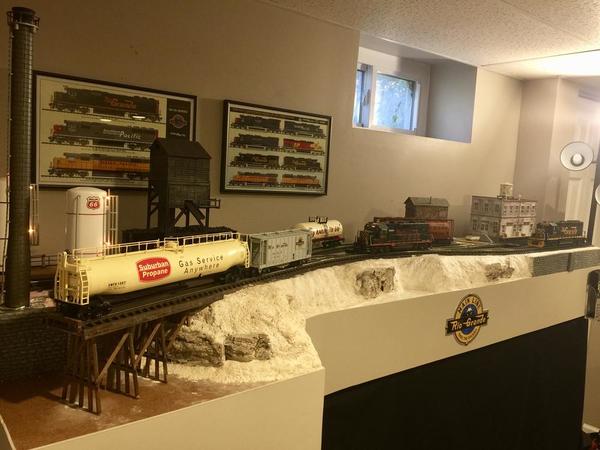
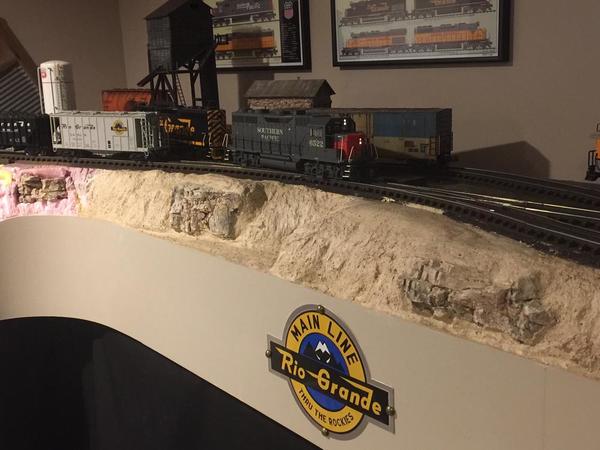
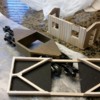
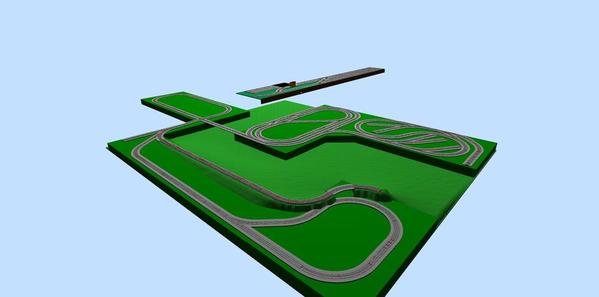
Well another day spent on the layout today all I did was work on getting a tie in between old and new No wiring other than to test the lift out bridge. It worked thank god. drove my challenger across it. Kind cool I must say. need to put in a lot of feeders but so far it's getting there . don't mind the mess the train room is trashed with all the table work getting torn down. everything is a mess but it's getting better.

Found an old whistle shed at Greenberg's Edison NJ show today. Cost $2, cut it down 1/2", made a garage door, painted and weathered in an hour , added scenery. Very pleased with the results. Love to recycle stuff! ( and yes, the garage door is intentionally crooked in the fourth picture, one garage door spring is broke! )
Attachments
Model railroaders of Canfield war vet museum update part 1
https://m.youtube.com/watch?v=PsB--Tblhhk
Model railroaders of Canfield war vet museum update part 2
https://m.youtube.com/watch?v=yDiX2NOowkY
Soldering. Soldering. Soldering.
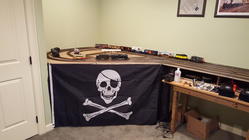
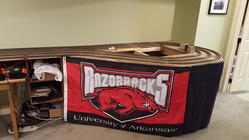
This time next week, I'll be a married man and my home will be full of out of town family and friends for brunch. In anticipation, we quickly got the TalMaggio Acres office layout in a presentable state. The Fiance installed a simple skirt and we hung the flags. Ran some trains, too. My layout post is here:
https://ogrforum.ogaugerr.com/t...-acres-office-layout
Attachments
Been in Florida all week enjoying the weather but having terrible withdrawal pains of no trains to run. But yesterday took a ride to Roundhouse South in Port Orange. Great store. I found a set of telephone poles. Enjoyed watching the layout in the store. Thanks Lionelbill for mentioning it. I said you sent me there. Though I will miss the warmth it will be so good to get back to the cold of Ohio, roll up my sleeves, work on the layouts and above all run some trains......Paul
Still in the process of applying sculpting plaster to the foam scenery bed. Added several rock formations and settling on permanent locations for all the industries. Refinery structures to the left, old coal tower over the run around track, a gearing plant and furniture factory on the right. Also notice far right the holder that was installed on the fascia board that holds my DCS remote. Also installed a "wireless" power strip so I just have to flip a switch to turn out the entire layout. Next steps I will be applying a Benjamin Moore paint, Cocoa Sand and begin the process of putting down scenery detail.
Older version of industry layout below. Notice the pink foam exposed on the left side, didn't hit that section when the photo was snapped.
Attachments
I have the Jolly Roger keeping dust off the shelves.
Though I'm a bit more pie-rat, than pirate, I do like piratey things too..
,....like Captain Crunch.![]()
l like to sing along too. ![]()
But that other flag;.... "Is that a brand of bacon or something?" ![]()
![]()
Congratulations on the upcoming day John ![]()
Attachments
John D. posted:This time next week, I'll be a married man and my home will be full of out of town family and friends for brunch. In anticipation, we quickly got the TalMaggio Acres office layout in a presentable state. The Fiance installed a simple skirt and we hung the flags. Ran some trains, too. My layout post is here:
https://ogrforum.ogaugerr.com/t...-acres-office-layout
Best wishes to you and your bride to be!!!
I finished up my Amtrak passenger cars. They are the Railking ones that came with the RTR set. I painted the interior, then got a flashing LED circuit from Evan Designs (modeltrainsoftware.com). Popped out the plastic "lights" on the end coach, then glued in the LEDs. Pics and sample video below!
Anyone know why they would model a toilet and sinks if you can't see them???
Attachments
John D. posted:This time next week, I'll be a married man and my home will be full of out of town family and friends for brunch.
Mazeltov and sooooooie! ![]()
On the subject of Razorbacks...
Wiring is like sausage and politics. You don't wanna see any of it being made:
Believe it or not, this worked right the first time I tried it! ![]()
Here's the speaker, scrounged from a wrecked walkie-talkie, and with resonator from a bottle of milk of magnesia:
Meanwhile, Shop Supervisors Norma Bates Kitteh and Sylvia Siamese were carefully studying source material for upcoming projects:
Here's the Razorback Traction Co.'s "Big Red", hitting the high iron:
Since Big Red is intended for train shows, public exhibitions et cetera, I placed the reversing toggle switch up top, where the E-unit switch would have been on a postwar Lionel loco:
Final assembly of Big Red will be in the next day or two, when I get in taller insulators for the pantographs.
On Friday, the 2065 Hudson and 2046 tender I mentioned in a previous posting arrived! The Hudson was in good nick, only needing oiling and a little cleaning of the brushes and commutator. The tender, on the other hand, was pretty close to "basket case" status...
I tore down both the relay and whistle and got them running OK, but the trucks were shot. After considering a few different options, I scrounged a set of MPC high-speed trucks off a $5 flat car and outfitted them with pickups:
Here's the underbody wiring . I wired the grounds on the trucks to the whistle mounting studs using solder lugs:
Here's the topside wiring:
And here's the consist on the high iron!
All in all, a productive holiday weekend! ![]()
Mitch
Attachments
John D. posted:This time next week, I'll be a married man and my home will be full of out of town family and friends for brunch. In anticipation, we quickly got the TalMaggio Acres office layout in a presentable state. The Fiance installed a simple skirt and we hung the flags. Ran some trains, too. My layout post is here:
https://ogrforum.ogaugerr.com/t...-acres-office-layout
Congratulations on getting married. You must be a Bucs fan.
Mo985 posted:I finished up my Amtrak passenger cars. They are the Railking ones that came with the RTR set. I painted the interior, then got a flashing LED circuit from Evan Designs (modeltrainsoftware.com). Popped out the plastic "lights" on the end coach, then glued in the LEDs. Pics and sample video below!
Anyone know why they would model a toilet and sinks if you can't see them???
Great looking work there MO, was it hard to do the LED's? I have the same care and like the idea. I have already switched them all to Kadee couplers. I think that could be a good winter project.
mike g. posted:Great looking work there MO, was it hard to do the LED's? I have the same care and like the idea. I have already switched them all to Kadee couplers. I think that could be a good winter project.
Thanks Mike. The LEDs were easy. The most time consuming was painting the interiors.
The plastic end red "lights" pushed out really easy, ordered the 1.8mm on an alternating circuit, specifically requested 2, the circuit comes with 4 normally. A couple of dabs of super glue to hold them. Then I painted the inside portion black to block the light, so it wasn't flashing through the door windows.
I bent the power wires around one of the upper light mounts, so that when you insert the bulb back into the socket, it makes contact for the LEDs.
"Easy Peasy, Lemon Squeezy!"
tested out the lift out bridge did all kinds of little things yesterday getting the area in the alcove setup so I can put a mountain in it. put in about 6 feeders for power I don't want to have any power issues this time. here's a small video.
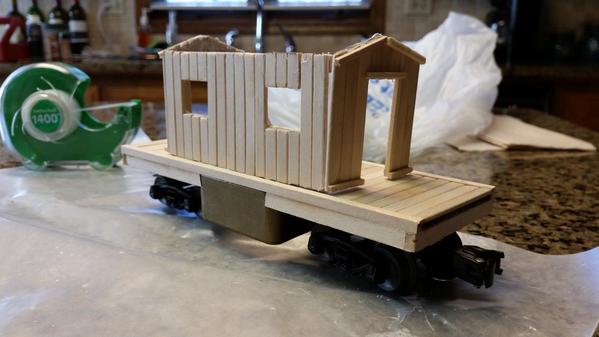
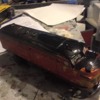
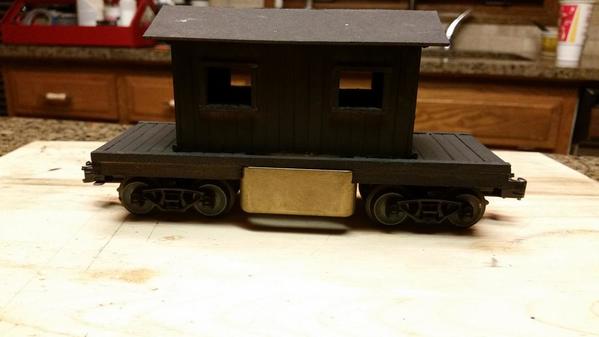
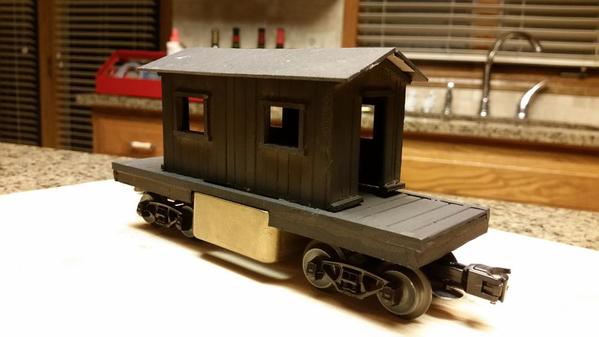
Always toyed with ideas on making a RR car to cam a centerline track cleaner. So I started on this ugly duckling. It sits pretty high so the cabin has to be a little shorter than desired. It's as wide as a 6464 Lionel box car so its wider than my atlas rebuit cars. Nobody's going to notice but me. Also repainted a water tank kind of a depot buff that I have seen referenced as a prr color.
Attachments
"Big Red" now sports taller insulators (actually eBay wooden beads), so now the pans clear the horns...
Mitch
Attachments
Still chipping away! This month I fabricated a cement passenger ramp for the East end terminal of my bump-n-go trolley line. The railing is made from some brass wire I had laying around and the ramp is styrofoam. I have also begun adding grass, trees and other foliage to the layout. This is totally a new experience for me. Pardon the pun, I am totally green at this.
The big highlight of the month was a visit to Elliot Feinberg’s (aka - Big_boy_4005) massive and impressive Twin Cites Central layout. Elliot lives about an hour and a half drive from my home and we arranged a visit to coincide with a train show in the area. Most of the track is installed and active and we got to follow a train as it traveled one of the mainline loops. His layout has close to 3,000 feet of track with about 350 switches. He gets his modeling inspiration and track plan from studying Google Maps of the area. It is an impressive and ambitious project and I look forward to more of his OGR forum posts and future visits as his layout progresses. Thank you Elliot for your hospitality and the inspiration your project provides.
This is a great forum topic and I truly enjoy and get motivated from viewing and reading about everyone’s projects. Thanks for sharing!
Dave
Attachments
In anticipation of the magazine article photos I plan on getting this week, I found every detail part and figure on the layout that had anything close to a glossy finish and blasted it all with some dullcoat.
I have 3 Ives Standard gauge boxcab locos I wanted to run but the Ives cars were on a high shelf. Didn't feel like climbing up to get them so I used twist ties to fasten the Ives and Lionel latch couplers together. Worked good !! I have started using twist ties on the old latch couplers to prevent separations on the high iron. The Ives engines are really great. run as smooth as silk, quiet, very little gear noise and if you cut the power they coast about 4-5 ft. I would like to get an Ives steamer if I can find the right deal.
Thank you Dave. It was my pleasure hosting you and the Jeffs. Why don't you plan on coming up for the Woodbury meet in April. I'll be having the layout open for the local NMRA layout tour.
BTW, your little passenger platform looks great.![]()
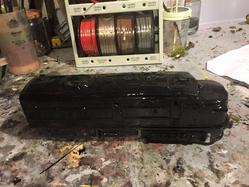
Good heavens! Did someone dunk that poor thing in glossy black paint?
Mitch
just looks like that
Here's an old Max Gray rendition of the iconic PRR K4. It's minimalist decoration screams out a need for super detailing.
After removing the old paint I spent a lot of time filing and buffing. This shows a couple of glaring mistakes....the too tall sand dome and the over wide pilot beam.
I concentrated on the loco front by first bobbing the ears on that pilot beam. New pilot grab irons still need to be added here. The large step plate below the smoke box received a covering of fine brass screen, as will the running boards, to represent a non skid surface like Diamond Plate. Trimmed edges with "L" shaped brass will also continue onto the running boards. As equipped, the outdated divers helmet classification lights just aren't right on a late K4, so off they came. The plan is to make my own replacements and probably will rework their oversized mounting brackets. Brake hoses and some added rivets where needed. Next in line will be adding the piping off the generator plus the associated grab irons near by.
Bruce
brwebster posted:Here's an old Max Gray rendition of the iconic PRR K4. It's minimalist decoration screams out a need for super detailing.
Funny how when people talk about "the good old days" of the hobby, they fail to recall that frankly, they were dealing with crap compared to what we have now...
Plastics and new techniques helped, but Id still take that brass scrapload over 95‰ of todays offerings wide pilot and all. Mmmmm, shiney brass object, gooood!
Lets see, added a plate to cover gears on an A frame hoists trolley, and painted the new plate orange. Gave it all another grime wash (blk paint) and looped a solid silver neck chain into the gears because it was handy.
Repaired burnt wiring on a K line Broadway Limited luggage car, and resoldered truck leads on two more, only to have to replace that wire too.
(if you have these, check your red wires. The wire is rotting inside the insulation. The ends are shiney, but inside is all green rot. Moisture must have been trapped inside at the wire factory) .
I ran the 1061 Santa Express while I moved Yukon Cornelius and the Burl Ives Snowman from Rankin & Bass's Rudolf the Rednose Reindeer off thier shelf and onto the layout. (I wish I had found a Winter Wizard when they made him..."A choo choo?..For me?" lol. [Santa Clause is Commin' to Town]
I also ran the big layout and by literal accident, found out the mods I did to the Rivarossi Casey Jones pilot truck allowed running on 0-31 with the tender just nicking the cab floor cantalever brackets. I just moved it to the 31" to rail cars easier on the 36" Super-O, and bumped the throttle by accident. I then watched & waited for a derailment that never came. By the third loop I knew I was golden and bumped her up a few notches. Another(pilot truck arm is one) Erector set piece was quickly cut for a 3/8 drawbar extension. 3 holes about 1/8" apart, one to screw down to the drawbar, two holes for extension choice. It worked perfect now when hooked in the shorter extension position. Using the long extension hole, I then tried 0-27, and it again succeeded! I will need to fab a new pilot truck arm 1/32 longer as the pliot wheels do scrape the drivers some on 0-27, but it has run for an hour no issues.
If those erector set holes were smaller, or the screw shank bigger, Id be finished on running mods and painting erector set flats. The excess play at those two mismatches is all that is wrong with it. Id drive a larger screw, but the E-set piece isnt very "pretty" and a future repair may need a bigger screw then, since its now just driven into flat plastic, and holds without a support boss. I'll do a better, longer, drawbar in brass too.
Back to Santa who is now warm and running at cannonball speed on a constant 12v dc supply, no throttle. Three diodes later, he is cruising much more merrily.. See? He waved ![]()
Looks Great Scott!
Ran trains, as usual, and finally repaired a latch coupler on my Standard gauge 514R refrigerator car. They are a pain in the sit-upon !!
Did a bit of experimenting with Lionel latch to knuckle coupler adapters. As many generations of Lionel operators before me will attest, they ain't any beauty contest winners, but they work...
Mitch
Attachments
M. Mitchell Marmel posted:
Mitch;
Have you tried taking out a latch and putting in a gi-raff??? If that doesn't work, try a windshield wiper ![]()
![]()

Mitch;Have you tried taking out a latch and putting in a gi-raff??? If that doesn't work, try a windshield wiper
But that's the most IMPORTANT Hungerdunger! ![]()
Mitch
M. Mitchell Marmel posted:Mitch;Have you tried taking out a latch and putting in a gi-raff??? If that doesn't work, try a windshield wiper
But that's the most IMPORTANT Hungerdunger!
Mitch
Wow, Mitch, you only included one quote... three more quotes and you'll have a gallon ![]()
![]()
![]()
Sincerely;
McCormick... semicolon
mike g. posted:Looks Great Scott!
I agree fully. I love the downtown look, Scott.
Apples55 posted:Mitch;
Have you tried taking out a latch and putting in a gi-raff??? If that doesn't work, try a windshield wiper


Presented without further comment:
Mitch


