paul 2 posted:

Well done Jim you beat me. But it looks good.

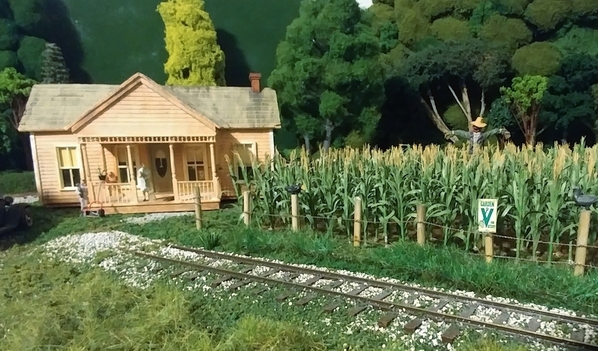
I'll start off with yesterday. When I got home from the train show my package from Angiestrackside flats was on the steps waiting for me. Periodically I check his site to see if he has done any new buildings and I liked the look of this one. Today I got an early start on the shelves. First I had to take all the stuff off of them. The hardest part was finding somewhere to put the cans LOL. But I got the shelf out. The back half will come out at another time. And seeing that I am a union person, it is time for a coffee break LOL. Then I'll go back down to measure and cut wood for the new table. Pics......Paul

DSCN0034DSCN0035DSCN0036

Paul I like that flat!!   Looks very good!   Something I may be looking into myself!   And yes finding somewhere to put stuff is a huge issue for me too!   I just keep moving it from table to table!  I get on a roll sometimes because I only get 1.5 days off a week.   So my train time is very limited! Non union worker here.  LOL   

I can say I am starting to actually see the benefit of moving things.  And wonder why I didn't do it to start with!  I was able to move my mini Eric Seagle bridge toward the door 10 inches.  Wife said no way on cutting the 4 foot section down to 3 feet.  And IF I can put stuff in the back foot of space that doesn't need to be gotten to I will be ok.  I am a STRONG believer in the 3 foot rule!  But the boss said no! : )  


                                                                                                               50872957_2176625919251748_7018668970521657344_n

50998030_2271666139755193_400765107786743808_n51088737_402046340566388_3894734794222731264_n

Mark I measure once.   Cut once.    Cuss.     Measure twice next time lol    Naaa I measure twice and still cut more than once.  Had a good day cutting today!  Didn't screw up any wood or foam!   : ) 

Jim 

Attachments

Images (3)
  • 50872957_2176625919251748_7018668970521657344_n
  • 50998030_2271666139755193_400765107786743808_n
  • 51088737_402046340566388_3894734794222731264_n
Last edited by carsntrains

Bob, The layout design looks great!  When will the negotiations for real estate begin?

Jack, both look impressive!!

Jim, Good job moving things!  

I have been moving things this weekend too.  I have had Christmas buildings stashed under the train table that has the Christmas layout on it for 4 years.  They were hidden behind all the MTH boxes that I thought made for a nice view block.  Though my Premier engine box collection is down to 5 now, since I went on a selling spree to raise money for the Blackwater Canyon Line ROW expenses.  

2018-11-21 17.20.10

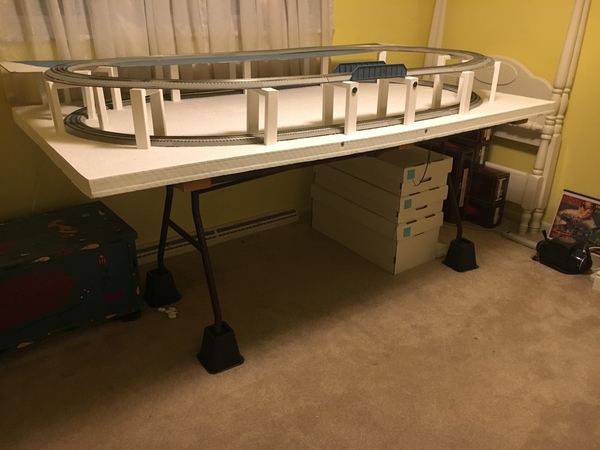
Well here is what it looks like now.  I'm taking the table down so my wife can move a lot of sewing things into this room which will open up space in the family room for my new layout!  Maybe I will do that tomorrow.  Between snow removal and carrying boxes, I'm done for today.

2019-01-27 18.04.23

Attachments

Images (2)
  • 2018-11-21 17.20.10
  • 2019-01-27 18.04.23

Jim. good job on the corner! Looks nice and clean for now! It really is going to make a big difference in your layout!

Jack, Nice BN Bulkhead car! Just got to love those BN/ BNSF cars!

Paul, Nice looking flat, will fit right in on your layout! Good work on the shelf demo! look at all that room you have in there!

Brian, I think you have a train for every topic and then some! Keep the pictures coming as they are great to see!

John, I really love your work! But you think you might want to seek some professional help! LOL

Bob, The expansion plan looks great! You can do it, just build away and later as for forgiveness do to lack of judgment at that time! LOL

Mark, Sounds like you have a full days worked planned for tomorrow! Make sure you take it slow and easy, don't do too much !

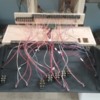
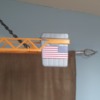
Today I got my control panel finished and the small control panel for the crane finished. I also to time to clean my mess up so tomorrow I will have a nice clean train room to start something new! I might try my hand a making rocks in my new rock molds! Something easy! LOL20190127_14573520190127_14575820190127_145805Oh and added U.S. Flags to my new crane!

Attachments

Images (3)
  • 20190127_145735
  • 20190127_145758
  • 20190127_145805

Between our 5 month old puppy and work driving me slowly insane, I haven't gotten much on the layout done lately.

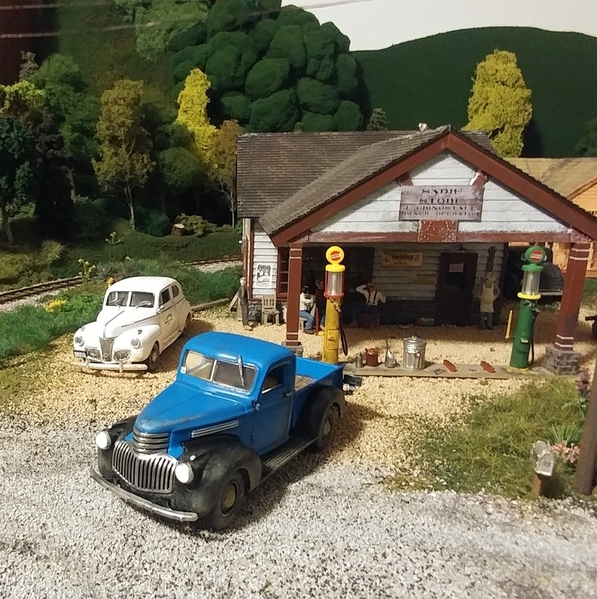
Today, I was taking a pickup truck diecast model and hitting it with some dull coat. In the process, I remembered that I had some correct license plates for the time and place of my layout, already printed. So, I searched for that sheet and found I had also printed out scale versions of several signs. So, I took a World War II era Speed limit sign, and a victory garden sign, and cut them out from the sheet. I also cut out the license plate and a gas ration sticker, which are currently drying with the dullcote on the truck model right now.

I don't really have a place to mount the speed limit sign at this time, so I just placed it up against a pile of lumber at the local Country Store. I often have a highway patrol vehicle sitting right next to the structure, so it looks like maybe the local law enforcement either just removed it, or are waiting for post to mount it somewhere nearby.

0127191601a-01-010127191601-01

Attachments

Images (2)
  • 0127191601a-01-01
  • 0127191601-01
Last edited by p51

The 1941 Chevy truck turned out okay, I think. I just made it dirty, not terribly beaten up like the other vehicles on the layout.
You can tell the difference in these before and after shots.

0127191635-010122192021b-010127191635a-010127191635b-01

I even successfully got a scale gas rationing sticker in the window, something I've never been able to successfully get done on a model before now...

Attachments

Images (4)
  • 0127191635-01
  • 0122192021b-01
  • 0127191635a-01
  • 0127191635b-01
p51 posted:

The 1941 Chevy truck turned out okay, I think. I just made it dirty, not terribly beaten up like the other vehicles on the layout.
You can tell the difference in these before and after shots.

0127191635-010122192021b-010127191635a-010127191635b-01

I even successfully got a scale gas rationing sticker in the window, something I've never been able to successfully get done on a model before now...

Lee

you did a great job weathering that truck just enough and it blends in well with your fantastic  scene 

Last edited by lee drennen

Mike, The wiring looks good as does the flag on the crane!    Thank you!  I am taking it easy.  Actually my bad knee (this is on the other leg from the sciatic problem) has been barking because I have been putting more stress on it.  It is keeping me from doing too much.  There is no need to worry about hurting it worse.  Looks like I will be getting it replaced in a couple years once I'm on Medicare.  

Lee P51, the '42 Plymouth looks great!  Some mud splashed up on the fender!  Looks great! 

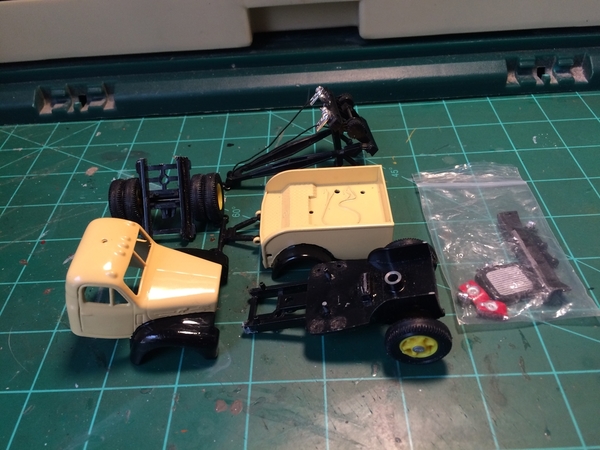
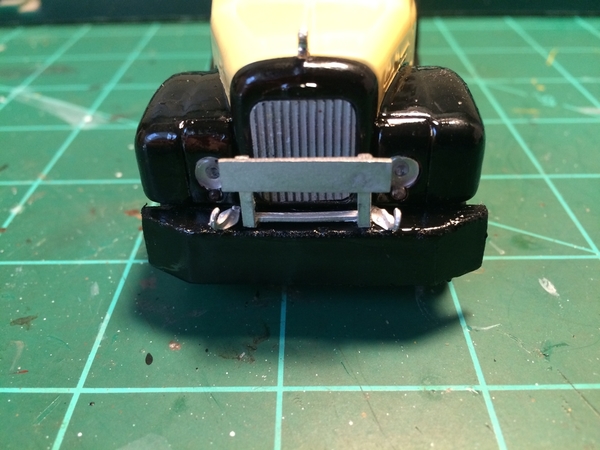
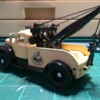
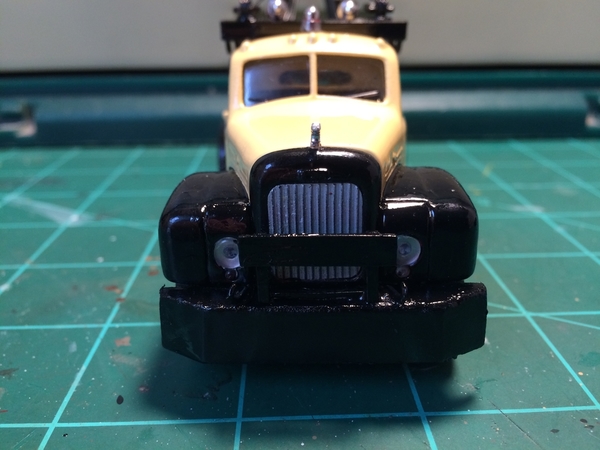
Lee Drennen, The Mack tow truck looks fantastic!  It is quite beefy and even has the bulldog hood ornament and Mack decals!!! 


Carl,  There are twenty-four Preiser 65602 figures, two people are molded together.  That would make 23 poses.  Three figures are 1/48, the other twenty-one are 1/45.

I paint my own figures because I want quality.  I purchased Preiser factory painted figures (professional help), but they cost about $6.00 each figure and $22 to $50 shipping from Germany.  Most dealers only have one or two packages, so shipping makes them v e r y expensive if you can find them.  The Seated Figures from China are lacking facial detail and take two coats of paint.  I use them only when Preiser figures are not available.

When completed, I sort the twenty-four people, plus six more China figures that are discontinued by Preiser.  The thirty seated figures in different clothing colors gives me a wide variety for detailing the 21" passenger cars.  I mix my own colors, giving me more clothing combinations than offered by Preiser factory-painted figures.

I do not let Zombies ride in my passenger cars.  The forward facing, non-interacting people often used by train manufacturers may be cheaper, but they look cheap too.  It makes no sense to buy a $150.00 car and then do a half-way job. I put the equivalent of 20 to 30 people in each car. The Atlas O California Zephyr Dome Cars take a larger number of people for the Dome seating and the main floor.

The final product is a passenger car that has things to see inside the car.  My buildings are detailed in the same way, with interiors and Preiser people and furniture.  They are similar to Woodland Scenic pre-built buildings.  The moving train is only the beginning of the action happening on my train layout.  Look further, see more.

Sincerely, John Rowlen

Attachments

Images (4)
  • DSCN6049
  • DSCN5585
  • DSCN5100
  • DSCN5105

Lee, the truck looks great! I take it you just spray the whole truck and don't mask anything?

Lee D. Thanks for the information on your tow truck! I cant wait to see what you have when your done!

Mark, I am sorry about your knee! Thanks for the nice words about my wiring. I have all the wire for all the switches done, all I have to do now is get 13 more switches LOL!

John, I sure hope when I reach that point on my layout I will have the patience to do such a wonderful job! You sure have set the bar high!

carsntrains posted:

Wow you guys are great on all the detail work!!! I decided to stop working and see what was going on! On my tablet so I can't type much! Figured I'd post a scary picture to show what a big change that removing that bump out made!!!!!FB_IMG_1548636116820IMG_20190127_192921_hdr

Jim
Jim, how come you still have a bump in the lower left corner?

mike g. posted:
carsntrains posted:

Wow you guys are great on all the detail work!!! I decided to stop working and see what was going on! On my tablet so I can't type much! Figured I'd post a scary picture to show what a big change that removing that bump out made!!!!!FB_IMG_1548636116820IMG_20190127_192921_hdr

Jim

Jim, how come you still have a bump in the lower left corner?

That's where the door swings in Mike!! 😁

Jim

carsntrains posted:
mike g. posted:
carsntrains posted:

Wow you guys are great on all the detail work!!! I decided to stop working and see what was going on! On my tablet so I can't type much! Figured I'd post a scary picture to show what a big change that removing that bump out made!!!!!FB_IMG_1548636116820IMG_20190127_192921_hdr

Jim

Jim, how come you still have a bump in the lower left corner?

That's where the door swings in Mike!! 😁

Jim

Jim, can you reverse the door and have it swing out?

I know how you guys feel been fight arthritis all my life but the last couple years have been the worst. I’ve got it in my hips, knees and hands I love to hand paint but if you look close at that tow truck where I hand painted the black it’s a little shaky oh well I’m still having fun thanks guys for all your likes and complements this thread is very up lifting to me and it’s all because of you guys. 

mike g. posted:

Lee, the truck looks great! I take it you just spray the whole truck and don't mask anything?


I masked off all the windows, and lowered the side windows before spraying dull coat all over.

From the before and after shots, you should be able to see the differences.

I painted over the tire sidewalls to remove the white stripes.

I found some acrylic wash weathering paints at a hobby shop in Portland and one was dust color. That's what you see on the lower wheelwells.

I also removed the spare tire from underneath, as nobody would have a spare tire out in the open like that during WW2 when tires were rationed.

p51 posted:
mike g. posted:

Lee, the truck looks great! I take it you just spray the whole truck and don't mask anything?


I masked off all the windows, and lowered the side windows before spraying dull coat all over.

From the before and after shots, you should be able to see the differences.

I painted over the tire sidewalls to remove the white stripes.

I found some acrylic wash weathering paints at a hobby shop in Portland and one was dust color. That's what you see on the lower wheelwells.

I also removed the spare tire from underneath, as nobody would have a spare tire out in the open like that during WW2 when tires were rationed.

Thanks Lee, It sure turned out nice! Wonderful job!

I have been wanting a steam switcher for awhile so I broke down and bought a LionChief 0-4-0 at the Big E Sat.  When I got home (like a little kid) I opened it up got it all set up on the track and started making up trains, Then it occurred to me this is my 4th lionchief engine and I had all these remotes laying on the layout so I thought I could use my 3-d printer to make something, after an hour on the computer drawing something that looked respectable and 2 hours latter I had my first holder, It worked first try so I made 5 more and screwed them to the edge of the layout now they hang there ready for use or just leave them in the holder and run from there.

102_2132102_2133102_2134  

I might make a few more and bolt them around the layout so that I can put them down wherever I might be at the time, they don't take long to make even on a cheap printer.


Attachments

Images (3)
  • 102_2132
  • 102_2133
  • 102_2134
old_toymaker posted:


I might make a few more and bolt them around the layout so that I can put them down wherever I might be at the time, they don't take long to make even on a cheap printer.

That's a handy gizmo!   Would you mind sharing the file?  I don't do Lionchief, myself, but I'm sure others could put that bracket to use!     

Mitch 

Another one of my midnight epiphanies...

Noodling about with the "Little Mitch" project, and fitting an F3 shell to the GG-1 chassis: 

GEDC1525

It occurred to me that the lines simply weren't right, even if it was cut to length.  Then,  I had a Bright Idea: 

GEDC1526

I'm rather surprised nobody had thought of this before!  Or if they have,  I hadn't heard of it... 

'Course,  now I gotta figure out what to do with a couple of Williams F3 shells... 

Mitch 

Attachments

Images (2)
  • GEDC1525
  • GEDC1526

Old Toymaker,  Those remote holders look fantastic!  My only Lionchief engines are the Polar Express, Hallmark Santa Toymaker, and Hogwarts that I have only run on my 4x7 Christmas layout.  Even at that, I know I sit one remote down, then have to glance around to see where I put it.  Putting more holders at key spots around the layout would be great.

Mitch, Little Mitch project in PRR stripes looks great!!!

Neville, the forced perspective worked great in such a small depth too.  I have only done it on the Christmas layout with smaller people and buildings on the hill in the back!

Mike I could but then my mini "Eric Seagle" bridge would be useless.  I'm trying to find a use for my Lionel bridge,  reckon I may just have to buy another... Or do an elevated line..  hmmmmm.  And the door swinging in gives me a good place behind the door to stand trim and stuff (standing behind the door) that nobody can see !

Those remote holders are awesome !! They look factory made!  Reckon they would hold up to a guy that gets his sidearm hung on stuff all the time?? LOL  

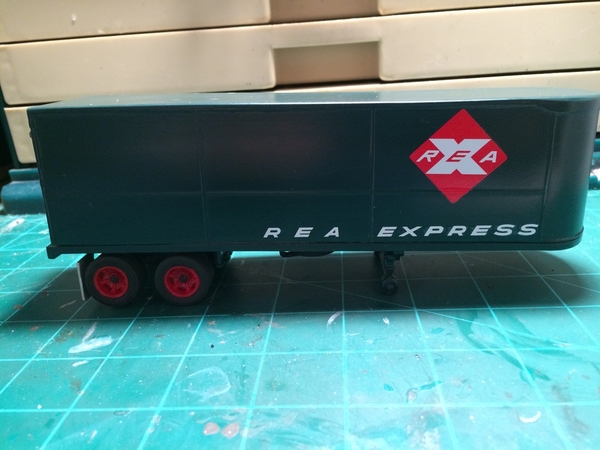
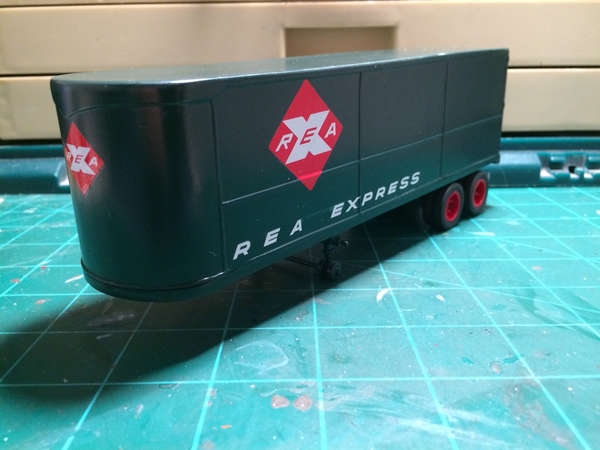
I really like that trailer too!   I'm still wanting to get those TOFC in Southern.  I checked the date on my other PS4 flatcar and is says "built 3-53" on it. 

Guys my dad told me some great things, so did my grandpa.   One of the things Ive learned is getting old aint for sissies!  LOL   Can't wait to get back to the train room.  Just 8 more hours. 


Jim

Last edited by carsntrains
mike g. posted:

Brian, I think you have a train for every topic and then some! Keep the pictures coming as they are great to see!

Today I got my control panel finished and the small control panel for the crane finished. I also to time to clean my mess up so tomorrow I will have a nice clean train room to start something new! I might try my hand a making rocks in my new rock molds! Something easy! LOL20190127_14575820190127_145805Oh and added U.S. Flags to my new crane!

                                       Mike, that crane is pretty cool !!

   " Brian, I think you have a train for every topic and then some! Keep the pictures coming as they are great to see!"

    thanks Mike, but you know, I have to be careful my other job doesn't

find out I'm working for "google advertising"... LOL


Attachments

Images (4)
  • mceclip0
  • mceclip0
  • mceclip0
  • mceclip1
Last edited by briansilvermustang

Add Reply

Post

OGR Publishing, Inc., 1310 Eastside Centre Ct, Suite 6, Mountain Home, AR 72653
800-980-OGRR (6477)
www.ogaugerr.com

×
×
×
×
Link copied to your clipboard.
×
×