
The thread title says it all. Please share your best accomplishment with us. Post photos of it. Feel free to include more than one mod or enhancement if it's difficult to narrow your choice to just one. This is the thread to brag about and show what you've done and motivate us.


Last edited by ogaugeguy
Original Post

Replies sorted oldest to newest

I installed ERR sound commander in the infamous Lionel 18003 Lackawanna Northern.  It has always been an OK engine but the mighty sound of scratch ruined the experience of this beast chugging down the rails.  I am the least tech savvy person you will meet so to have accomplished this and have it work just fine was a very big deal for me.

This one turned out better than I hoped for.  I fixed the pilot, reduced the coupler opening, added a scale coupler, added new brake hose, added full length handrails, opened steps with handrails on front right, moved in the trucks, added truck details (piping, eg. sand pipes), added a beacon light, and weathered it. 

www.toytrainsontracks.com


before:

dd35_before


after:

dd35_afterdd35_after_2dd35_after_3dd35_after_4

Attachments

Images (5)
  • dd35_before
  • dd35_after
  • dd35_after_2
  • dd35_after_3
  • dd35_after_4

I cosmetically bashed a Lionel starter set 0-8-0 into an approximation of a Great Western 2-8-0.   I used RMT Budd car chasses, shortened or lengthened, as platforms for kit built gas electrics, two of them, a La Belle kit for a Rio Grande car, built in their shops with a "kit" powertrain out of Wisconsin, and an Am. Std. Car Co. kit for a Missoui Pacific EMC gas electric.   This in a wasteland in which there are no three rail power or truck components available except what you can cobble up.  Other similar kitbashes, for steam, and rail car, are in my head.

Built a Santa Fe Gp7u and slug from Lionel, ERR, Atlas and K-Line parts.  The two powered trucks have the "in the truck"CIMG2311 can motors and are the two center trucks on the Geep/slug set. The GP7u will run by it's self, but the slug needs power from the GP7u to run.   The GP7u/Slug set has 3 sets for center rail power pickups so it will go over any type of switch at any speed with no problems.  The cables between the GP7u and the slug are from model airplane control cables.  These cables are for the slug's motor, front coupler, lights and center rail power to the GP7u.

CIMG2311100_1652

Attachments

Images (2)
  • CIMG2311
  • 100_1652
Videos (1)
CIMG2653

Correcting the K-line MP 15 to Conrail MP 15's

K-Line_MP15aK-Line_MP15b

added OMI short brass fuel tanks

K-Line_MP15i

Even a full cab interior!

N5 & N5c

The car works N5 cabin car with lighted marker lights via reed switch!

PRR_F7a1

Williams F7 a-b-a with LEd marker lights front and rear! PSC Fuel tank too!

PRR_F7a2PRR_F7a3

and a P& D Hobby cab interior!

K-line_f40_lite2

Corrected lighting on my K-line F 40's This shot shows all lights when in neutral but lights are directional!

K-line_f40_lite3K-line_f40_lite6

In  reverse!

Attachments

Images (10)
  • K-Line_MP15a
  • K-Line_MP15b
  • K-Line_MP15i
  • N5 & N5c
  • PRR_F7a1
  • PRR_F7a2
  • PRR_F7a3
  • K-line_f40_lite2
  • K-line_f40_lite3
  • K-line_f40_lite6


I updated an old Atlas Strasburg RR Bobber Caboose.  Here is the result:

image

Here is how it looked before (borrowed picture from the web):

Body shell before:

image

Repainted roof and frame black.  Painted grabs yellow.  Added window glass and Kadees:

image

Shaved off molded on roof grabs and made wire grabs, painted end rails and roof grabs yellow, added marker lamps:

image


Bob

Attachments

Images (4)
  • image
  • image
  • image
  • image
Last edited by RRDOC

I highly modified a Lionel N5b.   Before:

2782

After:

2965

I stripped this to a bare shell and cut off all the cast in details. I added over 140 brass pieces (the handrails alone are made from four separate pieces),  changed to wood roof walks and end platforms, added Prototcraft couplers with operating cut levers, inserted glass windows and moved the marker lights outward.  I stripped, repainted, relettered and weathered it.  I added brass trucks, lowered with new bolsters, and added new airlines


Attachments

Images (2)
  • 2782
  • 2965
John Sethian posted:

I highly modified a Lionel N5b.   Before:


After:

2965

I stripped this to a bare shell and cut off all the cast in details. I added over 140 brass pieces (the handrails alone are made from four separate pieces),  changed to wood roof walks and end platforms, added Prototcraft couplers with operating cut levers, inserted glass windows and moved the marker lights outward.  I stripped, repainted, relettered and weathered it.  I added brass trucks, lowered with new bolsters, and added new airlines

Now THAT is nice!!!!!   You are aware that those "special" Cabin Cars had steam heat conduits for use on express trains.

Hot Water posted:

Now THAT is nice!!!!!   You are aware that those "special" Cabin Cars had steam heat conduits for use on express trains.

Of  course.  That's why, if you look  closely, you will see I built in two hoses hanging out the back:  One is the standard brake air line, and the larger diameter steam line.

What I modeled is prototypical for my era, where the cabin heat was provided by a stove, and the steam lines were just through connections. Later (> 1956) modifications added radiators, dispensed with the stove (and smokestack) and had the standard Pullman designed steam connections that look like an "L"

John Sethian posted:
Hot Water posted:

Now THAT is nice!!!!!   You are aware that those "special" Cabin Cars had steam heat conduits for use on express trains.

Of  course.  That's why, if you look  closely, you will see I built in two hoses hanging out the back:  One is the standard brake air line, and the larger diameter steam line.

What I modeled is prototypical for my era, where the cabin heat was provided by a stove, and the steam lines were just through connections. Later (> 1956) modifications added radiators, dispensed with the stove (and smokestack) and had the standard Pullman designed steam connections that look like an "L"

Well OK, you are more of an expert on that PRR time frame/era, than I am. However, the photographs I've seen of that Cabin Ca,r had the standard passenger car Barco Steam Conduits, and not a "large diameter hose". I believe if you checkout the PSC brass steam conduits, as used on the rear of tenders and all passenger cars equipped with steam lines, you see what I mean.

I took this K-Line S-2 in Sp Black Widow paints-l1600-1s-l1600

And made it into this USAF switchercamera download 051416 004

icamera download 051416 005camera download 051416 001camera download 051416 002camera download 051416 003

I shaved off all the molded in grab irons and replaced with add-ons made from mini staples, removed the battery box and replaced with a fuel tank on one side and air tanks on the other.  I cut off the stairs that are part of the frame and added Atlas-O GP-9 pilots to the K-Line trucks, with air hoses and home-made uncoupling levers.  Also added a crew and winterization hatch.

Attachments

Images (7)
  • s-l1600-1
  • s-l1600
  • camera download 051416 004
  • camera download 051416 005
  • camera download 051416 001
  • camera download 051416 002
  • camera download 051416 003

On30platform   
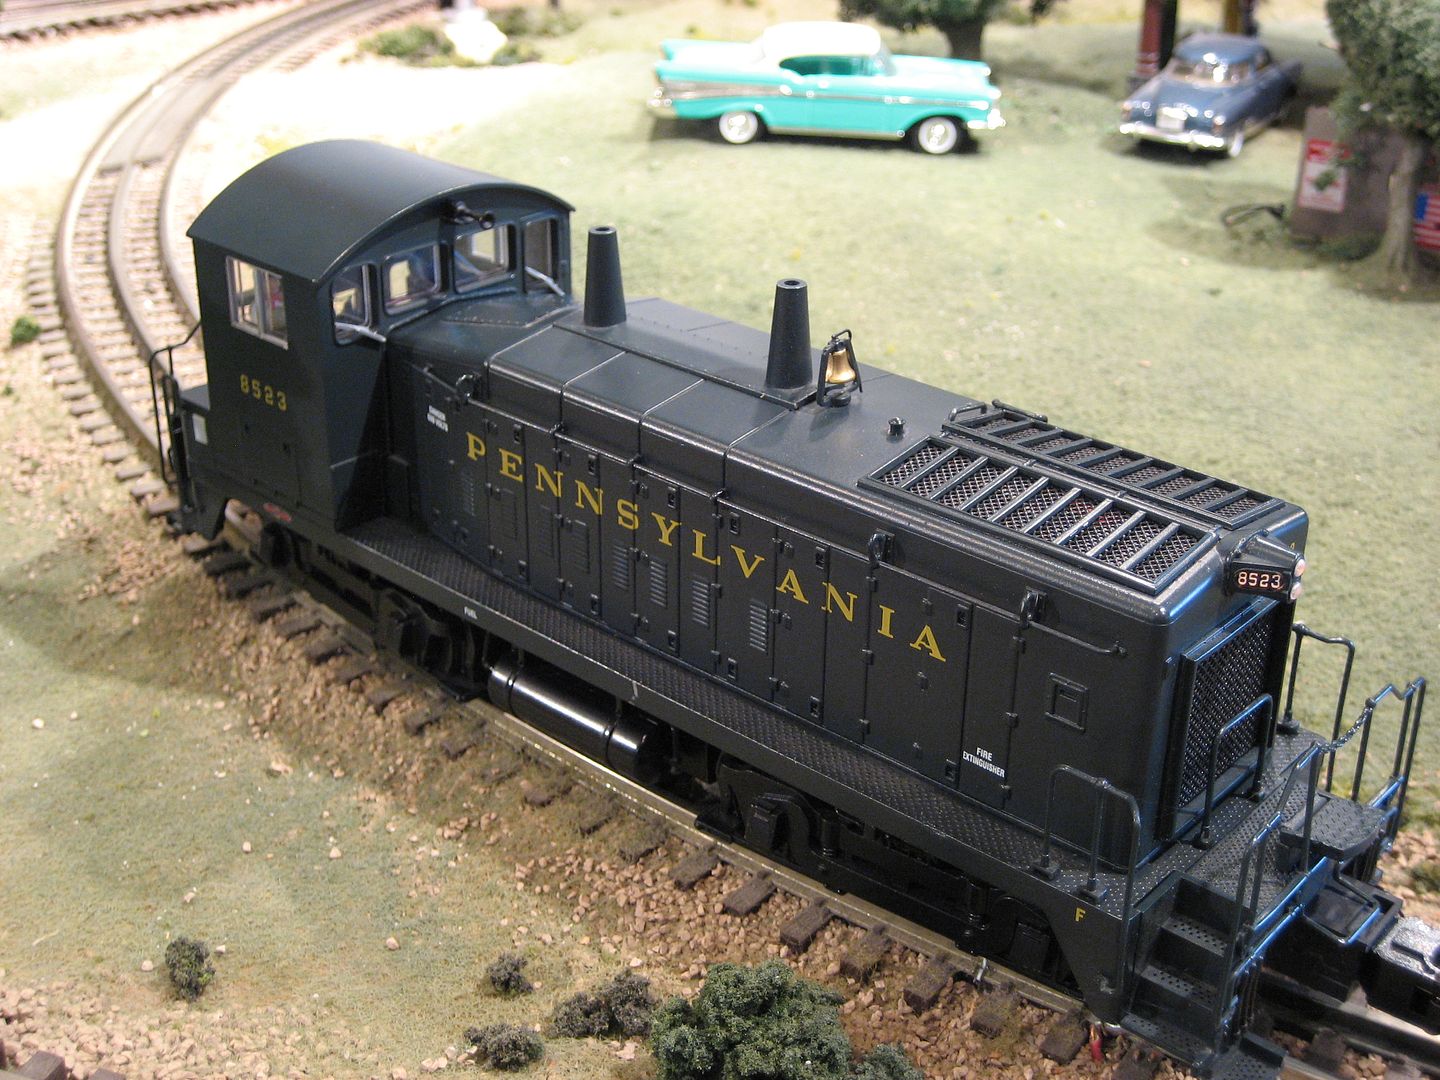
The mech that locks platform of the On30 pusher-tender motor, is the old F-7 motors field magnets, pulling steel within the black tank tank down and forward, into the frames 2 nail-head's slots. Strong enough to lift and shake, but pulls off with your fingers. Still not done, or proto, but runs nice.(next to ho Clinton Dewitt)

This was easy, I'm just very happy I did it.


mth12

This looks easy but was very hard as bending stainless without a brake isn't easy. The thick stainless roof was "stupid hard" for a simple curve with end flair. And cutting and "unwrapping" a can and cutting it, while still keeping it flat and straight, was no joke. Glue was epoxy and JB with shallow dovetail slots on the stainless's glued areas. My 1st CV got a Rustolium paint job cured in a freezer to haze the gloss

P1010003


Attachments

Images (3)
  • On30platform
  • mth12
  • P1010003
Last edited by Adriatic

101_0799101_0800

I've done some cosmetic upgrades to all of my locos. All but two are Williams locos and they have lots of room for improvement in the looks department. My favorites are my U33C's. I added diamond plate to the frame walkways, firecracker antennas, end railing chains and drop steps, modified the pilots and added hoses to them, painted the cab side windows, scratchbuilt new fuel/air tank assemblies, added mu receptacles to the frame ends, painted the exhaust stacks, installed windshield wipers, painted and weathered the trucks, decaled the top of the noses and I replaced the factory brake wheels with brass parts and painted them to match.

Attachments

Images (2)
  • 101_0799
  • 101_0800
Hot Water posted:
Adriatic posted:
Hot Water posted:

ADRAITIC,

No images!

Must have been too soon after the post, I see them. Thank you.

Nope. Still not there.

Ok, they show for me, but I now see the attachments aren't listed at the bottom?

I reloaded the photo's.  If they don't show again, please let me know, as I can see them fine, but can't tell if you can too.

(thanks again HW)

Wow, such amazing efforts put forth by so many members of this forum. Great work by some very talented and skilled craftsmen and modelers. Truly impressive and awe inspiring efforts setting the bar high to perfection. Imho, the fantastic and superlative results achieved by many of the posters challenge, and for some, surpass what was previously done by the original designers and engineers of the some items.

Last edited by ogaugeguy

Well Gentlemen, I am pleased to announce that I have successfully brought another 2034 back from the junk pile. After a new E-Unit, cross heads, and bending the pilot to clear the front wheels, it is running like new. Cosmetically she still looks a little weather worried, but in time that will be corrected. In my experience it seems that the 2026 and the 2034 are the most common locomotives in need of repair.

On this MTH BN GP30 I painted the step rails white, added red paint to the fuel filler areas, painted the lower body frame area near the fuel filler cap a flat black and moved the horn (and painted it) to the left top of the body between the front  and middle radiator fans to make it look more like the prototype.  I also replaced the incandescent headlamps and amber flashing light on the cab with LEDs and had GGG up grade it PS2.  In the future I plan to add the conspicuity tape striping to the lower sides. 


Larry


IMG_0004[1)IMG_0005

Attachments

Images (2)
  • IMG_0004(1)
  • IMG_0005
Last edited by PSAP2010

Great idea for a thread, OGAUGEGUY!  I'm a little late to the party, and have a few "favorites", but I'll start with my very first diesel detailing project.   MTH RailKing Jersey Central ALCo RSD4 #1601 completed in May of 2014...

Started with this...

DSC_0029DSC_0016DSC_0018

Then made the following modifications/additions...

  • replaced molded-in (non-see-though) cooling fan/grille with metal fan and brass grille
  • added corner marker lamps and custom-built brackets
  • removed cast-in coupler cut levers and brake hoses from die-cast pilots and replaced with separately-applied versions
  • removed all molded-in body grab irons and replaced with separately-applied metal grabs
  • added pilot grab irons
  • added roof-top grab irons
  • added drop steps and safety chains to front and rear pilots
  • painted details such as step ends, pilot foot board ends, grab irons, handrails, cut levers, etc.

Then weathered it (of course!)...

...and ended up with this...

DSC_0010DSC_0004DSC_0006DSC_0013DSC_0015

I had so much fun the first time I decided to do it all over again to #1604!!

DSC_0003

DSC_02

Attachments

Images (10)
  • DSC_0029
  • DSC_0016
  • DSC_0018
  • DSC_0010
  • DSC_0004
  • DSC_0006
  • DSC_0013
  • DSC_0015
  • DSC_0003
  • DSC_02

08-Artic Diner Kitchen

1st Pic is a three car SP articulated diner set I kit bashed about twelve years ago for a sixteen car quasi authentic Coast Daylight consist  typical for 1941. The 2nd  Pic shows one of four sets of two car articulated coach’s for the same consist.  This was done several years before 3rd Rail (Golden Gate?) offered their superior versions.

3rd & 4th pics show the car vestibules made from c. 1/8” thick wood bulkheads covered with painted thin Sheepskin leather acquired from a former pipe organ technician. The white foam block inside provides just the right spring action.  


07-Artic Chair Vestibules09-Vestibule10-Vestibule bottom

Attachments

Images (4)
  • 08-Artic Diner Kitchen
  • 07-Artic Chair Vestibules
  • 09-Vestibule
  • 10-Vestibule bottom
Last edited by OddIsHeRU

This is my first post on this forum.  Thanks to all who have provided very helpful information on many topics, which I have read during recent weeks.

I have had the train consist in the video since around 1952-3.  It is the consist part of Lionel set 1477S (as detailed in Greenberg's Guide to Lionel Trains Vol II), which was given to me by my grandparents.  Since that time, I have wanted to somehow add a whistle to the tender.

The set was stored away for 30 years until recently.  I decided to try to add a whistle to the tender, and discovered that using a Williams by Bachmann True Blast II (R) Steam sound board would be a good way to add whistle and bell sounds.

In addition to the True Blast II, I needed a way to activate it, and a way to connect to the middle rail.  My only transformer was the 1034, so I decided to purchase a CW-80, after reading many comments about it on line.  A 581-10 roller pickup was added to the forward truck to connect to the center rail.  That installs easily.  AWG 24 high flexibility stranded wire was used to connect to the 581-10.  Fine sandpaper was used to optimize electrical conduction from wheels to the tender frame; truck top surfaces and frame bottom just above each truck's top surfaces were cleaned to bare metal.  A round head machine screw, star-lug, and nut were installed in an existing hole in the frame to electrically connect to the frame, after scraping away the paint immediately around the hole top-side.

I had intended to add center rail pickups to both trucks, but the True Blast II has worked well using only one pickup.

OddIsHeRU posted:

08-Artic Diner Kitchen

1st Pic is a three car SP articulated diner set I kit bashed about twelve years ago for a sixteen car quasi authentic Coast Daylight consist  typical for 1941. The 2nd  Pic shows one of four sets of two car articulated coach’s for the same consist.  This was done several years before 3rd Rail (Golden Gate?) offered their superior versions.

3rd & 4th pics show the car vestibules made from c. 1/8” thick wood bulkheads covered with painted thin Sheepskin leather acquired from a former pipe organ technician. The white foam block inside provides just the right spring action.  


07-Artic Chair Vestibules09-Vestibule10-Vestibule bottom

This is great! I started acquiring parts to build a Union Pacific 4800 series articulated diner several years ago. I have thought about how to make the jointed section, but haven't come up with anything workable. I think I will study yours and see if I can build upon what you have done for mine. Thanks for posting.

Michigan & Ohio Valley Lines posted:

My Polar Express Heavyweight observation car lighting and custom built rear...

That truly ia a wonderful, amazing looking mod, Keith. While I might be wrong, I seem to recollect that you'd done a pictorial thread showing step by step exactly how you did it but a forum search has been unable to locate any such post. If there was such a post, Keith, could you please post a link to that thread? Thanks.

Well  at least two things I have done with great success.  I have a S gauge 293 that is a A-one smoker.  I was successful in installing a on- off switch on the rear jack panel. That has worked very well for people that don't care for all the smoke.

The second item was a major uprade of my post war Jersey Central TM.  It didn't have any of the sound parts in it. So lots of room for improvements.  Installed a fuel tank with a speaker,  a ERR DC Commander,  an Alco sound set and converted all the lighting to LED's.  Pics below:DSC01569DSC01570DSC01571DSC01572DSC01574DSC01575

The last two shots are of my Williams scale GG1 with new lighting..

Marty

Attachments

Images (6)
  • DSC01569
  • DSC01570
  • DSC01571
  • DSC01572
  • DSC01574
  • DSC01575

I don't usually post in threads like this but this one got my attention...

Nice hefty list of what I did on these old Weaver U25Bs. Took me at least two months to get all this done.

Some work in progress shots...
U25B detail 1IMG_9868IMG_9903IMG_9889IMG_9953U25B detail 2

And after completion...

IMG_0064Good U25B 1U25B detail 4

I'll have to grab some higher resolution photos of the finished products when I get a chance.

And just for kicks, here's what they looked like out of box, except for the coupler and pilot.

Original U25Bs

Hope everyone enjoys. These guys haven't left the layout since the overhaul, after sitting on the shelf for a good 10 years or more beforehand.

Attachments

Images (11)
  • U25B detail 4
  • U25B detail 2
  • U25B detail 1: Note I re-re-decaled the number boards after this was taken with a more accurate font.
  • IMG_9868
  • IMG_9903
  • U25B detail 3
  • IMG_9889
  • IMG_9953
  • Original U25Bs
  • Good U25B 1
  • IMG_0064
Last edited by Steven Michael
Steven Michael posted:

I don't usually post in threads like this but this one got my attention...

Nice hefty list of what I did on these old Weaver U25Bs. Took me at least two months to get all this done.

Some work in progress shots...
U25B detail 1IMG_9868IMG_9903IMG_9889IMG_9953U25B detail 2

And after completion...

U25B detail 3U25B detail 4

I'll have to grab some higher resolution photos of the finished products when I get a chance.

And just for kicks, here's what they looked like out of box, except for the coupler and pilot.

Original U25Bs

Hope everyone enjoys. These guys haven't left the layout since the overhaul, after sitting on the shelf for a good 10 years or more beforehand.

What did you do for the marker lamps? Also any interior upgrades? Any Electrical Upgrades?

Mark, the marker lamps are painted on. I used a dark red to represent the lens itself (looking back this should have been a tan color to represent a clear lens), surrounded by a ring of silver. Takes a fine brush and a lot of patience. As for everything inside, all I did was reseat the bulb for the rear headlight which had fallen out of place. I didn't touch the electronics, they have stock EOB which is perfectly fine by me, it's reliable and it gets the job done.

These are all G scale (1/32) and I am glad I built them (or just modified the F40PH) . I'll be proud if I ever finish them. There's always so much to do to keep things running that I don't have the time to do what they deserve to get them correctly finished.

DSC_0591DSC_0592DSC_0593

The main reason I left G scale as my main focus, was all the equipment that was readily available in O scale. Most releases in G scale were in the older eras. I still also watch HO scale to see the amazing quantity of modern stuff that comes out. 

Attachments

Images (3)
  • DSC_0591
  • DSC_0592
  • DSC_0593

This is a Lionel Alaska RR GP7 from a set break up.  It was originally all blue with a black chassis.  I add all the yellow paint on the shell, a winterization hatch on a roof fan and swapped the chassis from a Maritime Exploration GP7 so now the chassis is yellow and it has rudimentary rail sounds.IMG_1900IMG_1901IMG_1902

Attachments

Images (3)
  • IMG_1900
  • IMG_1901
  • IMG_1902

I was bored and had a few spare K-line trucks, lego parts, and a Transformers figure who turns into a construction crane through "parts forming" (basically just take the guy apart and put him together in another form)

After some creative restructuring I found a way to put two 5mm ports commonly used for adding weapons and armor for Transformers figures on the bottom, attached two Lego technic pins to the ports, and then attached the K-line trucks to the ports. Now the Autobot "Ironworks" has gone from being an immobile crane to a slightly more mobile railroad crane.

Screenshot 2023-02-26 185057

Attachments

Images (1)
  • Screenshot 2023-02-26 185057

Whenever one of these threads turns up, I like to show off these MPC Delaware & Hudson Alcos that I "completed" the paint scheme on. The basics of the scheme was there, but just like their MPC Santa Fe counterparts, the nose color continued onto the pilot while the trucks and frames were left black. And of course, no headlight grille details and a single freight horn instead of a passenger-style chime horn. They came out rather nice with a bit of careful paintwork, including the PA-style "eyebrow" chrome strip.
P1030024

Attachments

Images (1)
  • P1030024

Add Reply

Post

OGR Publishing, Inc., 1310 Eastside Centre Ct, Suite 6, Mountain Home, AR 72653
800-980-OGRR (6477)
www.ogaugerr.com

×
×
×
×
Link copied to your clipboard.
×
×