
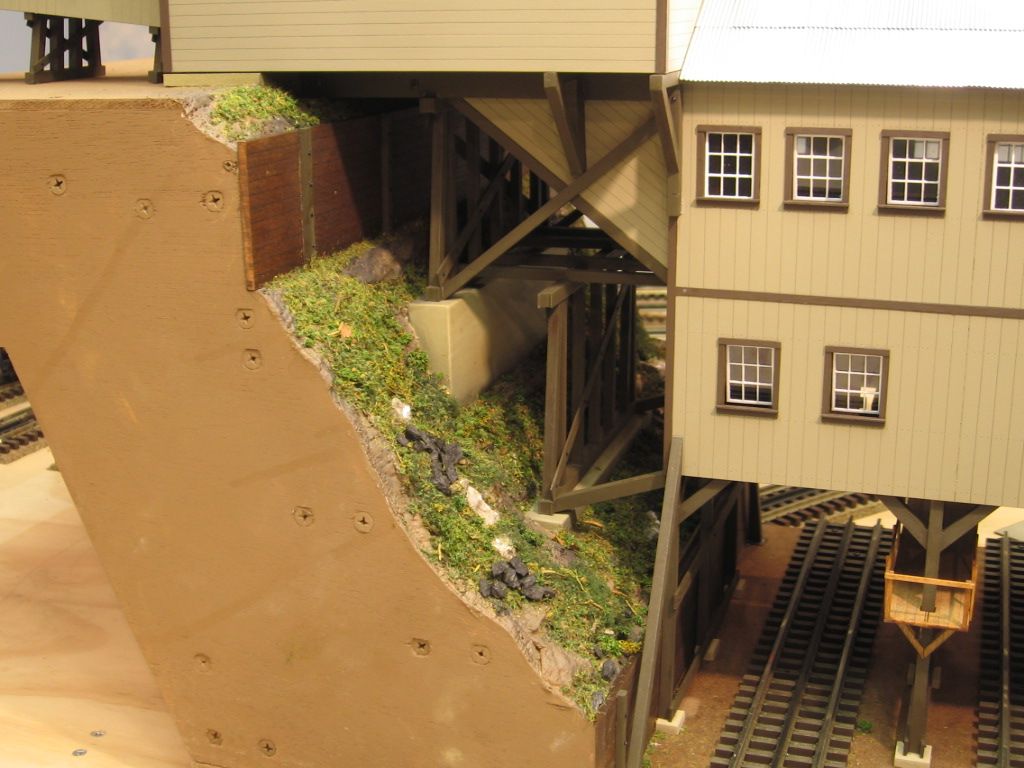
To give some background, my current layout is a floor layout that I have upgraded to include 072 curves for my larger steamers. With some large, scale locomotives joining the roster, my smaller traditional O trains (eg, LC+2.0 Berkshire) look a little out of place. So I'd like to start a second, very small tabletop layout for my smaller trains to call home. This layout will be something to the tune of 4x6 with an option to upgrade to 4x8. As it is such a small space and will be on top of a table, I think this is a good opportunity for me to cut my teeth on creating natural scenery, something I have been interested in trying but having a large-ish floor layout in a small living space doesn't afford me to do. I'd like to do a small scene that is heavy on forestry with a small cliff/rock face going down into a stream.

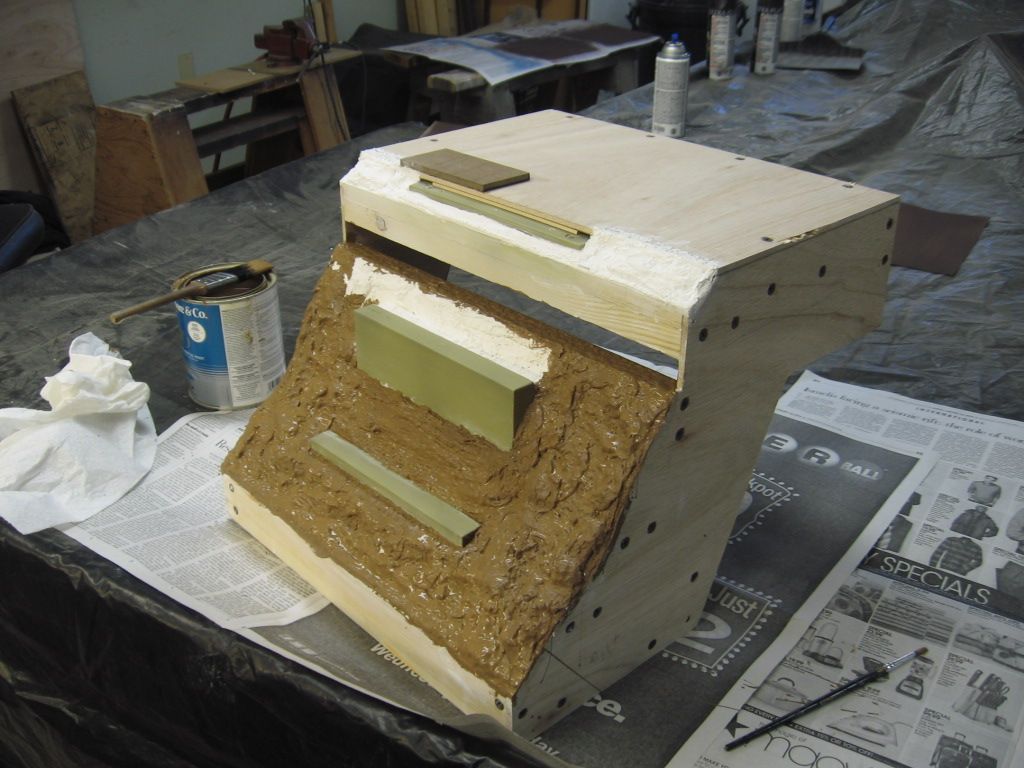
My question is what do I use as the foundation or base for the scenery. I've heard quite a bit about using and sculpting foam, but I don't know what kind or where to get it. I went to an arts and crafts store awhile ago and the only foam they had that I could find was white foam board, didn't look ideal for carving and sanding into a landscape.

That being said, I do not have my heart set on using foam. Foam is just what I am most aware of. I have also heard of people using plaster but for various reasons that is probably not a good choice for me right now. What do you use?

I've attached some photos to give an idea of what I want to do. Note that these pictures are for the 4x8. For the 4x6 portion, I will be clipping off 2 feet from the right of the layout. The right portion of the 4x6 loop will turn into a passing siding when I add the 2-foot section to turn the layout into a 4x8. Structures in the render are a water tower, a small dilapidated freight station, and Menard's Criple Creek Lumber Yard. Track plan is subject to change, but I think this is pretty close to what I want. Some switching complexity and the ability to run two to three engines - two small trains (top and bottom loops) and a yard switcher.

4x8 Design - OGCJ4x8 Render - OGCJ

Thanks for your help!

Attachments

Images (2)
  • 4x8 Design - OGCJ: Track layout of the 4x6 to 4x8 layout I am planning.
  • 4x8 Render - OGCJ: The render of the planned 4x6 to 4x8 layout.
Original Post

Replies sorted oldest to newest

My scenery foundation was simplistic, and did not involve foam, except in a couple of places. It consisted of 4 by 8 foot plywood boards, the top of which was painted with light brown latex paint, Woodlands Scenics Blended Turf, Fine Green Turf, and Turf the color of dirt (I forget the name) applied to the plywood boards with spray glue, and a mountain made of cardboard strips taped or glued together and covered with plaster cloth.

Here are some photos of the finished product. Here is a farm scene:

20200829_085314

Here are some scenes of My Little Town including the mountain.  Notice I only used a small piece of foam in the foreground painted with light brown latex paint, sprinkled with Woodland Scenics Turf and with trees and lichen added:

20200829_085205

20200829_085133

You may find that making scenery is one of your favorite model railroad activities. It can be a way for you to be very creative and enables you to put on your layout what you love. One of the things I love is baseball. The foundation for my ball parks was the painted plywood board, Woodlands Scenics Turf, spray glue and Popsicle Sticks for the bleachers:

20210101_224915

20200331_133145

Arnold

Attachments

Images (5)
  • 20200829_085314
  • 20200829_085205
  • 20200829_085133
  • 20210101_224915
  • 20200331_133145
Last edited by Arnold D. Cribari

Scrap pieces of styrofoam scavenged from dumpsters at home construction sites near our home.    Finished with Plaster cloth (where needed), carved styrofoam, plaster molded rocks (some natural), a lot of Sculptamold modeling compound and some sheetrock taping compound.   Several applications of various colored latex paints follow by the traditional scenic products for vegetation and color.  

Cheers, Dave

DSC03201DSC03602DSC03605DSC03663IMG_2882

Attachments

Images (5)
  • DSC03602
  • DSC03605
  • DSC03663
  • DSC03201
  • IMG_2882
Last edited by darlander
@Cogen1981 posted:

The layers of meterial are in the following order: bench work > pink insulation foam (Home Depot) > cardboard strips weaved together > woodland scenic plaster cloth > sculptamold

I highly recommend Dave Frary “How to build model railroad scenery” 3rd edition

this is the Bible of model railroad scenery

I will pick up a copy, thank you for pointing that book out!

My scenery foundation was simplistic, and did not involve foam, except in a couple of places. It consisted of 4 by 8 foot plywood boards, the top of which was painted with light brown latex paint, Woodlands Scenics Blended Turf, Fine Green Turf, and Turf the color of dirt (I forget the name) applied to the plywood boards with spray glue, and a mountain made of cardboard strips taped or glued together and covered with plaster cloth.

Arnold, I have seen videos and pictures of your layout across various threads and I really enjoy the detail you put into them. If I may ask, what is the mountain in the second picture made of?

You may find that making scenery is one of your favorite model railroad activities.

It is something I've been looking forward to trying! I like designing layouts about as much as I love running my trains, and I think creating the scene for the layout will be very satisfying.

Dave, you have a lot of great landscaping there. The carved pink foam was roughly what I was thinking of doing on my layout.

Sheet foam isn't perfect--but it's close. For flat or low areas, I don't understand why anyone would use anything else--maybe lots of time and money to waste?

But for mountains, it would cost too much to just stack sheets one on top of another until the desired height is reached. Instead, in mountains 2 feet tall or so, it has been better for me to use the sheet foam on edge, cut to the desired mountain contour topped by the good old cardboard lattice to support the ancient broken-arm plaster castwork surface.

I don't use wood for much of anything.  I have yet to see a single situation where 2 inch foam cannot replace 3/4 inch plywood with huge savings in time and expense--unless you need to crawl onto the layout. In that case, go with the wood! A legitimate use of wood might be as a base for the turntable or a LARGE structure like a roundhouse....and of course, as a framework to support your foam. But using wood instead of foam is just denying the last 30 years of progress--and a virtual guarantee that what should take a few minutes could instead take hours!

IMHO....YMMV.

Don Merz

Sheet foam isn't perfect--but it's close. For flat or low areas, I don't understand why anyone would use anything else--maybe lots of time and money to waste?

But for mountains, it would cost too much to just stack sheets one on top of another until the desired height is reached. Instead, in mountains 2 feet tall or so, it has been better for me to use the sheet foam on edge, cut to the desired mountain contour topped by the good old cardboard lattice to support the ancient broken-arm plaster castwork surface.

Don Merz

The mountain on my layout rises about 3 feet.   Much of it is hollow because I stacked up narrow strips of styrofoam to gain elevation.   I found it easier to carve rock formations using the random contours you can produce by stacking strips.   Most of the pieces I salvage from the dumpsters were scraps and partial sheets to begin with.   Dumpster diving is a very cheep way to fund your landscaping foundation!   I used LOCTITE PL 200 construction adhesive to glue them together.  

Cheers, Dave

DSC05094DSC05097DSC05096DSC05101DSC02832IMG_2885IMG_2883

Attachments

Images (7)
  • DSC05094
  • DSC05097
  • DSC05096
  • DSC05101
  • DSC02832
  • IMG_2885
  • IMG_2883

Buy a 4' x 8' sheet of blue/green or pink foam at your local big box store - either 3/4" or 1" thick. This will be the scenery foundation for your entire layout. Cut it to the size of your tabletop with a utility knife or just a plain carving knife from your kitchen and glue it down to the plywood with some construction adhesive. Put some books or other heavy weight on it and let it sit overnight.

Paint it in sections with a latex earth brown color and sprinkle Woodland Scenics fine turf - green and yellow over the paint while still wet so the turf sticks to the paint. That is your base. The foam works better than just plywood because you can stick trees, lights, telephone poles, etc. into it very easily. Now you can add your hills, mountains, tunnels, etc, using the same kind of foam cut into pieces and covered with some plaster sheets to mold whatever you want to make.

You can also add edging around the perimeter for a more finished look.

Foam 2ROAD 2YARD 9

Attachments

Images (3)
  • Foam 2
  • ROAD 2
  • YARD 9

Add Reply

Post

OGR Publishing, Inc., 1310 Eastside Centre Ct, Suite 6, Mountain Home, AR 72653
800-980-OGRR (6477)
www.ogaugerr.com

×
×
×
×
Link copied to your clipboard.
×
×