When I go to the USG site for Hydrocal I find 9 different casting products. Can anyone say specifically which one I should use for casting a rock face?
Original Post


|
|
Replies sorted oldest to newest
quote:Originally posted by gregj410:
When I go to the USG site for Hydrocal I find 9 different casting products. Can anyone say specifically which one I should use for casting a rock face?
quote:Originally posted by bob3:
Dave,
Thank you for taking the time to post such a detailed response.
(I have printed it out for future reference)

quote:I buy 100 lbs bags of Hydrocal ....... Plaster can fail from it's own weight in large areas.
 [/IMG]
 [/IMG]
 [/IMG]
quote:Thank you for taking the time to post such a detailed response.
(I have printed it out for future reference)
quote:Yes, actually useful information.
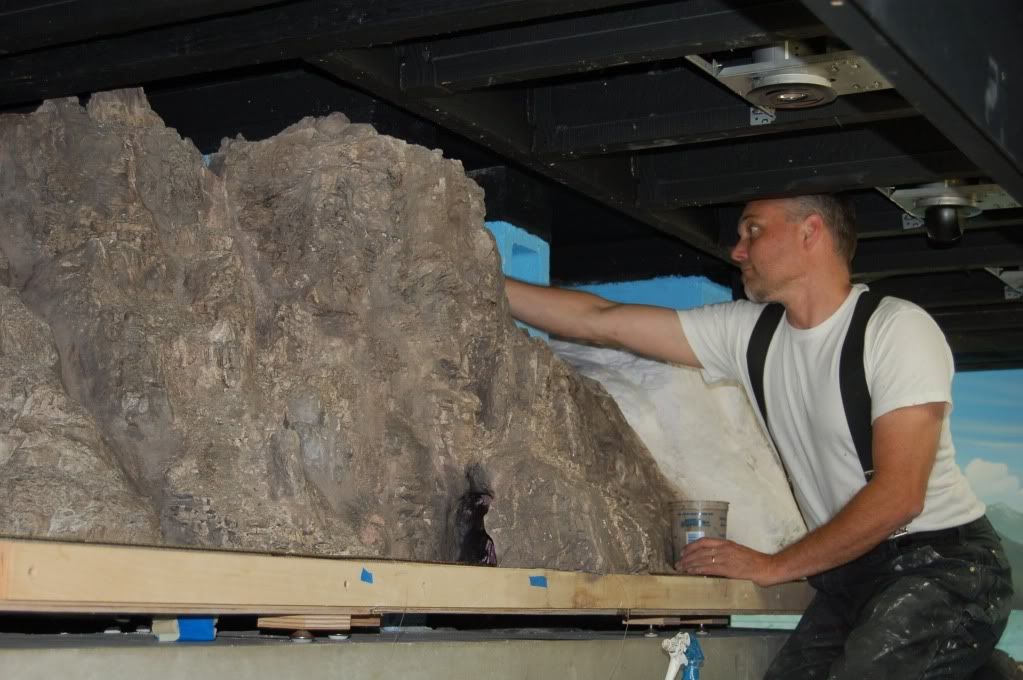
quote:I must say, this concerns me. This section is 4' tall by about 5' long. Im beginning to think after a couple of practice casts pictured below, I should reinforce with plastic poultry netting. Any thoughts, its already wrapped in plaster cloth.
 [/IMG]
quote:Originally posted by GEF:
Greg, I used hydrocal which I purchased from Ebay. It comes from a supplier in Pennsylvania named Robert Forrester products. 20lbs of product for $20 & free shipping.
George
 [/IMG]


quote:Originally posted by gregj410:
When I go to the USG site for Hydrocal I find 9 different casting products. Can anyone say specifically which one I should use for casting a rock face?
quote:Originally posted by gregj410:
Thanks Chris, I really value the input of the talent on this forum. I am using Windsor and Newton tube acrylics from AC Moore. The specific colors I used to achieve this are titanium white, raw umber, yellow ocre, raw sienna and ultramarine blue. I am using cheap brushes and often dilute the colors down with water to get into all the nooks and crannies. The base color is t.white, raw umber and yellow ocre which makes a yellowish tan, I then follow up with raw sienna for reddish tan highlights, and ultramarine blue to get a bluish gray color. Using straight raw umber will give you more of a brownish look and really accents cracks and deep spots. Painting wet on wet allows you to blend colors much easier too. Sorry for the book.
Yes USG plaster is best, but most plasters fine. The big thing is mixing, rule of thumb, put water in mixing container add plaster till fills from bottom to top of water. Once the plaster fills to surface this will correct amount. Mix with drill and mixer, plaster of paris is very fast. USG materials can be purchased for different hardness and set times. I like hydro-stone. Next you need good molds, and spray them with soapy water before poring
plaster into them. Demold depends on set up but usaully 1-2 hours. I found once castings dry 2-3 days quicker if fan on them they can be attached to foam, wood, chicken wire etc with construction urthane adhesive found at HomeDepot. I fit them together and fill spaces with drywall compound. This be textured and worked nicely
and reworked once dry. Paint in latexes and add static grass or textures desired.
Just takes practice and a good eye. See altoonamodelworks to contact me.
Bob Spaulding


Access to this requires an OGR Forum Supporting Membership
