
Good morning all, I have been looking into ways to better cable the wires on this new layout, and wondered if anyone has any experience with some of the wrap-around sleeving that is now available. Looks like it makes a nice cable, but at about $1.00 a foot seems pricey.   Does anyone have a "best practice" to share for wire management?  Thanks as always,


B&OBill

Original Post

Replies sorted oldest to newest

Susan, thank you for an incredible link! I can see I will learn lots there.


One thing I was particularly looking to do is make some type of cable to link the control panel, which will be mobile, to the layout itself.


There would be wires from 2 ZW's and various controls.  I was wondering if they could all go into some type of cable.


B&OBill

B&O Bill,


You've got some very good advice in this thread.  Some key points:

  • It's very important to color-code and label your wires / wire pairs.
  • A labeled / numbered wiring diagram / plan is essential to maintaining your sanity later.  Trust me on this.
  • Wire loom and / or wrap is a very cost effective approach.
  • Cable ties with a screw hole are a cheap way to keep the wiring neat on long runs.
  • Trays or cable duct (like kgsouth is using) is good around the transformers or power distribution panels (where many wires come together).

I use all the above.  It really helps, especially later when you are adding on or changing something.


George

As has been mentioned the tray can fill quickly.  These two trays were replaced with larger tray when I installed Atlas 6924 relay boards.


The top tray has been changed it wasn't large enough.


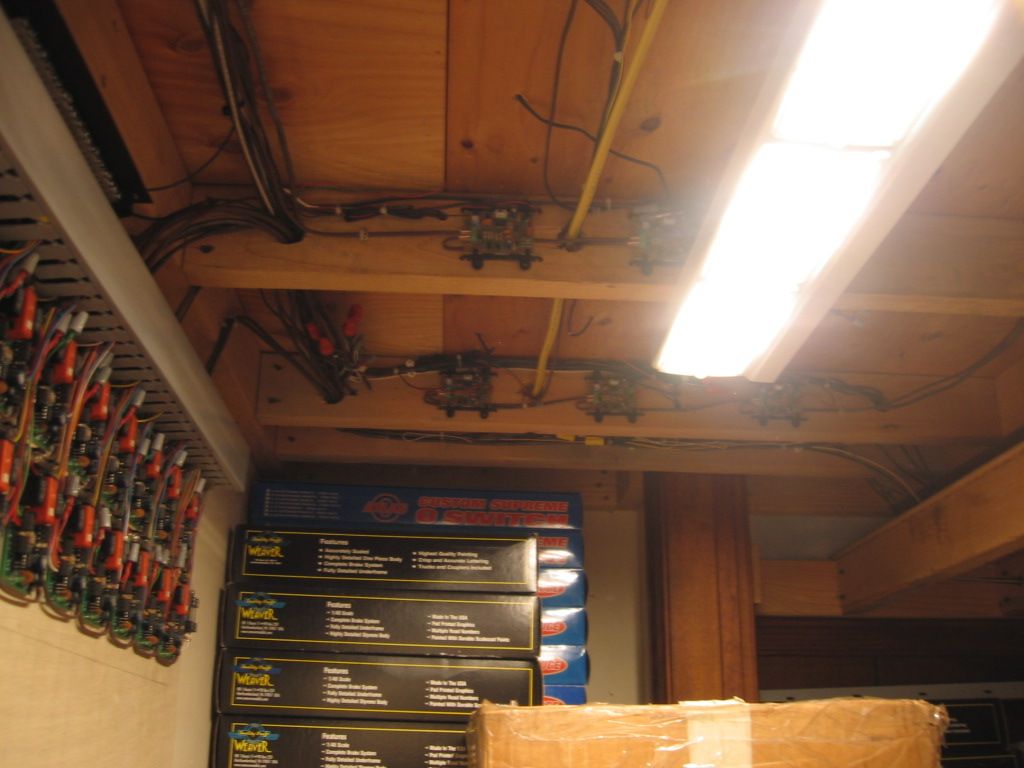
Holes (1" done with a ship auger) plastic staples and wire ties do a decent job of securing most underlayout wiring.  The small grey wire nuts are termination of a set of MTH crossing gates.


This area eventually required a second set of holes and the tray was replace with a larger one.


The 6924 relay retrofit project required extensive additional wiring.


Wiring for the remote layout section seperate from the main layout.
Coal tipple end of wiring. Black and white THHN 14 ga solid copper is track power. The brown thermostat cables with up to 8 #18 ga solid is for accessory and switch control. Each of these wires/cables are 45 ft.

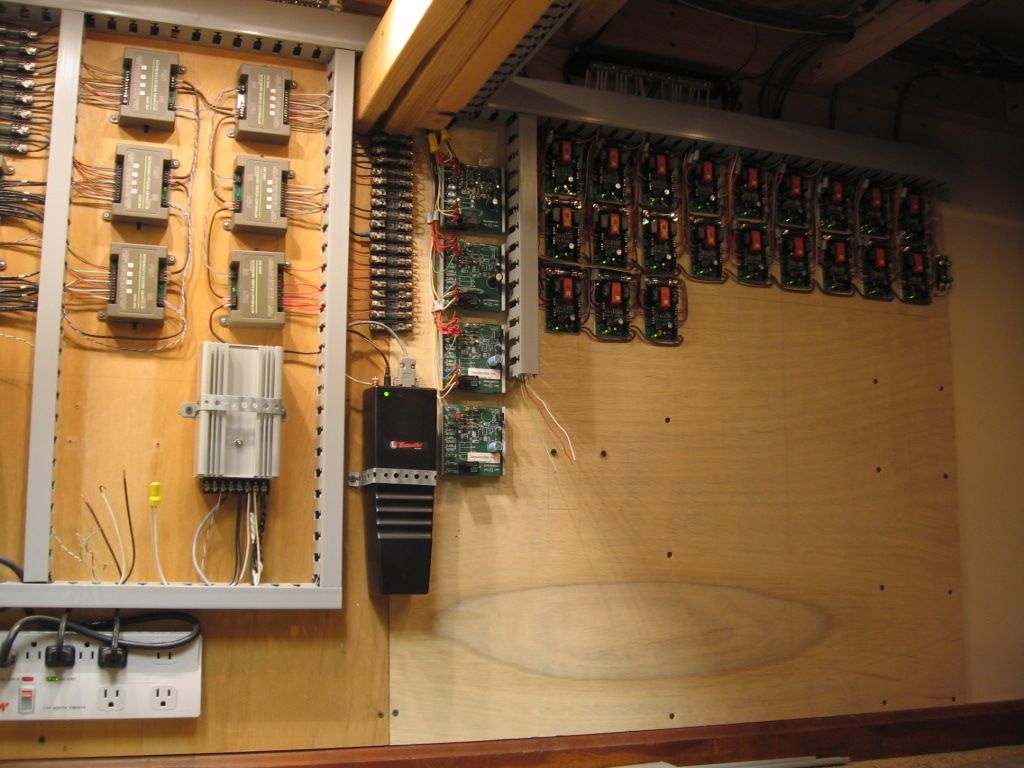
Control center power wiring, two track power districts. Wiring was routed up the wall over the ceiling and back down another wall to the power/control center. I installed spare accessory and switch wiring even if it isn't used.

Control center accessory and switch wiring. Note that the tray to the left has been replaced, again it wasn't large enough.


Eventually the 6924 board area looked like this.


I have dwarf lights install, but no signal system and very limited accessory wiring done. Both would require additional wiring, and more wire management.

It starts to get intense as each level steps up the wiring requirements.

The small PC boards are for the Atlas 6931 dwarf lights.


Have fun with your wiring.
Mike

Last edited by Mike CT

I have an around the room layout I use bus wiring in 60' runs and I never bundle them.  I run separate bus lines for each loop and the various accessory voltages  12, 14 and 16 volts.  I run them through individual holes in the bench work.  That way nothing gets confused and I don't have to fish a wire out of the bundle to make a change.  I have a single #8 bare ground bus wire running under the layout.  I also connected each of the principle wires the SPST switches at the half way point to aid in trouble shooting.

I like to use thermostat cable, which can be purchased 2 conductor up to 10 conductor per cable. Each wire bundled in the cable is a different color and works well for the more complex wiring related to the non-derail power routing for switches. There is color consistancy with each relay/switch wired.  Color and numbering is very important as the project ramps up.


I used heavy duty trailer cable to connect my power/control cart to the layout. I used 9 conductor cable to allow for future expansion.  I also used the matching plug and socket to connect the cable to the layout. This allows me to easily disconnect the cart and roll it away when I want to work on it.


For pictures and a detailed description search on "Power cart project" in photo albums.

Last edited by John Meixel
Post

OGR Publishing, Inc., 1310 Eastside Centre Ct, Suite 6, Mountain Home, AR 72653
800-980-OGRR (6477)
www.ogaugerr.com

×
×
×
×
Link copied to your clipboard.
×
×