
mattrain posted:


@LaramieJoe - G'day! Nice to meet another fellow ex-pat, now returned! Radelaide, eh? You must be an expert in church architecture after living there for a few years :-) I lived in Melbourne for two while working for a previous consulting company and absolutely loved it.  Definitely not surprised to hear that the expense delayed your engagement back into the hobby until you returned stateside - everything is expensive in Oz! Interesting to hear that O gauge was big in Adelaide/SA - is it all Lionel/MTH/Williams/etc or do they have local manufacturers?  I'd love to have one or two prototypes on my layout!

@mattrain - G'day Mate, right backatcha. LGB is a big brand there for the G scale, but MTH is surprisingly frequent import. Old Lionel is all the rage too. Marklin for HO. No local manufacturers that I was aware of.

Yep - Adelaide is a city of churches. And perhaps the nicest place I have ever lived (a list that includes, NYC, Toronto, London, Newport Beach, St Louis, and Reno, Nevada). We were very sad to leave, but are looking forward to spending all of July 2018 there. 


Hey guys,

Now that I've got the track laid and power run, I'm struggling with what I should attempt next - begin scenery (e.g. ballast, roads, ground cover, mountain) or begin wiring up structures or accessories.

What are your thoughts?  On past layouts I've wired accessories and buildings before embarking on scenery, but I'm interested to hear what the folks here would recommend.

Thank you for your input and suggestions!

Hey @Ken-Oscale - thanks! Accessing the back hasn't been a major issue, thanks to the access panels I had cut out, but I also have been spending a bit of time on top of the table as well. One "lesson learned" is my "south" 2 panels (of four total) can not be lifted as the elevated section has one leg positioned on top of it.  Were I to do it again, I would have waited to cut my access panels after I had gotten the elevated section mocked up as I could have cut around it, allowing me to use that panel.

I did end up cutting an access hole in the Northwest corner of the layout, under the elevated table, which allows me to access track and trains in the tunnel should I need to.  The access hole is a bit smaller than I would have liked but I am constrained by the table framing and the elevated table bridge supports on top of the "base" table. I'm able to fit my head and one arm up through it, and with a bit of contortion I can get both arms.

Only other major observation/lesson learned is I should have applied the backdrop before I built the table - I was just too eager to get the trains running to be patient.

Matt, Overall you did well I think!  We all are too eager to get trains running thinking we can easily come back later and do something.  When I was your age, I was easily able to crawl under and over things.  Now, I really have to plan so I don't put myself in those positions.  

As to your question of wiring accessories first or scenicing first, I think you can do some of each as you go.  It breaks up the similar tasks so you don't get tired of one.  I don't think you will make much of a mess wiring after scenery is basically in, and what you do cut into, can easily be repaired.

 The layout is shaping up nicely Matt!

 As far as you scenery /wiring questions.

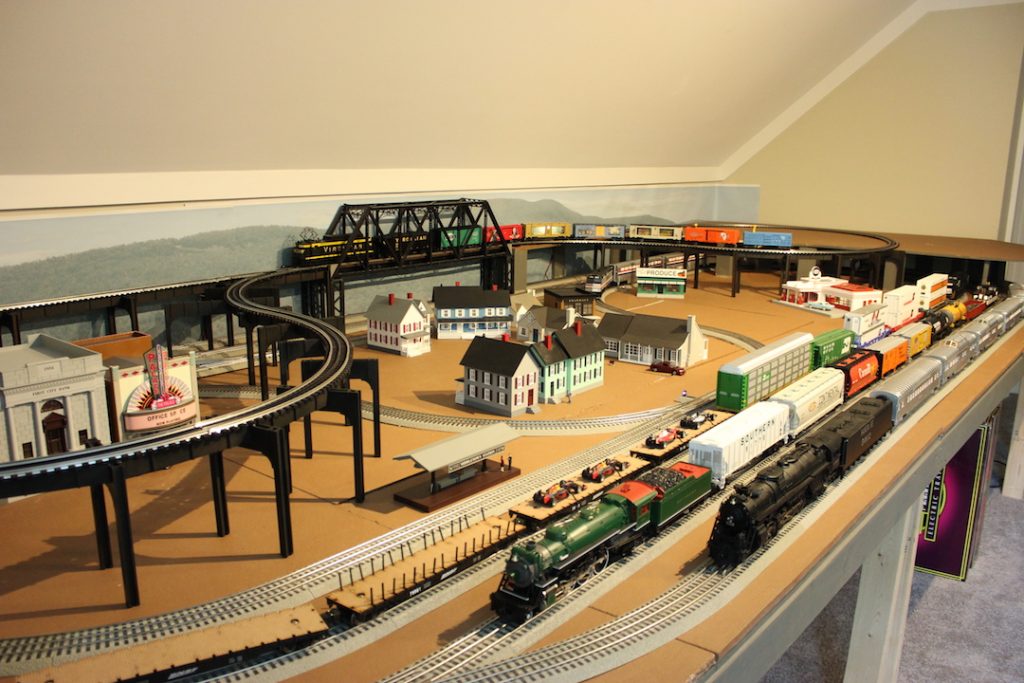
Its easier to do the scenery work with the structures out of the way. I traced around the buildings and accessories then removed them and scenicked up to the lines.

Once dry, replaced the structures making sure I didn't leave any bare spots. Then wired them in.

As far as ballast goes. I add ballast after all of the other groundcover near the tracks has been applied. That way you don't get excess grass, weeds, etc ,mixed into your ballast.

Aside from old decrepit sidings, real RR ballast is usually free of any vegetation.

FWIW, I painted the rails of my Fastrack with a Woodland Scenics TT4580 steel rail paint marker.


002

Attachments

Images (1)
  • 002
Last edited by RickO

A quick video update on the layout - We've got the mountain mostly done, the streets laid, and the majority of buildings, street lights, and crossing signals wired up.  Next up, we'll start laying ground cover and ballast, along with customized details (e.g. custom signs on buildings, street signs, figures, etc)

Hat tip to Ray's Electric Trainworks for another PS3 upgrade - my FEF 5v PS2 went belly up recently and Ray restored her to service.  He also did a PS2 3V swap on the UP SD70M in the video - all I'm missing is a Big Boy for a true model of the recent UP excursion train :-)

Hi Matt, just saw your post today and it looks like you and I started our bones room layouts about the same time, about 2 years ago. I expanded my to the opposite side of the room with a bridge to connect the two sides. I haven't done much with it in the last year so maybe this winter I will get a move on. Thanks for the pictures and keep up the good work.  Arnold

Attachments

Images (1)
  • mceclip1
Arnoldoo posted:

Hi Matt, just saw your post today and it looks like you and I started our bones room layouts about the same time, about 2 years ago. I expanded my to the opposite side of the room with a bridge to connect the two sides. I haven't done much with it in the last year so maybe this winter I will get a move on. Thanks for the pictures and keep up the good work.  Arnold

Very nice Arnold. I'm also a BN fan.

Add Reply

Post
The Track Planning and Layout Design Forum is sponsored by

AN OGR FORUM CHARTER SPONSOR

OGR Publishing, Inc., 1310 Eastside Centre Ct, Suite 6, Mountain Home, AR 72653
800-980-OGRR (6477)
www.ogaugerr.com

×
×
×
×
Link copied to your clipboard.
×
×