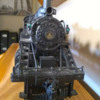
Okay guys

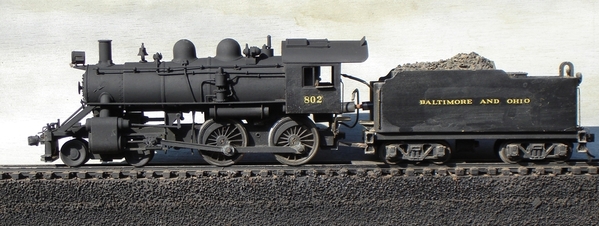
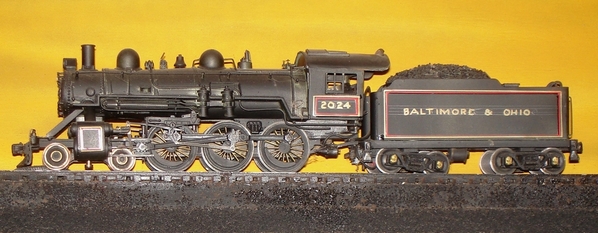
I imagine most of you who have been into this hobby for a while have had (or still have) this iconic model:

4-6-0

(eBay listing photo...)

I picked up an example this past week, and it should be here sometime in the future; while I wait for it's arrival, I would like to learn something about its construction and perhaps pick up a few pointers on what to look for.

The main driver on the opposite side is out of quarter, and it looks like some of the valve gear will need to be replaced; as per usual, any eBay engine I get will need to be disassembled, cleaned, etc...which leads me to my main question: how is the boiler/cab attached to the frame? Is it like similar-vintage HO, with a screw up through the cylinder block and maybe a couple under the cab? 

It's my understanding that this (and others) were owned by an outfit called "Babbitt": is that still a source? I'm not finding a whole lot of info on the 'web...

I appreciate in advance any and all comments and suggestions. 

Mark in Oregon
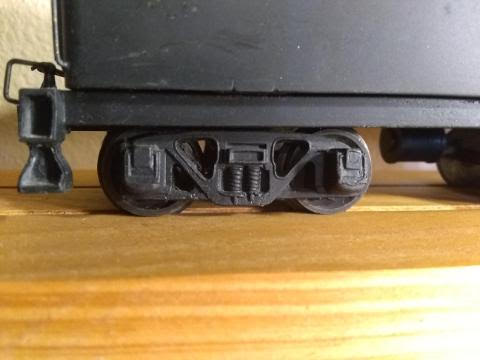
Attachments

Images (1)
  • 4-6-0
Last edited by Strummer
Original Post

Replies sorted oldest to newest

Feel free to ask.

The boiler may be attached as you say, or the screw may come down through the stack (unlikely) or once in a while the main screw will come up behind the cylinder block.  Two small screws in back.

Drivers are quartered mechanically, so you will have to use the glue trick.  Clean it up really good, then quarter it as well as you can.  Hold it in position and put some   shaft Loctite in there.  Tighten the nut, and let it sit for 24 hrs.

@bob2 posted:

Feel free to ask.

The boiler may be attached as you say, or the screw may come down through the stack (unlikely) or once in a while the main screw will come up behind the cylinder block.  Two small screws in back.

Drivers are quartered mechanically, so you will have to use the glue trick.  Clean it up really good, then quarter it as well as you can.  Hold it in position and put some   shaft Loctite in there.  Tighten the nut, and let it sit for 24 hrs.

Thank you for the helpful responses. I bet you've had a couple of these pass through your capable hands. 

Which color of Loctite should I get?

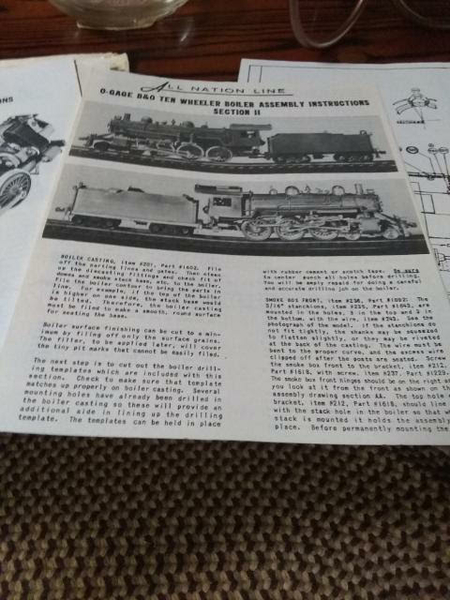
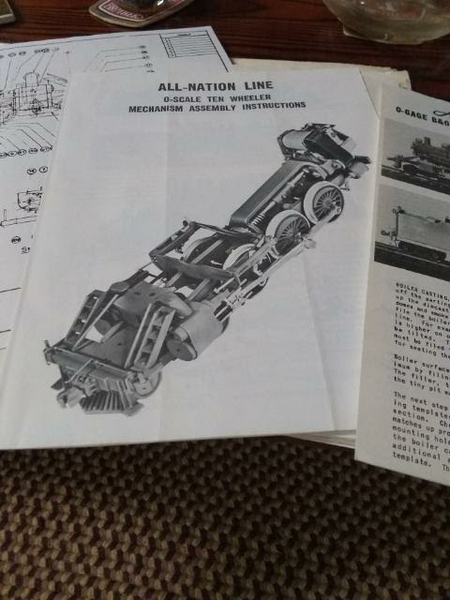
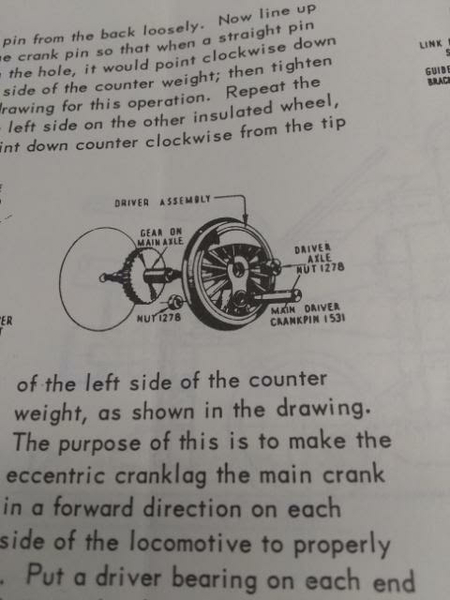
For some strange reason, I already have assembly instructions:

61016102

...but they were written for someone who obviously knows what they are doing, so that leaves me out! For example, I don't see any mention of how the boiler is attached to the frame...

As I say, it won't be here for a while, but rest assured I will no doubt have plenty of questions about this as I proceed. Am looking forward to this project...

Mark in Oregon
Attachments

Images (2)
  • 6101
  • 6102

Went looking for a photo for you.  Not only are they scarce as hen’s teeth, but also one site wiped out all of my bookmarks in one iPad.

Capture Al Stauffer’s B&O Steam book.  P. 227 is the best B-18 photo I could find.  Where is Bommer when we need him?

2024 is in green with gold leaf and red accents.  That’s the way I want to fix mine up.

Of all the All-Nation steam, this is the only one with a prototype.  The Pacific may come close to the USRA Light, but not with B&O drive wheels!

@bob2 posted:

1. Mine has a homemade frame.

2. But I can generally answer mechanical questions.

3. You need a photo of the B&O Ten-wheeler to guide your restoration.  I have seen spectacular examples - Joe Ferraioli did one.  I bet Ed Bommer did one, too.

1: Can we see it?

2: You can be sure I'll be asking  .  I'd like to look into putting a Pittman in there...

3. Will do some looking around; thanks again.

Mark in Oregon
On that ten-wheeler, the screw in the stack holds a bracket for the smoke box front.

To remove the boiler, first take off the engine truck up front. Then, the center screw that holds the cylinder casting to the boiler. After that removed the two screws holding the rear wall of the cab to the tailpiece on the frame. Then, carefully lift the boiler off the frame, taking  care not to yank out the headlight bulb wires.

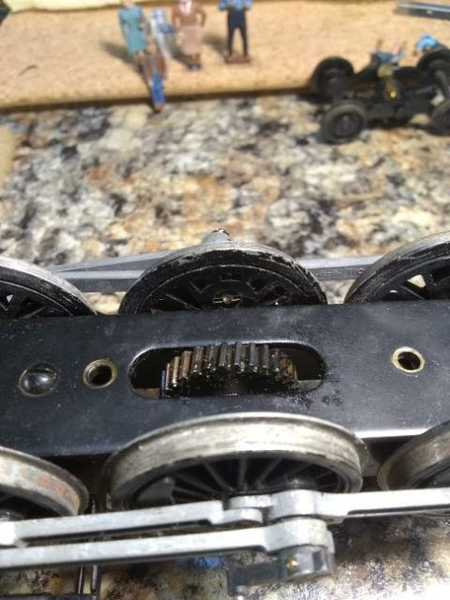
The drivers were quartered by fitting into a machined square on each end of the axle that has a threaded extension on it.  A slotted nut-head secured the driver to the axle. To remove that head, cut a slot in the blade of a small blade screw driver. Keep it as an essential tool for working on a Varney/AN/Babbitt loco as all have the same quartering and driver attachment.

Having such a driver out of quarter means that it's either been forced, or was re-installed incorrectly  As the driver centers are cast brass and the axles are steel, it could be if forced the squareness of the driver's axle hole was compromised. 

A repair could be done as described, but the driver and axle set must be in the same exact quarter as all the others on the loco.  Not a simple thing to achieve without  a quartering jig set to match the original driver/axle setup.

Best to see if you can find a replacement driver. Not easy, but maybe not impossible.

Varney/AN/Babbitt drivers are all the same size, regardless of what loco they were on.  There were two types:  A main driver with a wide counter-weight and the secondary drivers all with a smaller same sized counter-weight.

Here's an All Nation Kit No. 5 Atlantic I built in 1970 at its new home in Rockford IL.  Scarcer than the ten-wheeler, it also was at heart a B&O locomotive!

BO1447b

Ed Bommer, aka here as S. Islander. 


,

Attachments

Images (1)
  • BO1447b: Not a ten-wheeler, but still an All Nation loco that used most of the same parts.

I should have added that if a driver was out of quarter, it could also be possible that the rod pin's holes in the rod ends have become elongated.  If they fit too loosely, the mechanism can bind even if all drivers are in quarter. 

Again, it might be possible to bore out elongated rod holes and refit them with brass tube bushings. But getting the rod pin holes to the exact spacing needed is a machinist's art. And, you have only one shot to get it right!   Replacement rods are another part not easily found now. 

FWIW: The special B&O P-7 class "Presidential" paint job of green with gold and red striping on B&O 2024 was for its status as the dedicated locomotive for B&O President Daniel Willard's inspection train from 1925 to about 1930. Depression era austerity put the 2024 back into pool service in black paint.  Willard's inspection train (usually a coach/baggage combine,  a diner, a 12 section /1 drawing room Pullman and B&O office car "Maryland") was from then on drawn by a pool service locomotive.

S. Islander  

Last edited by S. Islander

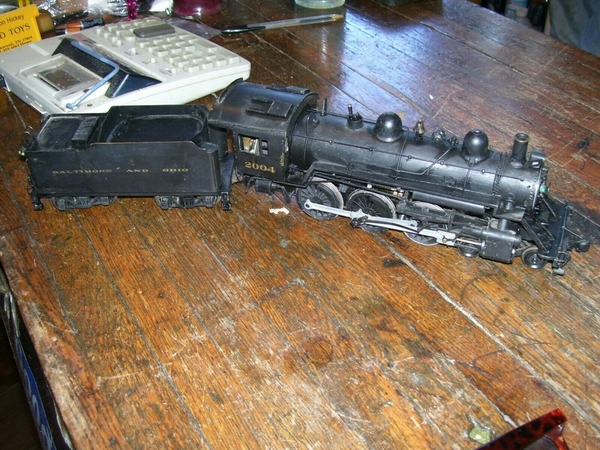
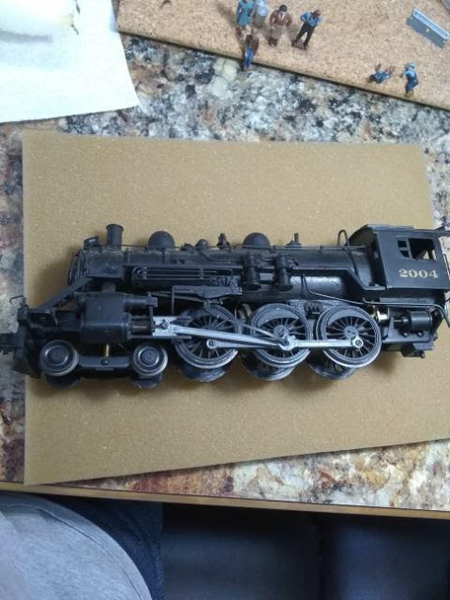
Okay gang, this old thing just arrived:

4-6-0 #1

It's not as bad as I thought: it looks like all I'm lacking is the main crankpin (#1531), nut (#1278) and whatever it is that keeps the eccentric rod in place. If anyone out there happens to have these items, in search of a good home, please let me know. 

4-6-0 #2

I think the body is held to the frame by (2) screws located under the pilot truck, and (2) more back under the cab. I don't see how else it's done.

The tender looks to be in fine shape, with nothing needed there...as far as I can tell.

I will begin the process of disassembly; just enough to test the motor, etc. Please feel free to chime in...

Thanks.

Mark in Oregon
Attachments

Images (2)
  • 4-6-0 #1
  • 4-6-0 #2

Thanks Bob; I appreciate the assistance.

After a couple of pleasant hours looking this over, I found a couple of things:

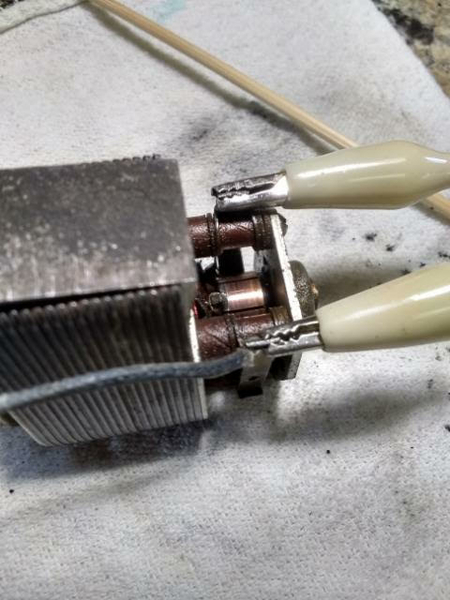
The motor was seized up tight; I gave it a "bath" in some WD40, worked it a bit, then cleaned everything and the motor now runs beautifully on about 4-5V.

460#4

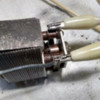
If this the "slotted nut-head" mentioned earlier, it certainly will need to be attached, as it's now just kinda "floating" around and will fall out if you're not careful... 

460#3

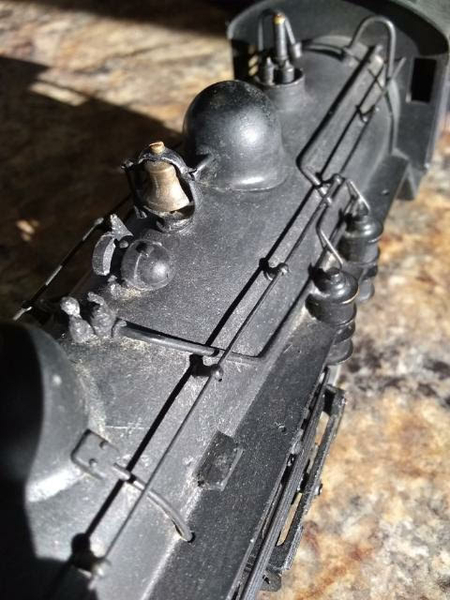
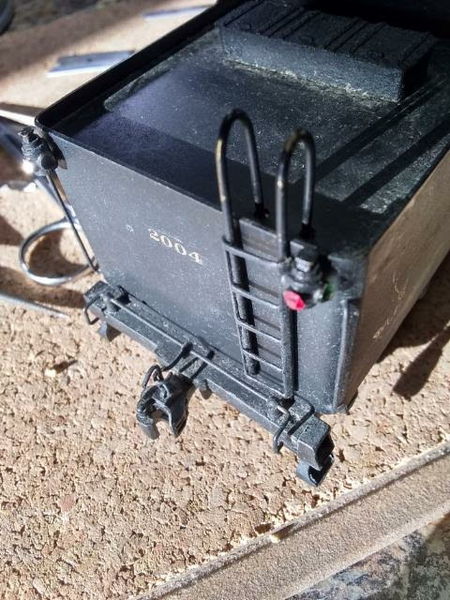
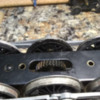
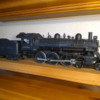
I waited a long time to score one of these, and I'm in no big hurry to get it "road-worthy" (yeah, right!). As it is now, I think it makes a nice display piece. Looks much better without the huge motor in the cab:

460#7

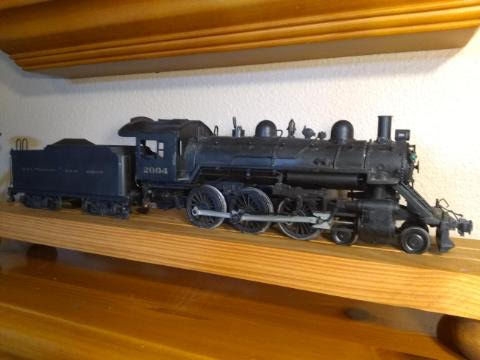
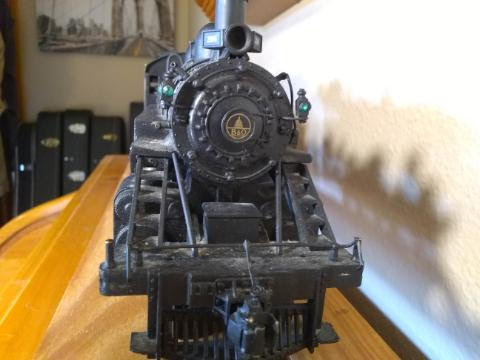
I'm guessing this was not considered a "high end" model at the time, yet it really has nice details...

460#5460#6

46014602

All in all, a nice old model I think, for less than a hundred bucks... 

Mark in Oregon
Attachments

Images (7)
  • 460#4
  • 460#3
  • 460#7
  • 460#5
  • 460#6
  • 4601
  • 4602
Last edited by Strummer
@S. Islander posted:

1. On that ten-wheeler, the screw in the stack holds a bracket for the smoke box front.

2. To remove the boiler, first take off the engine truck up front. Then, the center screw that holds the cylinder casting to the boiler. After that removed the two screws holding the rear wall of the cab to the tailpiece on the frame. Then, carefully lift the boiler off the frame, taking  care not to yank out the headlight bulb wires.

3. The drivers were quartered by fitting into a machined square on each end of the axle that has a threaded extension on it.  A slotted nut-head secured the driver to the axle. To remove that head, cut a slot in the blade of a small blade screw driver. Keep it as an essential tool for working on a Varney/AN/Babbitt loco as all have the same quartering and driver attachment.

Ed Bommer, aka here as S. Islander. 

Ed 

Sorry for the delay in responding; thanks for all the good information.

1. You were right.

2. Also right; in my case, no headlight or wires to fuss with.

3. Good tip about the slotted screwdriver; will have to make one.

I contacted Bill at "BTS" this morning about possible availability of parts; he got back to me almost immediately. Said he'd dig around and try to come up with something. 

After I got the motor running, I attempted to put everything back the way it was; I had no luck in getting the motor with its large drive bracket to line up with the frame enough to be able to screw it all back together. What's the secret here?  

Mark in Oregon
Add Reply

Post

OGR Publishing, Inc., 1310 Eastside Centre Ct, Suite 6, Mountain Home, AR 72653
800-980-OGRR (6477)
www.ogaugerr.com

×
×
×
×
Link copied to your clipboard.
×
×