
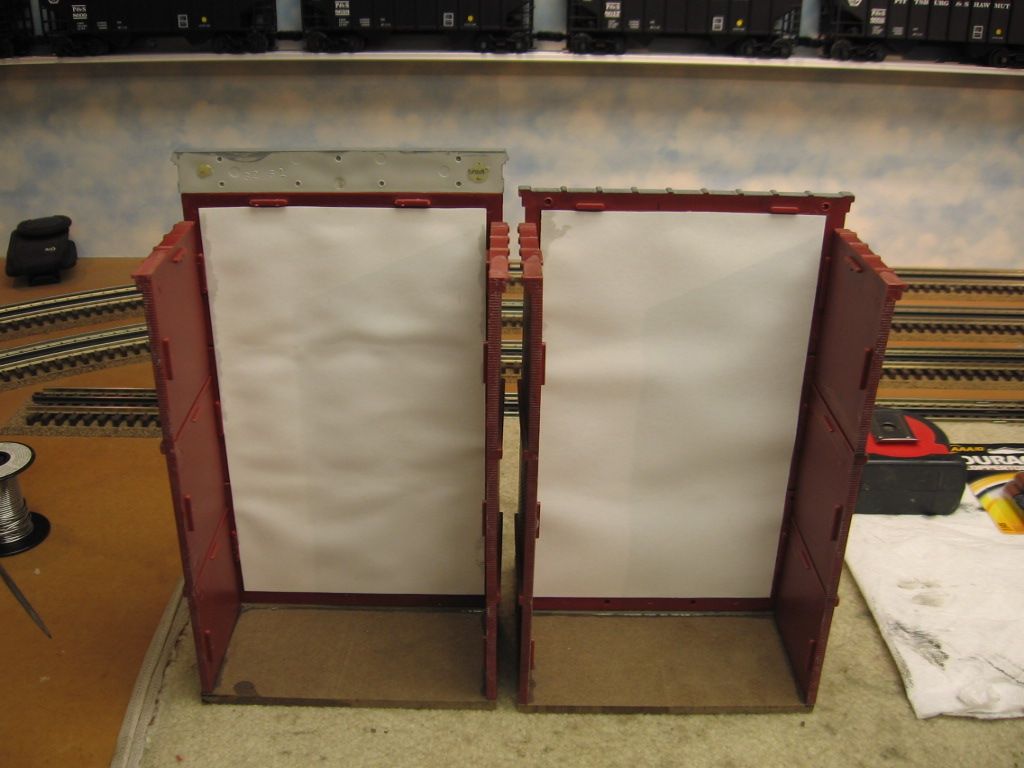
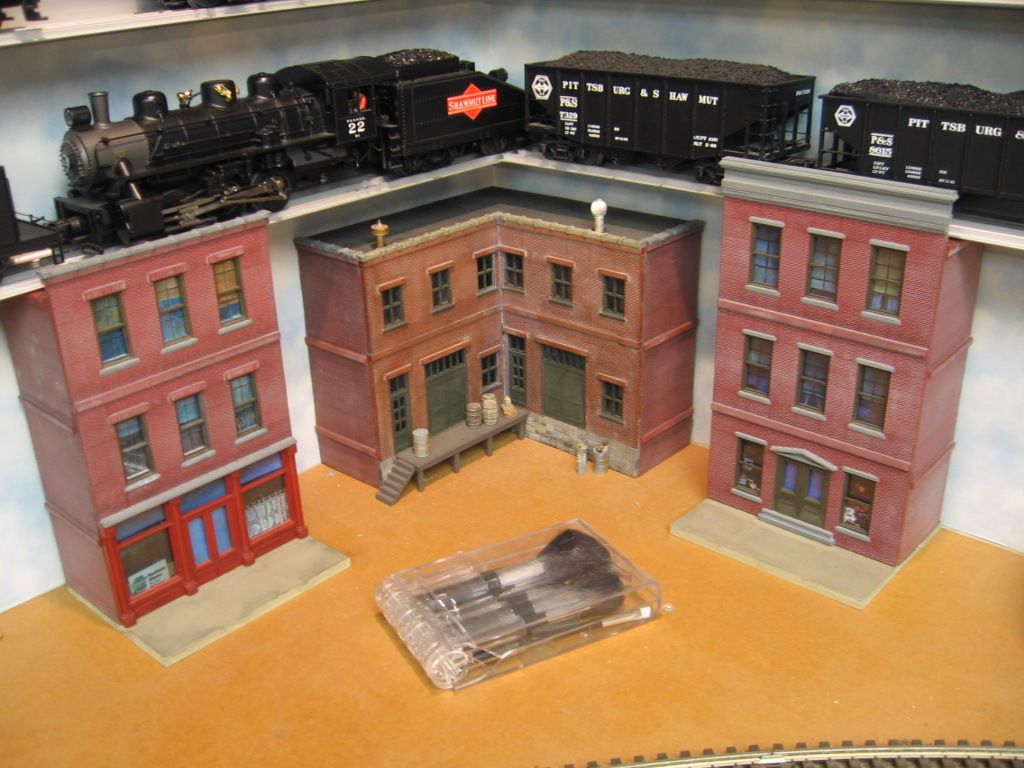
I would like to create a town against a backdrop with limited depth to conserve space.  I see you can purchase Ameri-Towne false fronts.  How can I cut the roof and side wall pieces or do they already sell them cut?  I once tried a mini table saw and it was a mess as it melted the plastic.    In other words I want to construct flat front buildings against a backdrop that only come out several inches.  Any ideas how to cut, construct or integrate with a backdrop appreciated.

John

Falcon, CO (on the Front Range)

Original Post

Replies sorted oldest to newest

Ameri-Towne frontsHood's

John,  Ameri-Towne components may be narrowed (cut top to bottom) by placing the detailed side face down and making several passes with a sharp hobby knife along the 'interior' side.  Use a piece of metal for a guide. Place the cut/groove at the edge of a counter/work table and press down on the over hang portion.  Any rough sections may be sanded smooth. In lieu of a knife, you could continue to use your circular table saw.  Set the blade height to 1/2 to 3/4 the thickness of the wall.  Smooth side down, make a pass.  Move to the edge of the table and snap as written before.  Wash before painting.   I use styrofoam/finsulating foam to provide a 1", 2" or 4" depth as in the two photos.  John in Lansing, ILL

Attachments

Images (2)
  • Ameri-Towne fronts
  • Hood's
Last edited by rattler21

I've found that foam core board covered with brick paper or painted (both sides to minimize warping) works well. The scene below is in the early stages of construction. The 5 Ameritowne building fronts behind the tracks and in front of the city backdrop have foamcore board sides and asphalt roofing shingles cut to size for roofs. The buildings taper in depth from about 3 1/2" (the gray building behind the switch tower) to 1".

Many details need to be added, especially in the forefront area. When lit up it looks good now, but the details will need to be completed before it looks acceptable in "daylight".

IMG_1205IMG_1209

Attachments

Images (2)
  • IMG_1205
  • IMG_1209

You can cut it with whatever you want, honestly. When you cut the wall in half, glue the original molded edge to the front and the cut end will be on the wall where absolutely no one will notice that its imperfect. Even if it melts, you can just run a razor along it after it hardens and take the melted plastic off. If you want 1", then cut 4" out of the center and use the factory edges. 

You only need to cut 1 wall. 

Glue all of the fronts together end to end. Reinforce the joints with evergreen styrene and use foam board, masonite or blocks of wood to support the fronts against the wall. You just need the ameritowne walls on each end that you can see. Dont waste walls making a bunch of fronts with sides, its much easier to glue the fronts together and build 1 long front out of them. 

Last edited by Boilermaker1

John:

If you are just breaking sections use a razor saw to cut part way through the thicker sections at the ends and then snap apart. You will end up with a rough edge that stills needs to be cleaned up - see below.

If you are using a table saw (not sure what a mini saw is) find a blade with at least 80 teeth (laminate blade - thin kerf would be better). For your saw first set the blade height as high as possible and try the cut. Then set the blade so that the gullet is just above the plastic and try the cut (this method is is used for cutting plywood or thin laminates). Use the setting that best works for you. I routinely cut walls on my table saw with out issue.

If you snap the walls then cleaning up on the mini saw should be easier since you are taking thin slices only.

Let me know how it goes.

Joe

Boilermaker1 posted:

You can cut it with whatever you want, honestly. When you cut the wall in half, glue the original molded edge to the front and the cut end will be on the wall where absolutely no one will notice that its imperfect. Even if it melts, you can just run a razor along it after it hardens and take the melted plastic off. If you want 1", then cut 4" out of the center and use the factory edges. 

You only need to cut 1 wall. 

Glue all of the fronts together end to end. Reinforce the joints with evergreen styrene and use foam board, masonite or blocks of wood to support the fronts against the wall. You just need the ameritowne walls on each end that you can see. Dont waste walls making a bunch of fronts with sides, its much easier to glue the fronts together and build 1 long front out of them. 

^This is what I do.

I use a band saw and clean up the edges by placing a piece of sandpaper on plate glass. A hack saw would work too. I also glue the fronts together and use sides only on the ends. The array of buildings is reinforced with wood strips along the back. I used 4 fronts and one complete building. The complete building provided the side walls and roofing material.

Western_Kenmore

Pete

Attachments

Images (1)
  • Western_Kenmore
Last edited by Norton

Add Reply

Post

OGR Publishing, Inc., 1310 Eastside Centre Ct, Suite 6, Mountain Home, AR 72653
800-980-OGRR (6477)
www.ogaugerr.com

×
×
×
×
Link copied to your clipboard.
×
×