
Hi all:

Purchased the Ameri-towne Marty's Train Depot, and am working at putting it together. I'm trying to follow the directions for adding mortar, but it's just a mess- suggests painting the while panel, wiping with a rag, then using a rag with thinner once the paint dries. 


I'm wondering if there's a better way to do this that will be quicker/less messy. Thanks for any advice

Original Post

Replies sorted oldest to newest

I've tried many techniques, including the paint technique. That never worked out too well for me. One dried it was impossible to get off and left too much in corners. What I have found to work very well is vinyl spackling. This is completely water soluble, even after it dries. It can be completely washed off if you don't like the results. You wipe in on, let it dry, and wipe off the excess with a damp cloth.

However it may not work too well on a surface painted with a water based paint. This is also true of the paint technique you describe. When wiping these off with a damp cloth it may remove some paint also. Using these techniques over flat paint may also be a problem as the flat surface tends to permanently grip some paint. Mortar is best done on a gloss surface. One completed, spray the model with a flat finish to remove the gloss sheen and seal the mortar in place.

I'm sure many others will give advice using other techniques. Give them all a try. I use "junk" building pieces I get at railroad shows to experiment on. You will learn what works best for you as you build buildings over time. Don't be discouraged if your first few building don't look perfect. Skill comes with practice.

Attached are photos of a couple of recent buildings I added mortar to using vinyl spackling.

IMG_20160105_204114_427IMG_20160105_204128_108IMG_20160105_204500_850

All of the above suggestions are good.  Practice is, perhaps, the best suggestion of all.  Ameri-Towne sells an all-brick wall...e.g., #712...that's a good practice piece. 

A couple additional thoughts from 'The School of Hard Knocks'...

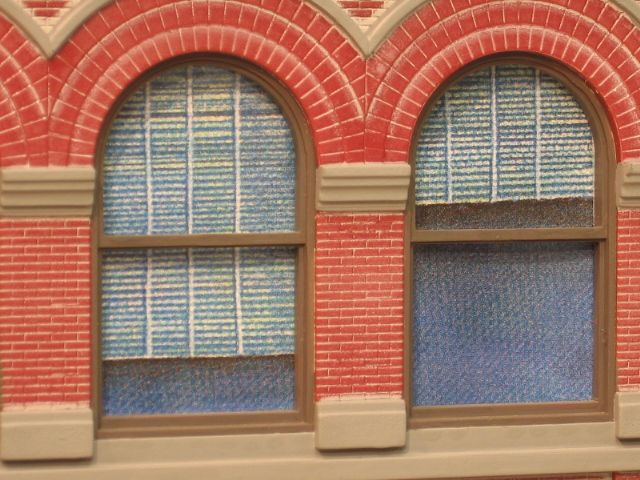
The walls are not resin cast; they're injection molded.  Nonetheless, they can have some oils, dirt, residue, etc., on the surface for which a good detergent washing/rinsing/drying can be of help before any finishing.

Then, I always paint...rattle cans of enamel work well...the walls a basic brick color of choice before doing any mortar washes.  It may seem counter-intuitive, but I favor a semi- to gloss paint, if it's in a color I like.  If it has to be a flat paint, then I'll follow up with a clear gloss coat. 

The reason I favor a glossy surface is because I've found that the mortar washes....Roberts or thinned acrylic with a drop of detergent...will settle into the mortar grooves more easily, and provide an easier brick surface to wipe the excess from.  Besides, subsequent washes to age the surface will deaden the gloss, and there's always a final spray coat of matte or flat clear finish to unify it all and kill any residual shine.

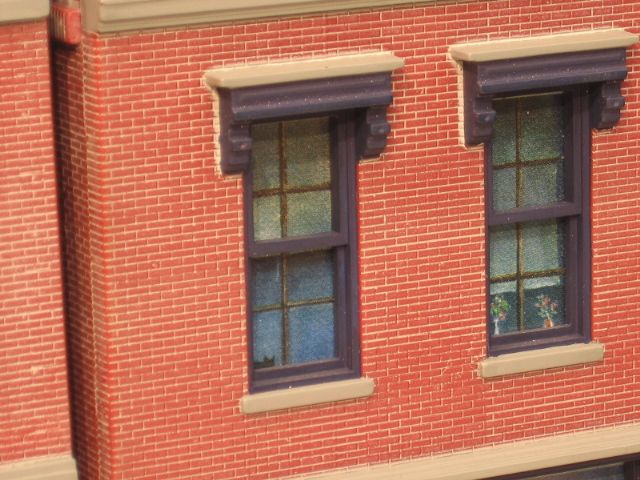
I know some use spackle, others use chalks.  I haven't tried them........yet.  But I'm impressed with the results of those that do.  Someday I'll give them a try.

.....Which really sez TEHO.  Practice.  Find a technique that's comfortable with you.  Stick with it.  Practice more variations on your test wall......which you can always wash/strip clean and re-use!.

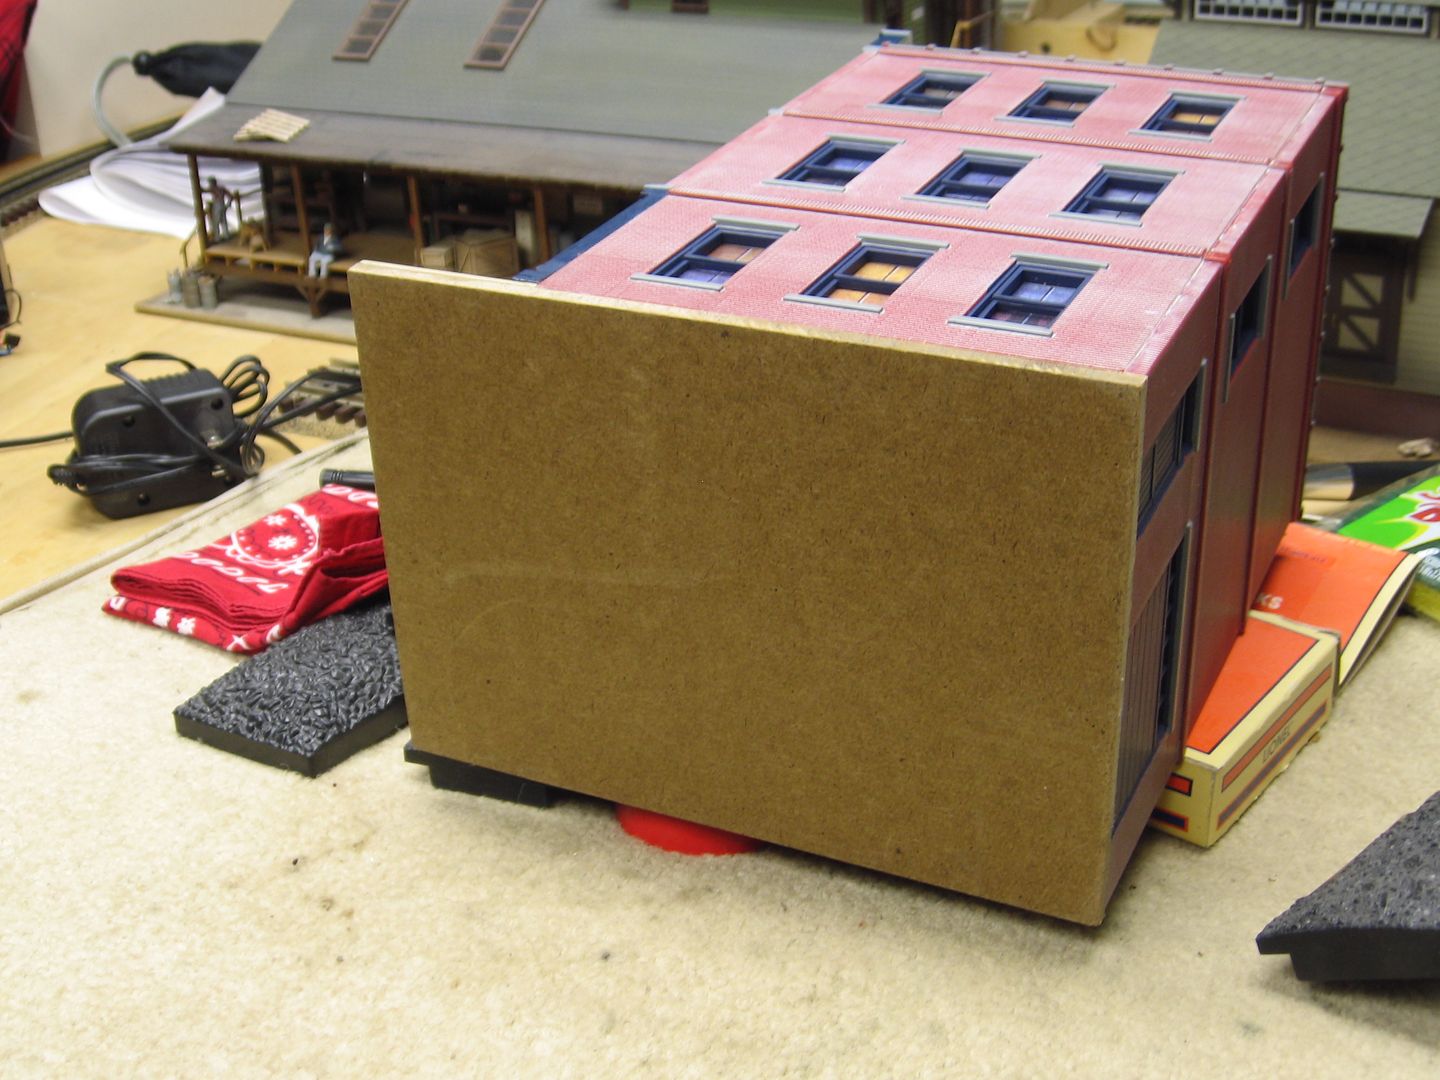
Of course, there are building kits from other manufacturers that use materials other than plastic; Laser-cut wood/MDF from Laser-Art (Branchline) and River Leaf, and cast plaster from Downtown Deco, for example.  These have some unique characteristics for finishing, often covered in the kit instructions with good suggestions/results.

FWIW, always....

KD

Andrew B. posted:

Looking at their site, it says you can stain with diluted India ink wash. How would I do this without staining the whole building? Sorry for the noob questions 

Not sure which site u mean. If it's Robert's, then yes, I often use a light India ink wash after application as it tones down the residue on the brick as well as in the mortar lines. If it's the Ameritowne site u looked at, I always prime the walls with gray, then paint with a flat or satin spray or a flat acrylic with a wide brush. The as-is finish on those walls are too toy-like for me. I'm always trying for an older, realistic finish so I don't want a gloss at all. Depends on the look u want. Roberts is my go-to for all mortar effects and has always worked really well on these surfaces and finishes. if there's any issue it is that it may take a few washes/wipings to get the residue off the brick face. But it's a minor problem as the India ink/alcohol application does a fine job. 

If if you are hesitant about it, trying it on a scrap wall may be a good idea. 

Jerrman

Last edited by Jerrman

I had used a diluted solution of latex paint and water.  Consistency of thick milk.   As applied with the wall panels laying flat on the work bench, it will first appear that very little has been applied.  Let dry and do again, it took 4 times to get this effect.   Part of the problem, is that these mortar joints are very small lines, not very deep.

The Ameritown solid wall panel that KD mentioned. (Cut (1/2) for smaller side panels)

Again you are detailing very small lines, take your time.    

 Mike CT

Detail trim work on each of this models was done with the panels, flat on the work bench, before assembly,  brush work with Testors acrylic paints.  The panel can be moved to accommodate the best brush angle for each sill, sash, window frame, door jam, etc.   Again take your time.

Bases are fabricated from 1/4" Masonite.  Model bases are very important, IMO.   Have fun with your project.

Last edited by Mike CT

I'm still messing with this, got the spackling to try to make that work. I'm finding when I wipe it off it comes out of the mortar joints as well, and when I let it dray and wet a rag to wipe it off the surface it's taking it out of the joints as well.


I painted the walls, so I don't want to use the diluted paint again...


Otherwise, I'm happy with where I am on the kit. 

I have an Ameri-Towne building kit I have not started, so I tested the spackling process on it.

Here is a wall section straight out of the box.

IMG_20160107_091918_207

I wiped on the spackling and let it dry completely.

IMG_20160107_101544_462

Using a *slightly* damp paper towel, I lightly wiped across the surface to remove spackling. The "secret" is to not make the towel too wet or it will simply wash off the spackling. And I wiped lightly so that the towel did not get into the mortar cracks - I am just removing the spackling from the surface of the bricks.

IMG_20160107_102001_496

Here is a close up of the brick section. (The lighting makes the mortar look heavier/thicker in the photo than it really is.) By wiping harder I can remove more of the mortar. After I was done, I easily removed all the mortar by washing in water and lightly brushing with a toothbrush.

IMG_20160107_102012_896

Attachments

Images (4)
  • IMG_20160107_091918_207
  • IMG_20160107_101544_462
  • IMG_20160107_102001_496
  • IMG_20160107_102012_896

Add Reply

Post

OGR Publishing, Inc., 1310 Eastside Centre Ct, Suite 6, Mountain Home, AR 72653
800-980-OGRR (6477)
www.ogaugerr.com

×
×
×
×
Link copied to your clipboard.
×
×